
The Witcher's Alchemy Chest (2018)
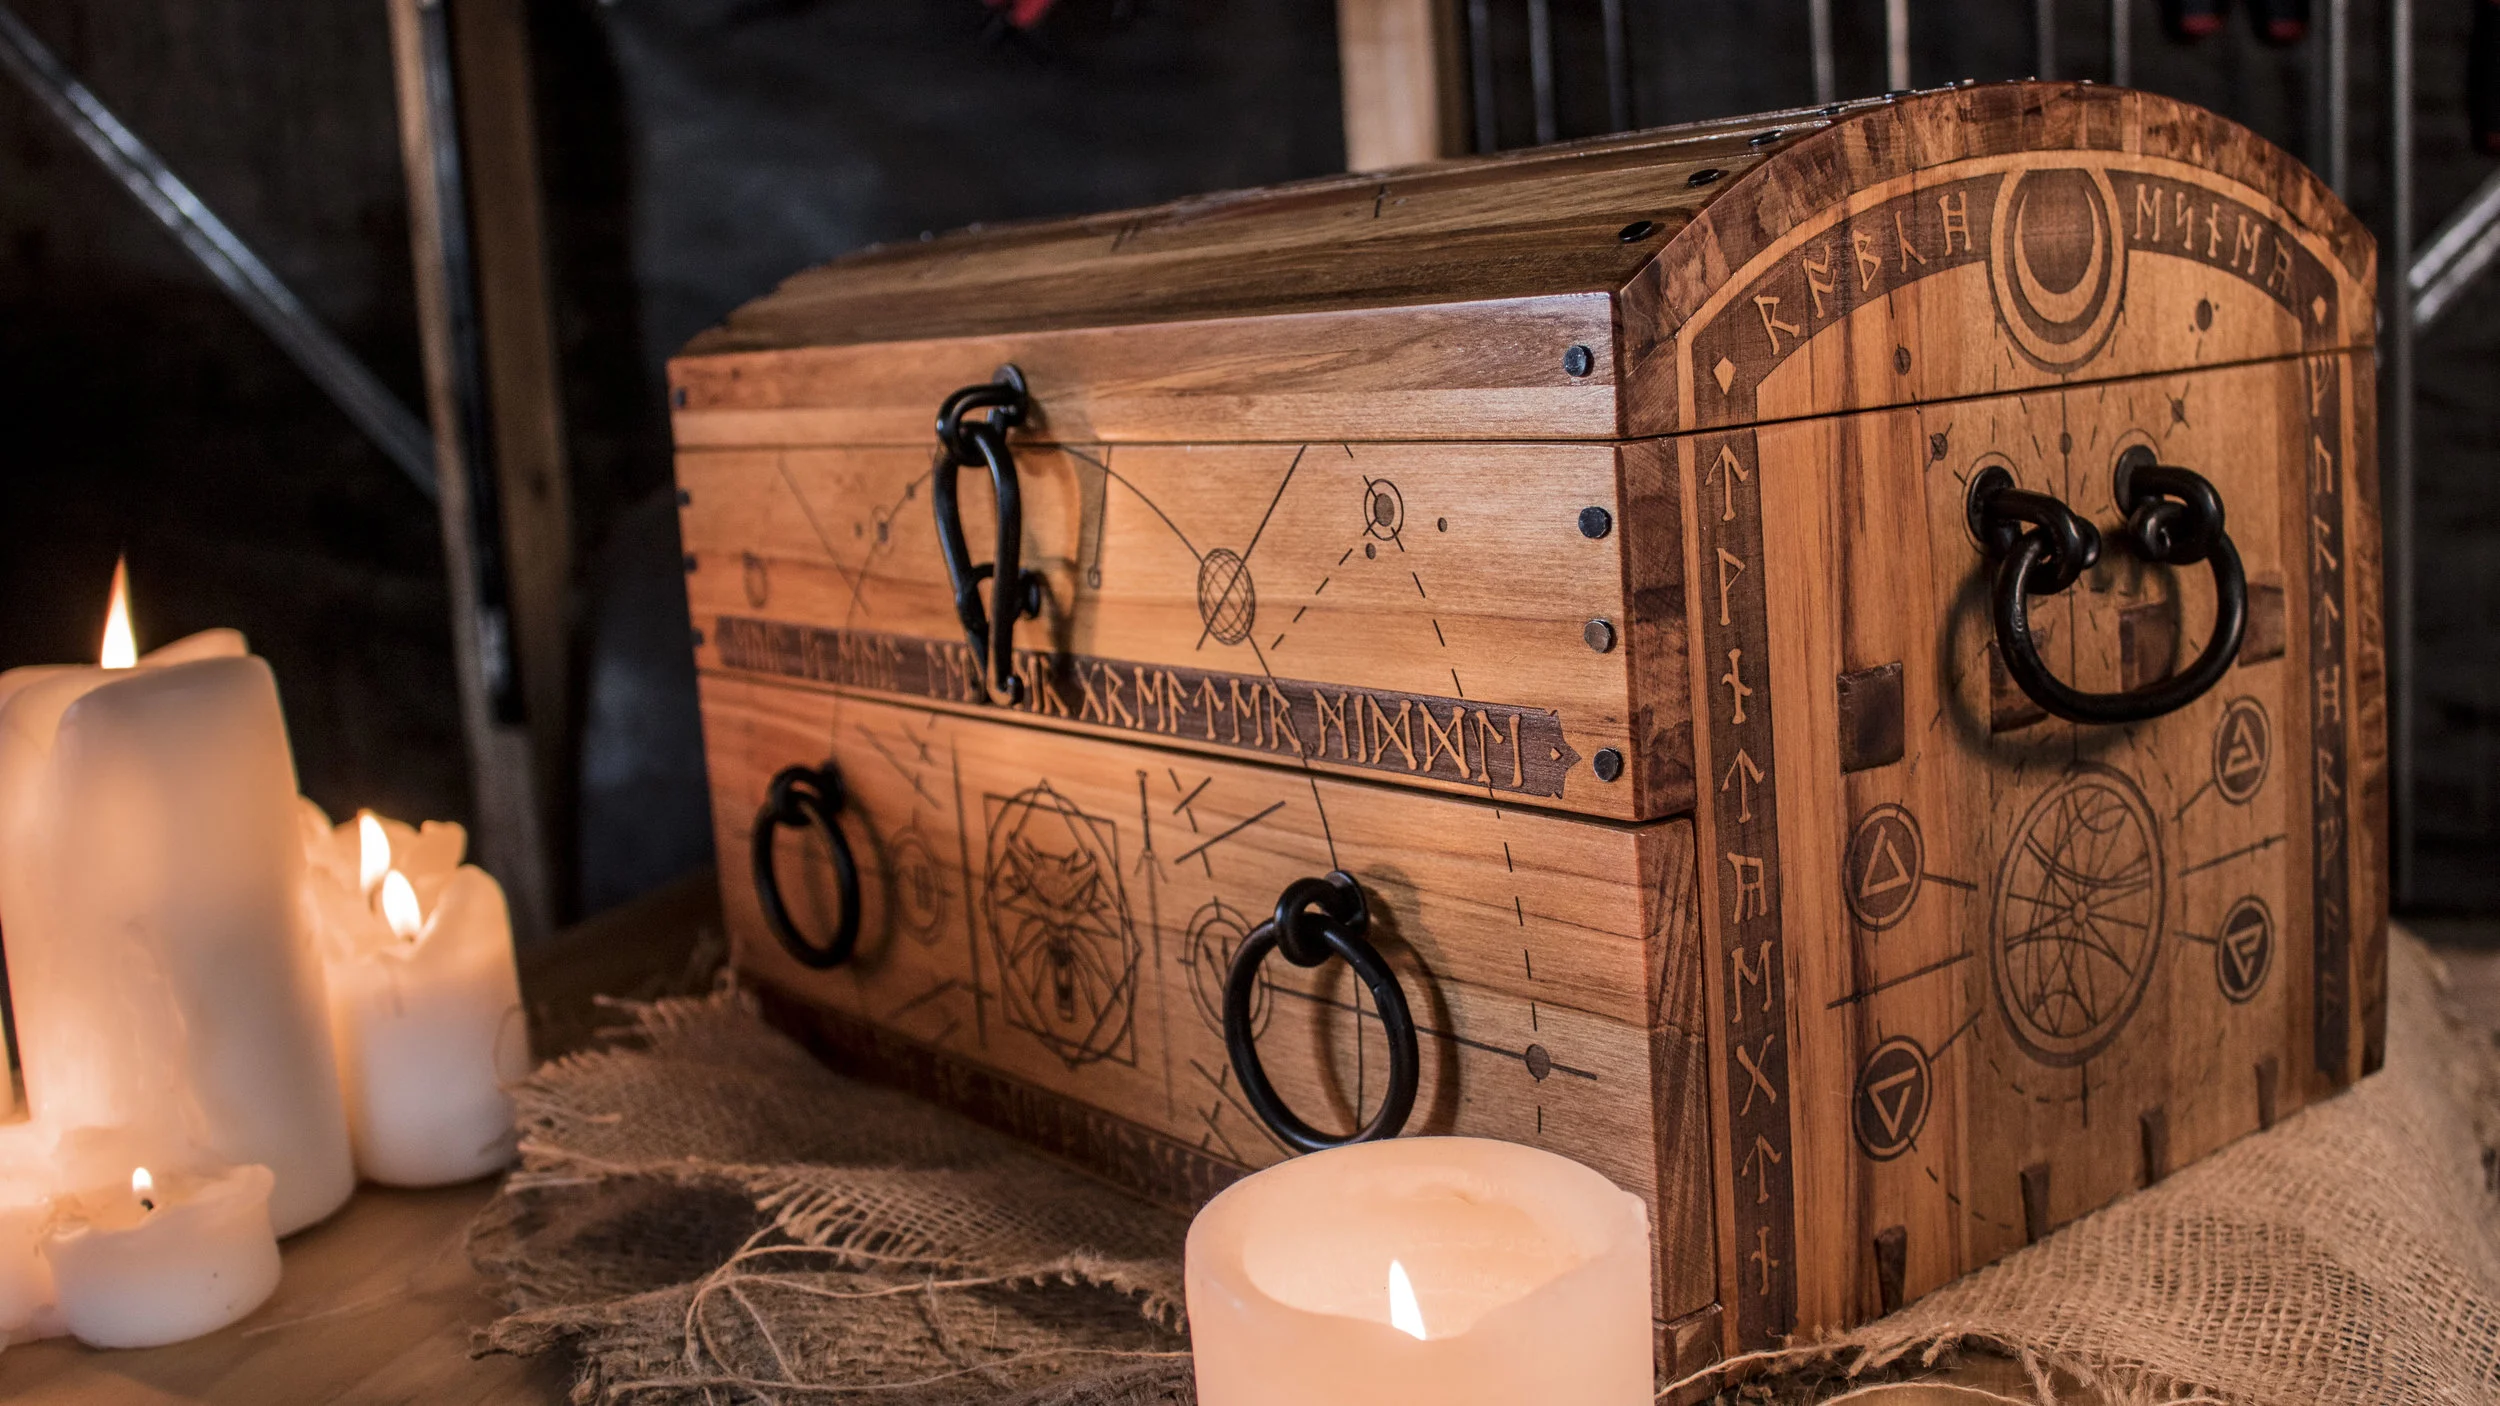


In Andrzej Sapkowski, The Last Wish, as Geralt is preparing to battle the Striga -
“The witcher returned to the dusty table at which he was preparing, calmly and meticulously. He knew he had plenty of time. The striga would not leave her crypt before midnight. On the table in front of him he had a small chest with metal fittings. He opened it. Inside, packed tightly in compartments lined with dried grass, stood small vials of dark glass. The witcher removed three."
If you’ve never heard of the Witcher series, basically it’s set in a medieval fantasy world, with your usual array of humans, elves, dwarves, magic and monsters.
Witchers, are professional monster hunters, who travel from village to village to solve monster related issues for money. This chest would be used to hold alchemy tools and potions and what not.
CHECK OUT THE BUILD VIDEO
If you would like a copy of the artwork, hit the link to download a PDF version.
If you prefer reading to watching, the following is a written version of the build video above.

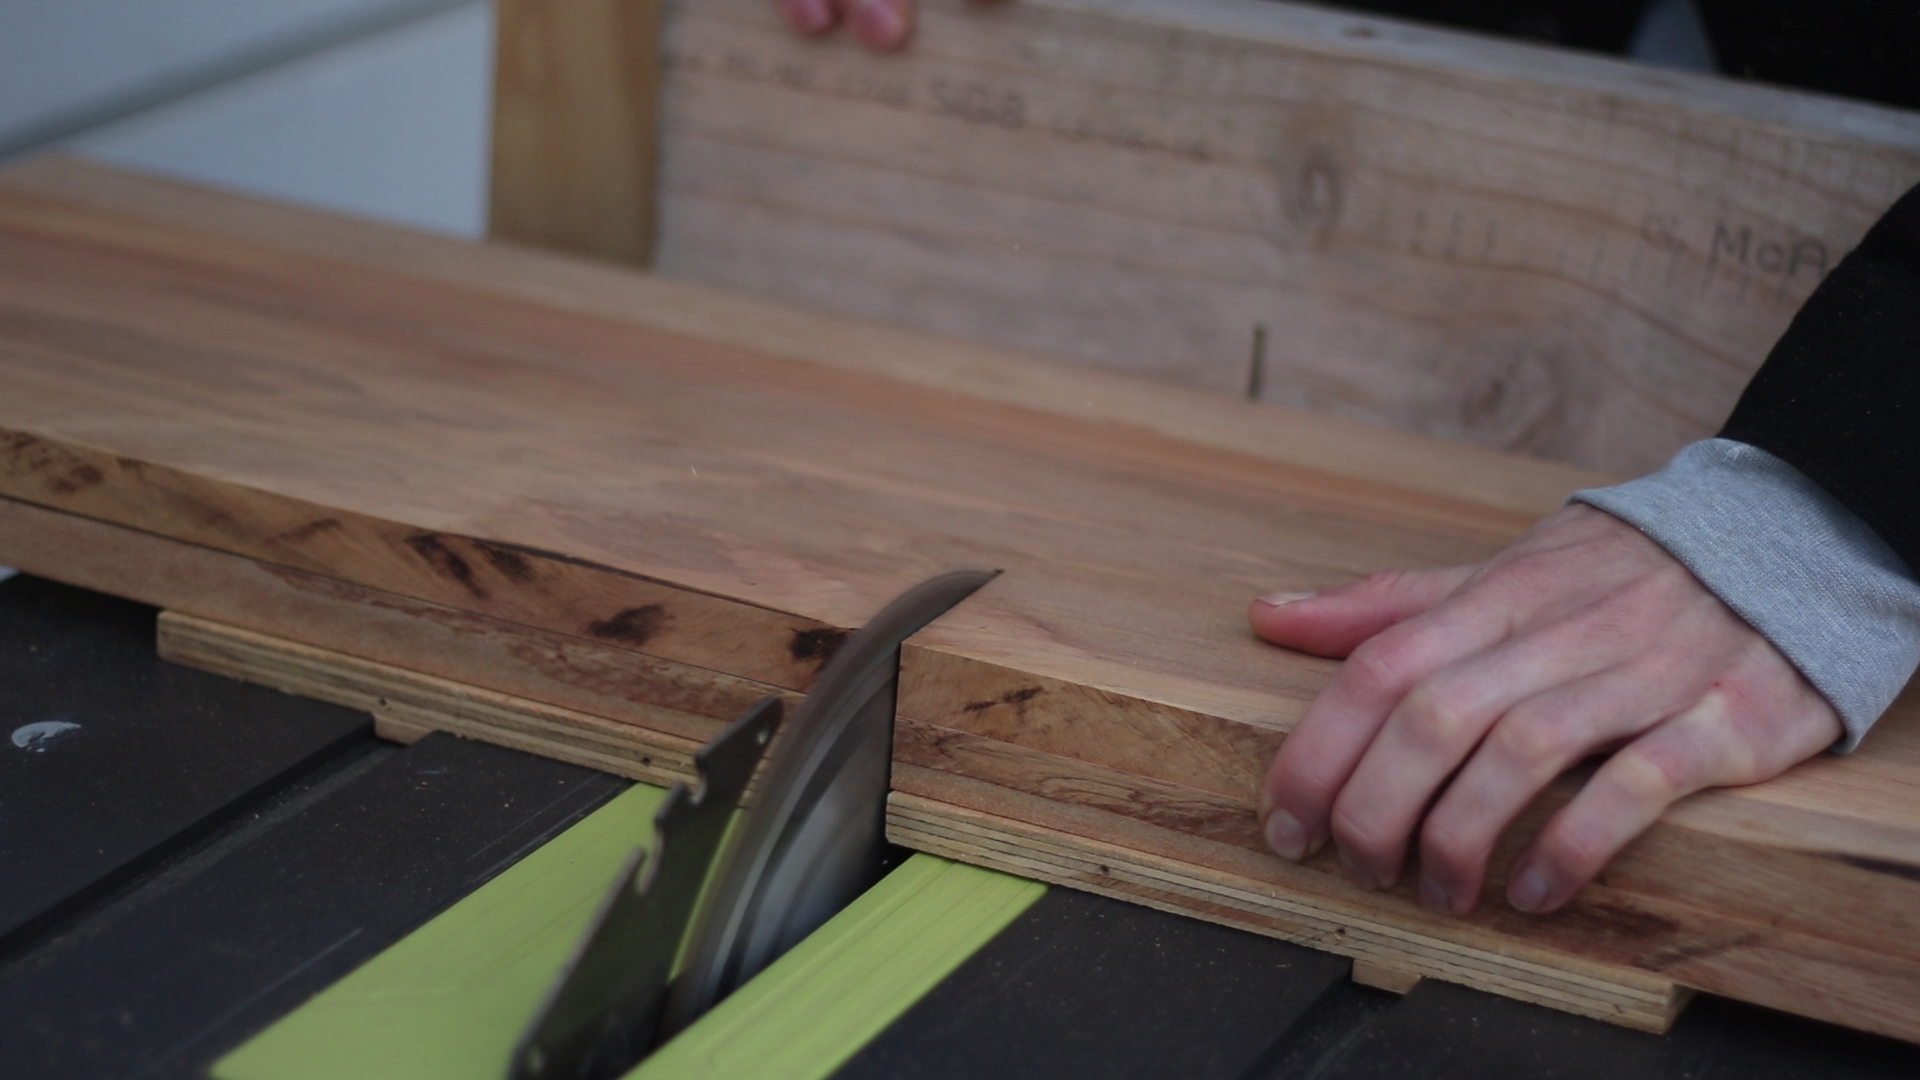
The timber I’m using for this build was rescued from the landfill and I believe it’s a New Zealand native species called Rimu.
I’m trimming up these boards to get them nice and square and flat, as their going to become the main carcass of the chest.
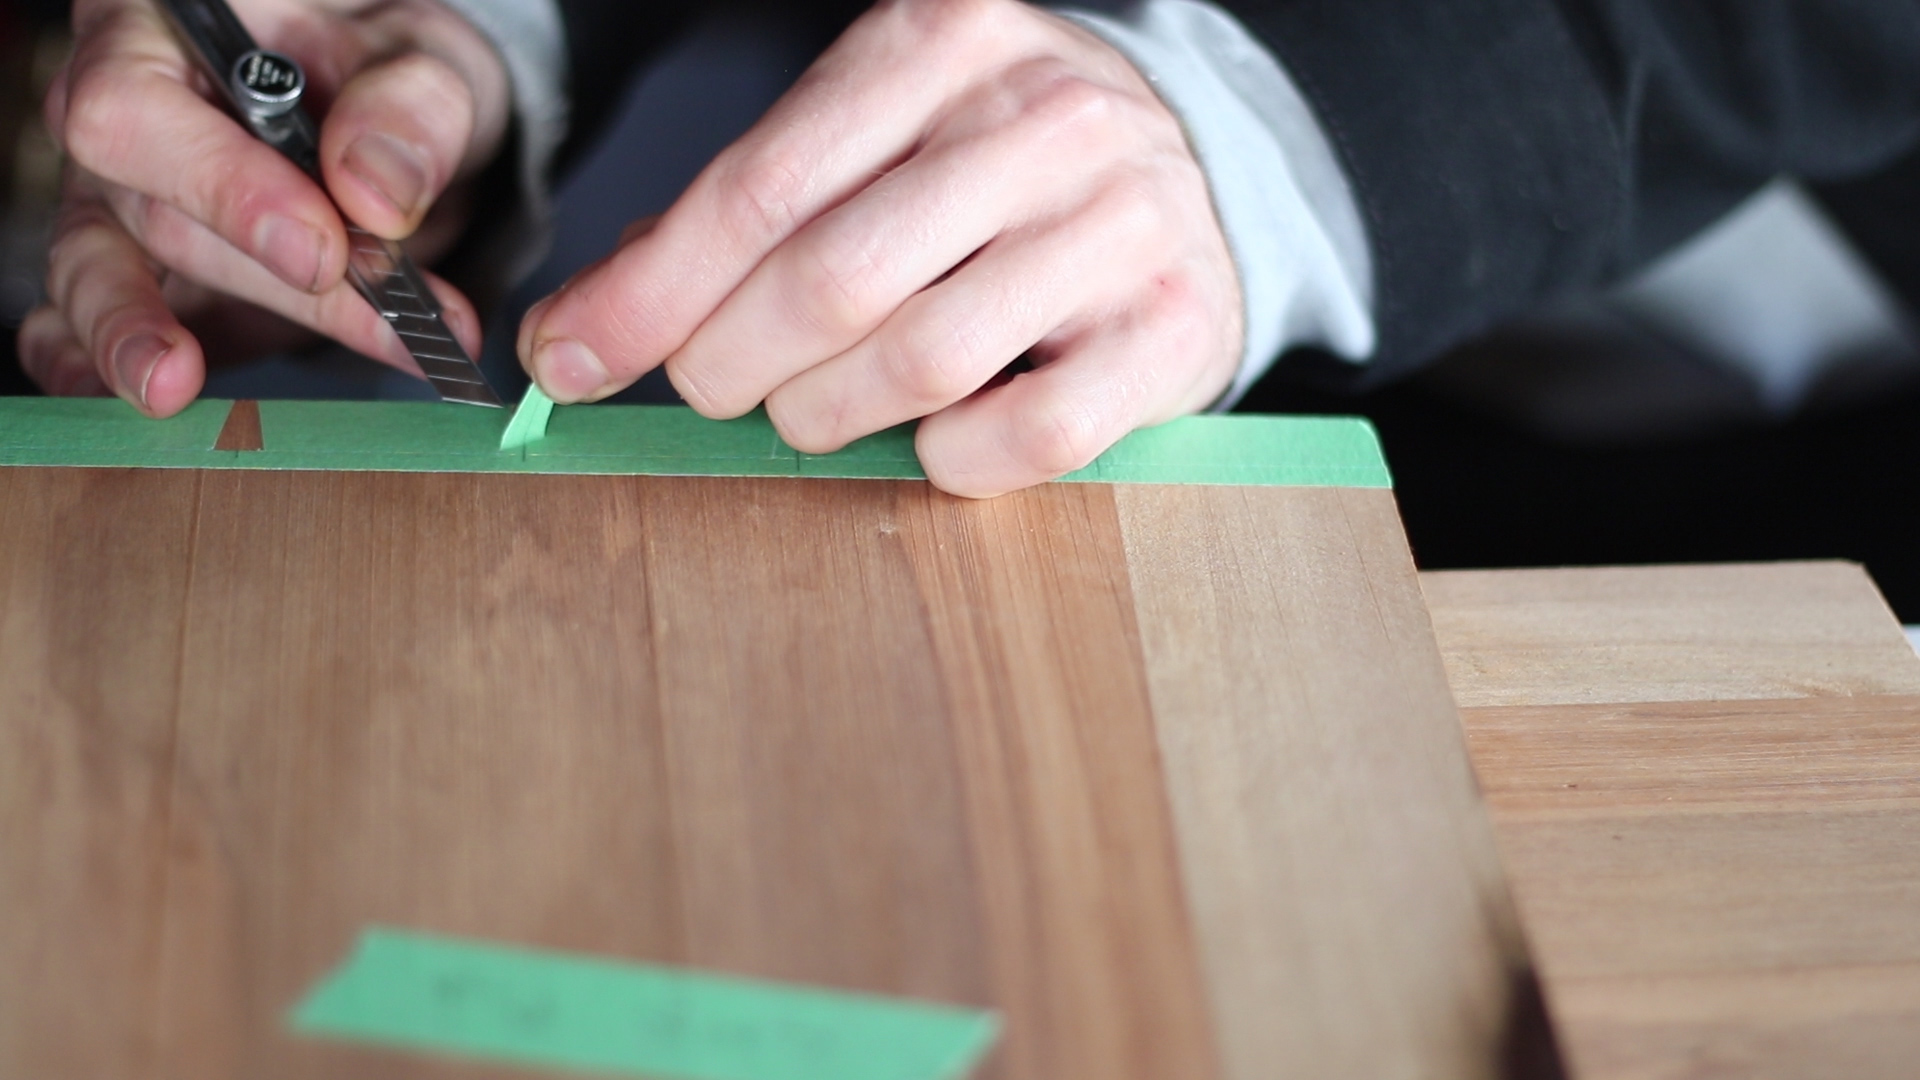
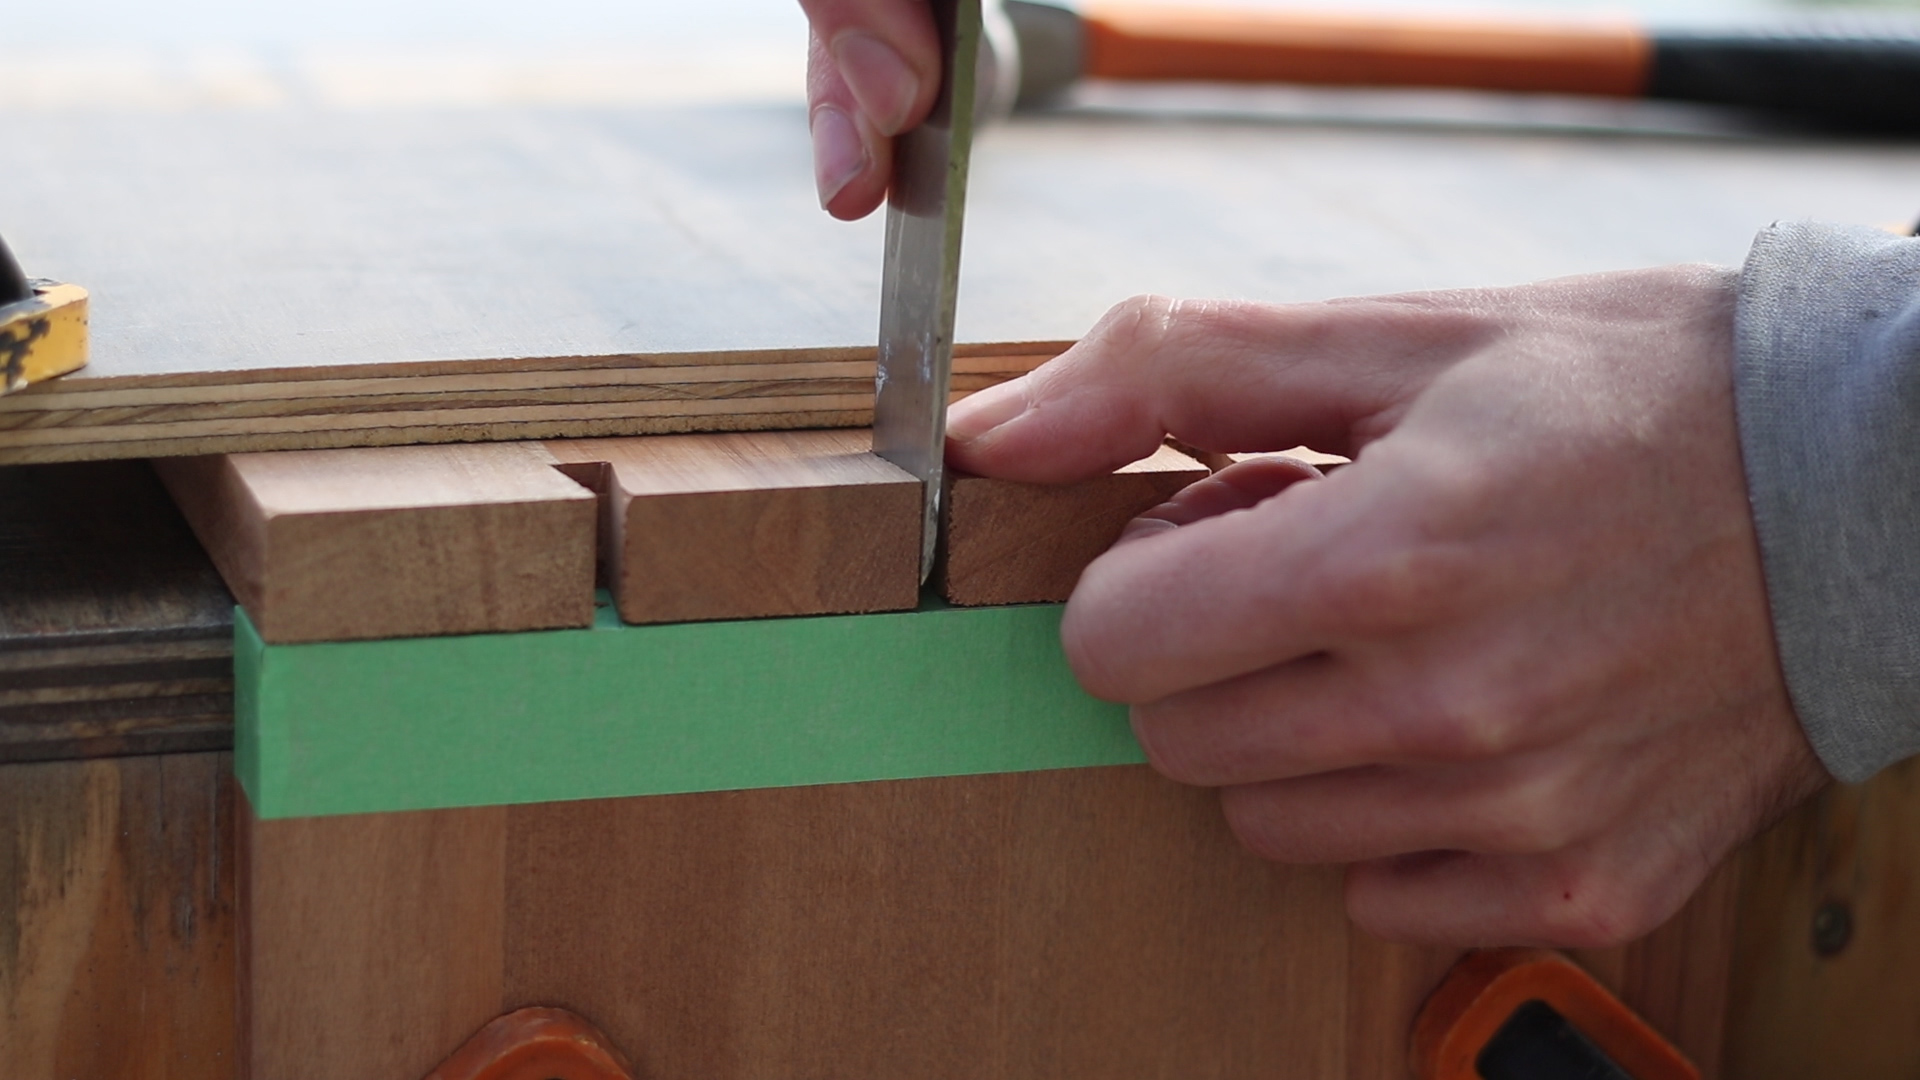
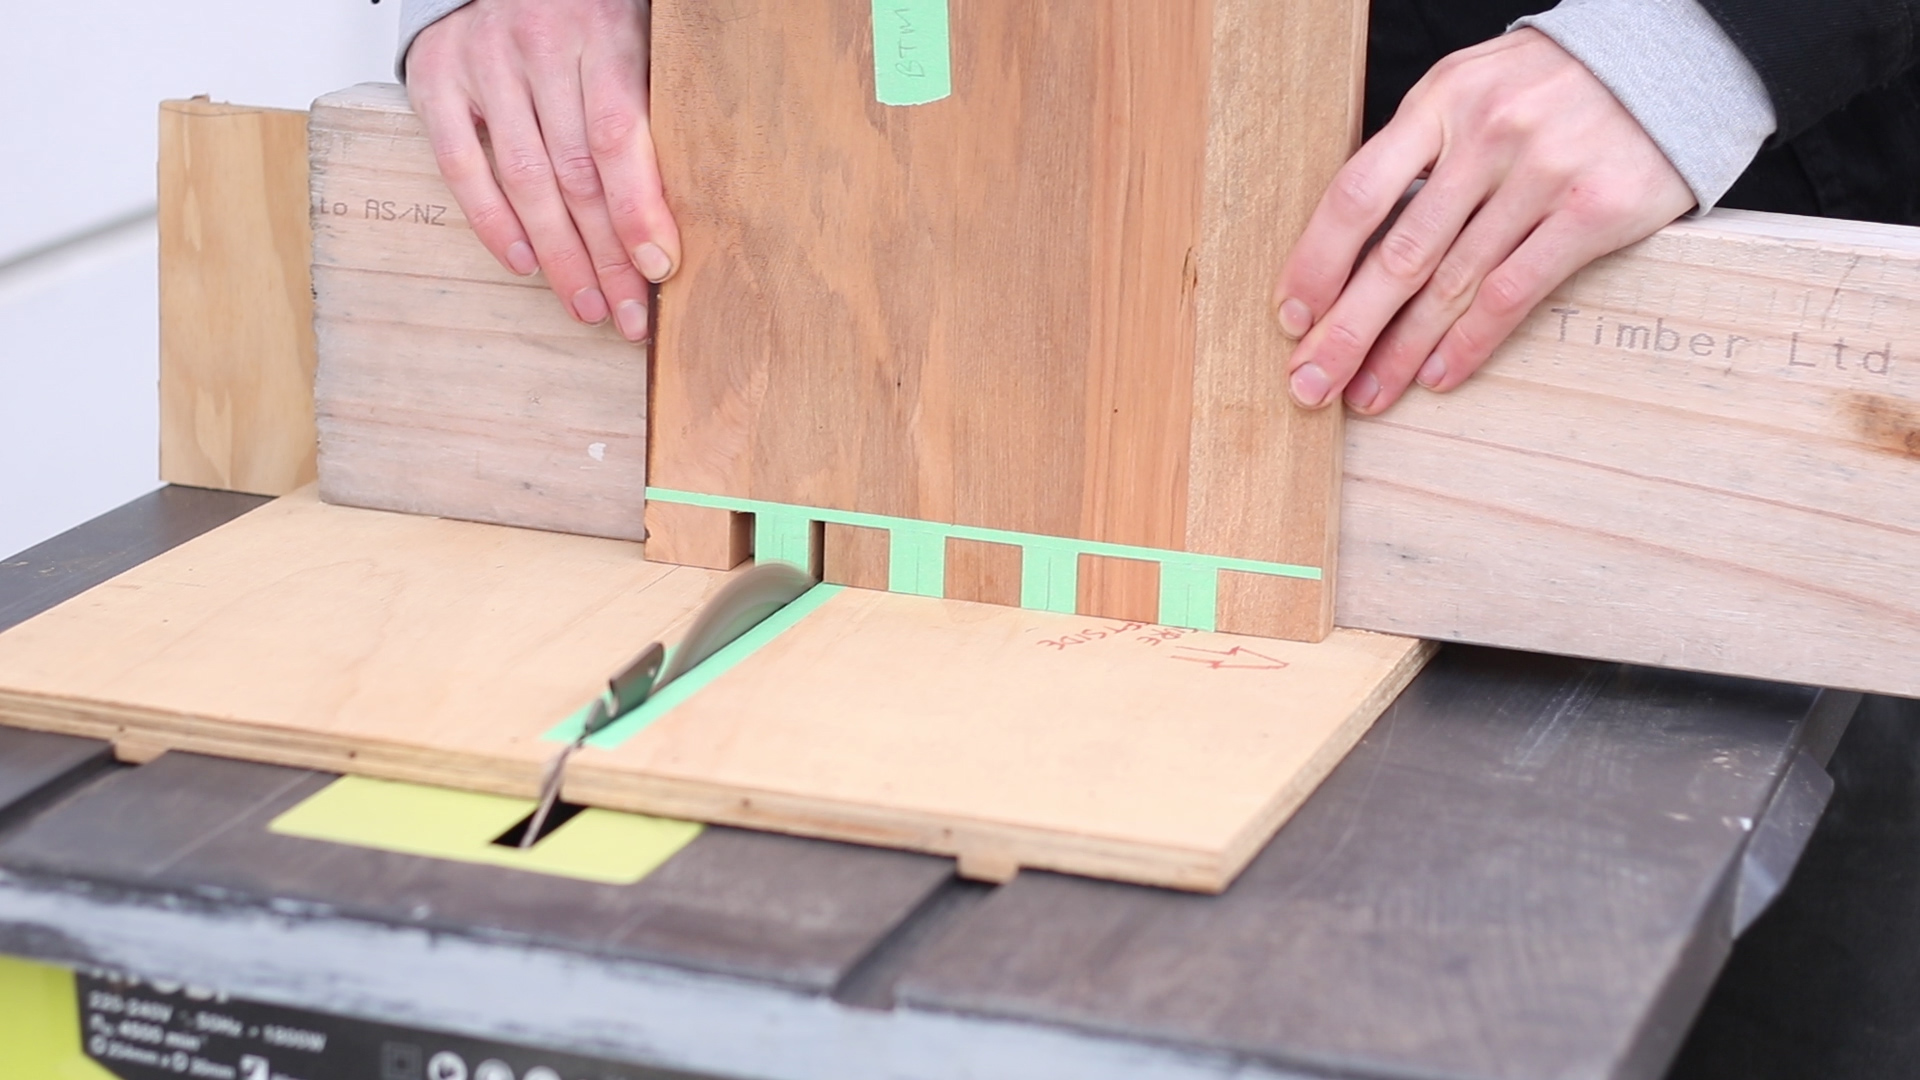
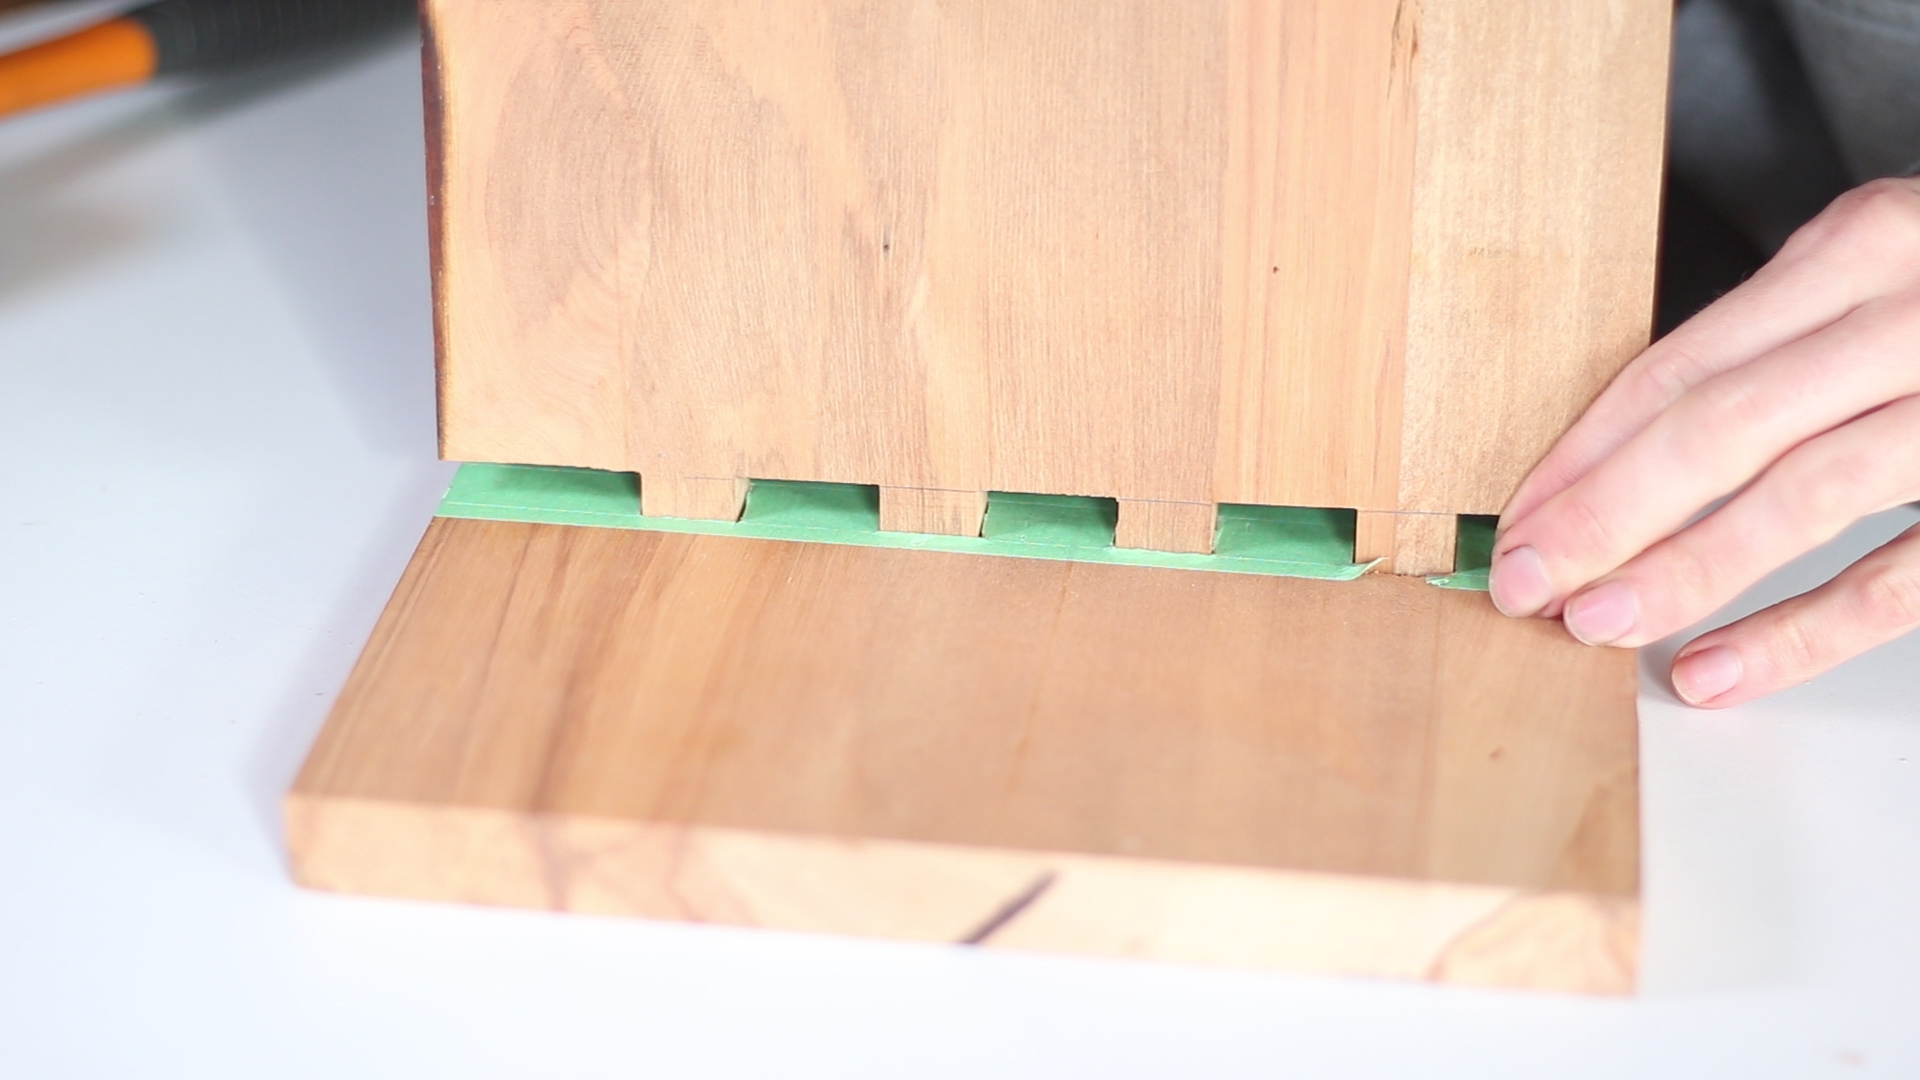
To layout the dovetails, I thought I’d try a new method. Which is to place masking tape down over the join areas, so when I score my lines in I can peel away the tape, and have a very clear and precise edge to work from.
In my experience, the clearer your layout lines the better your joinery will be. So this really helps, especially in situations where you’re working in a dimly lit shed.
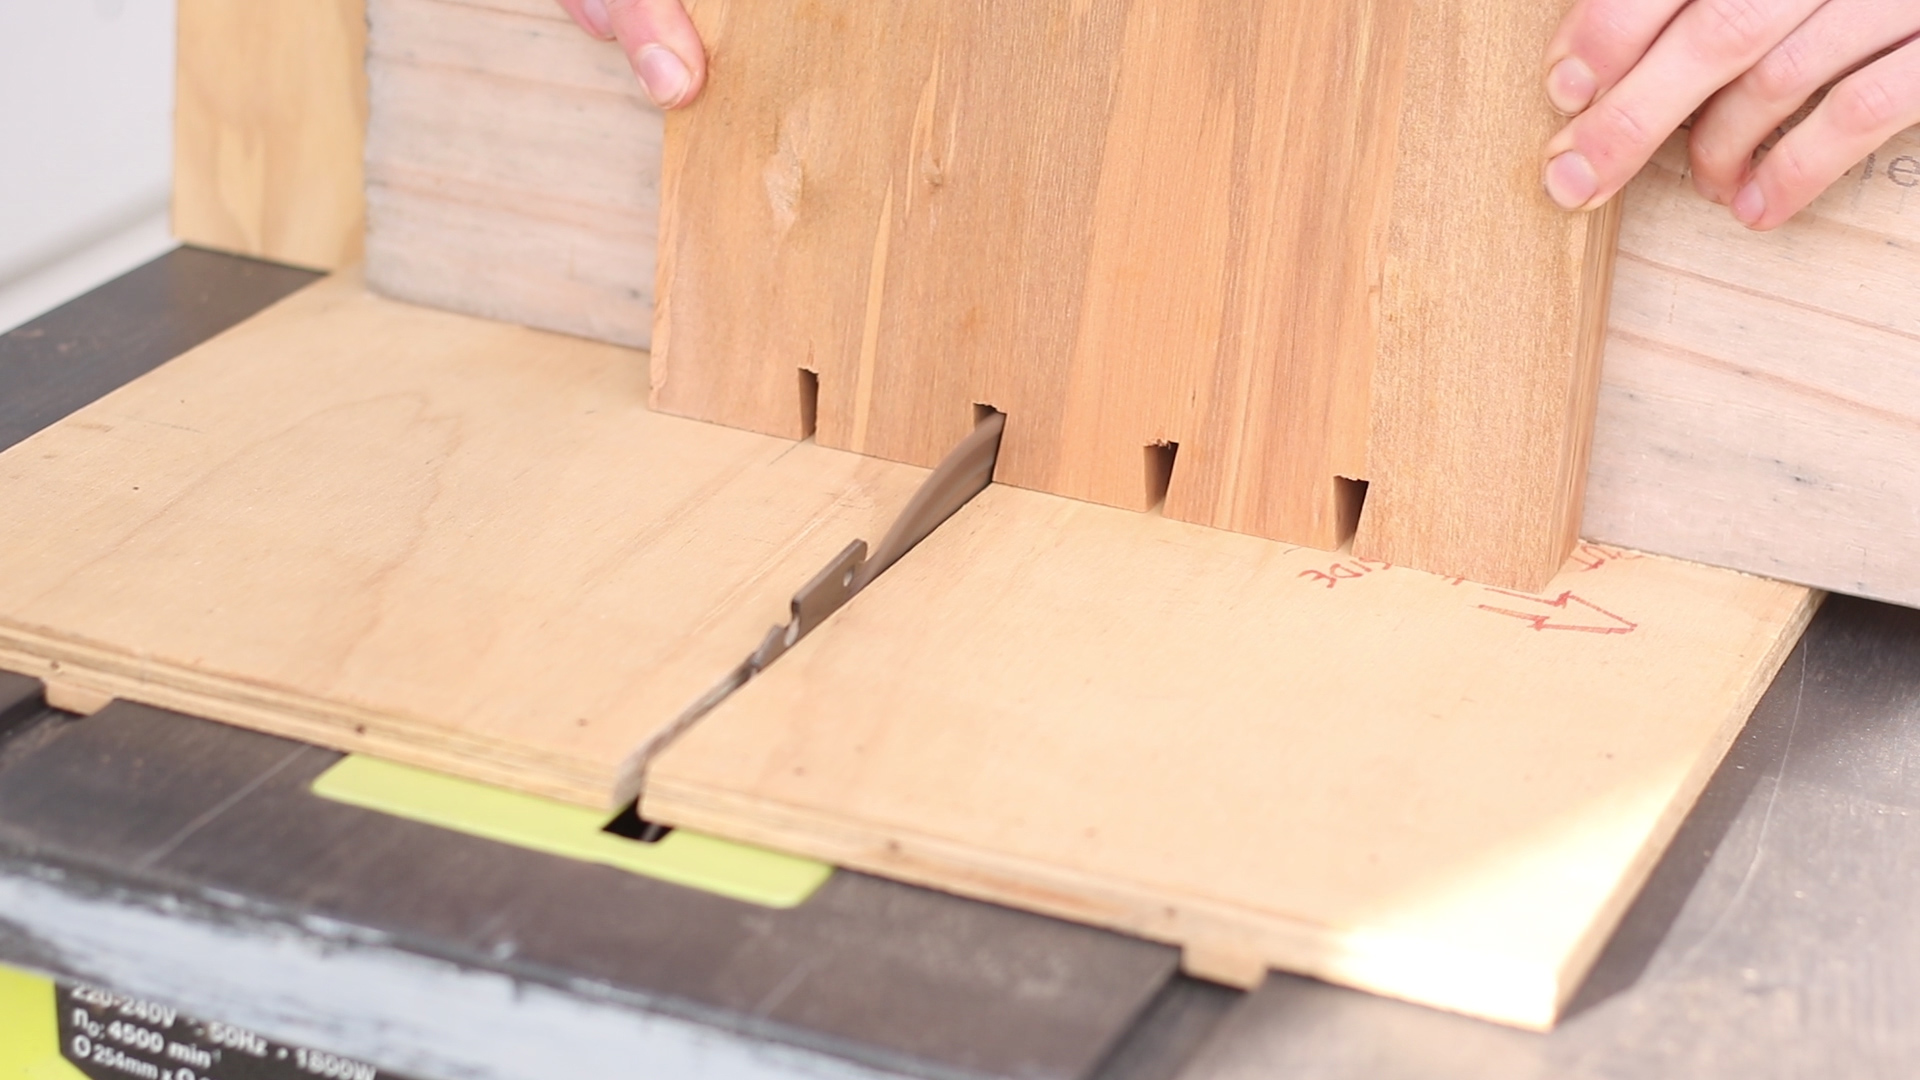
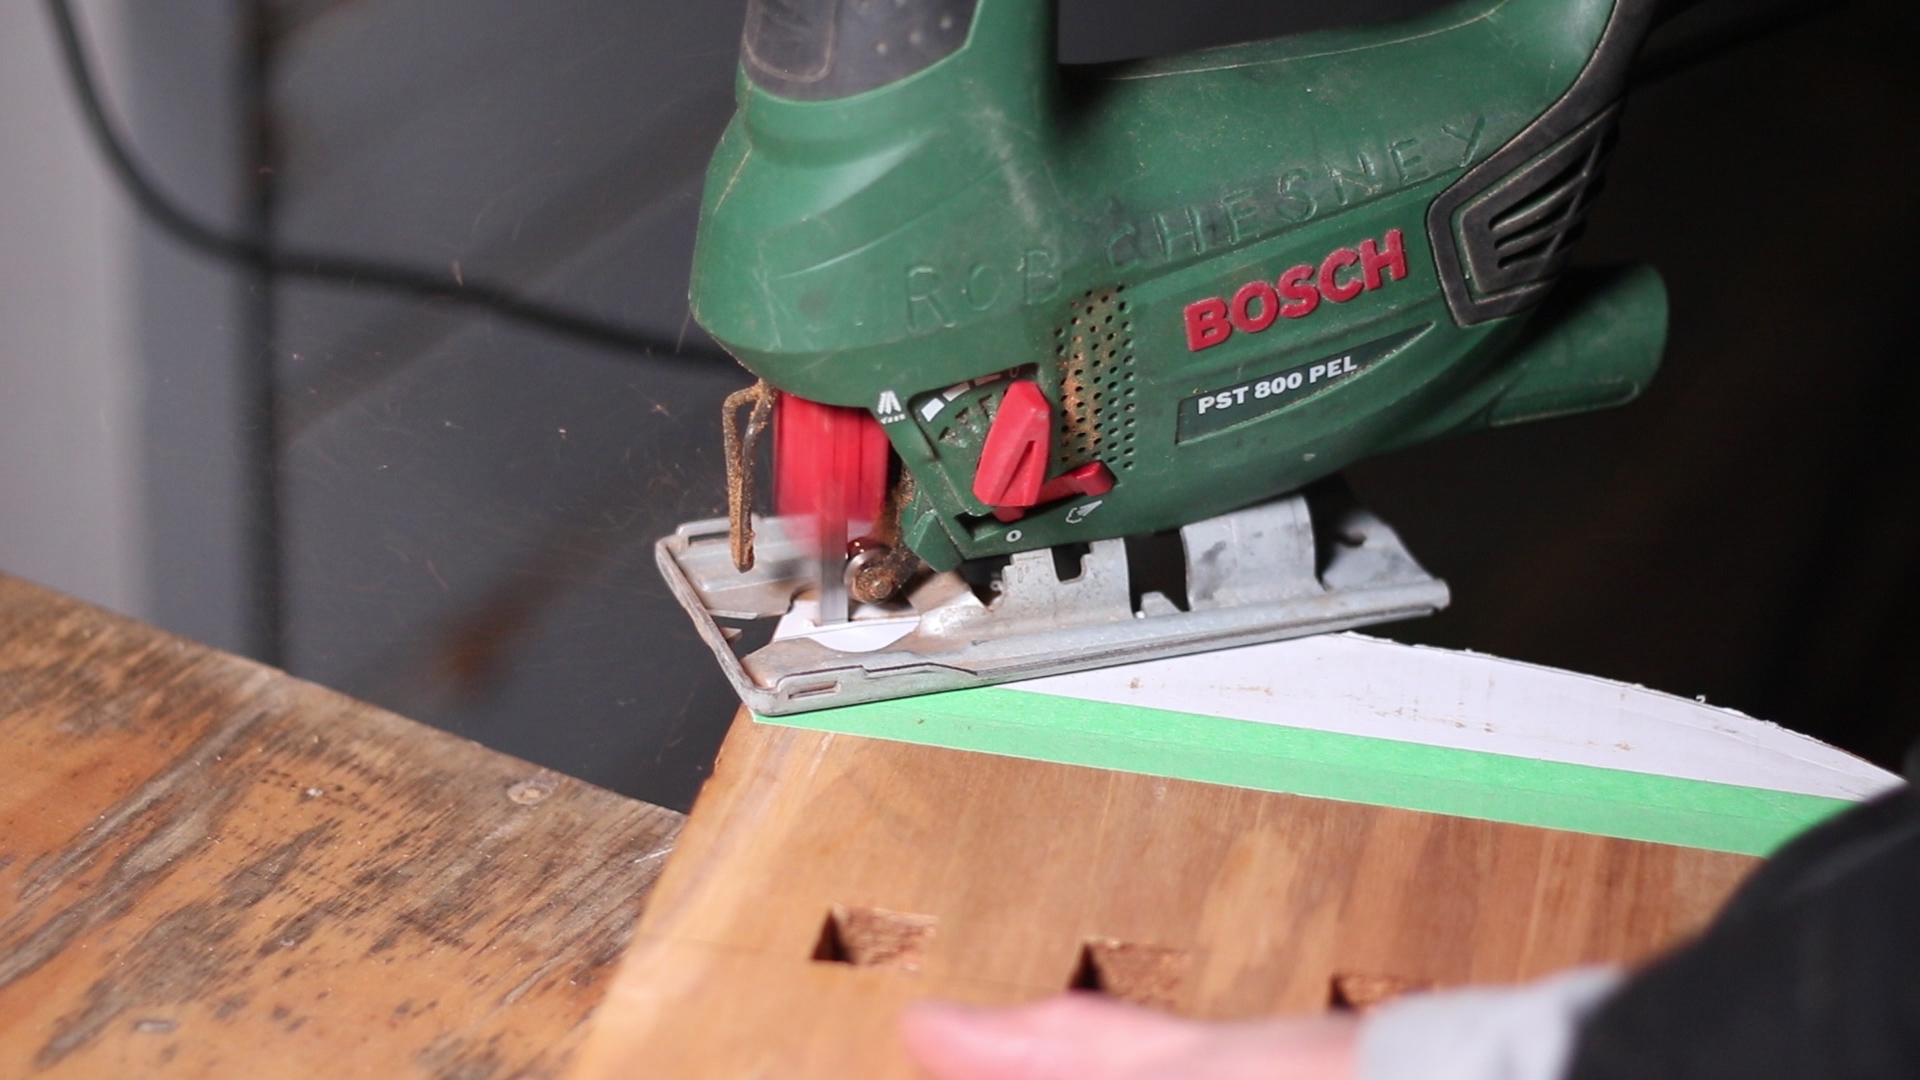
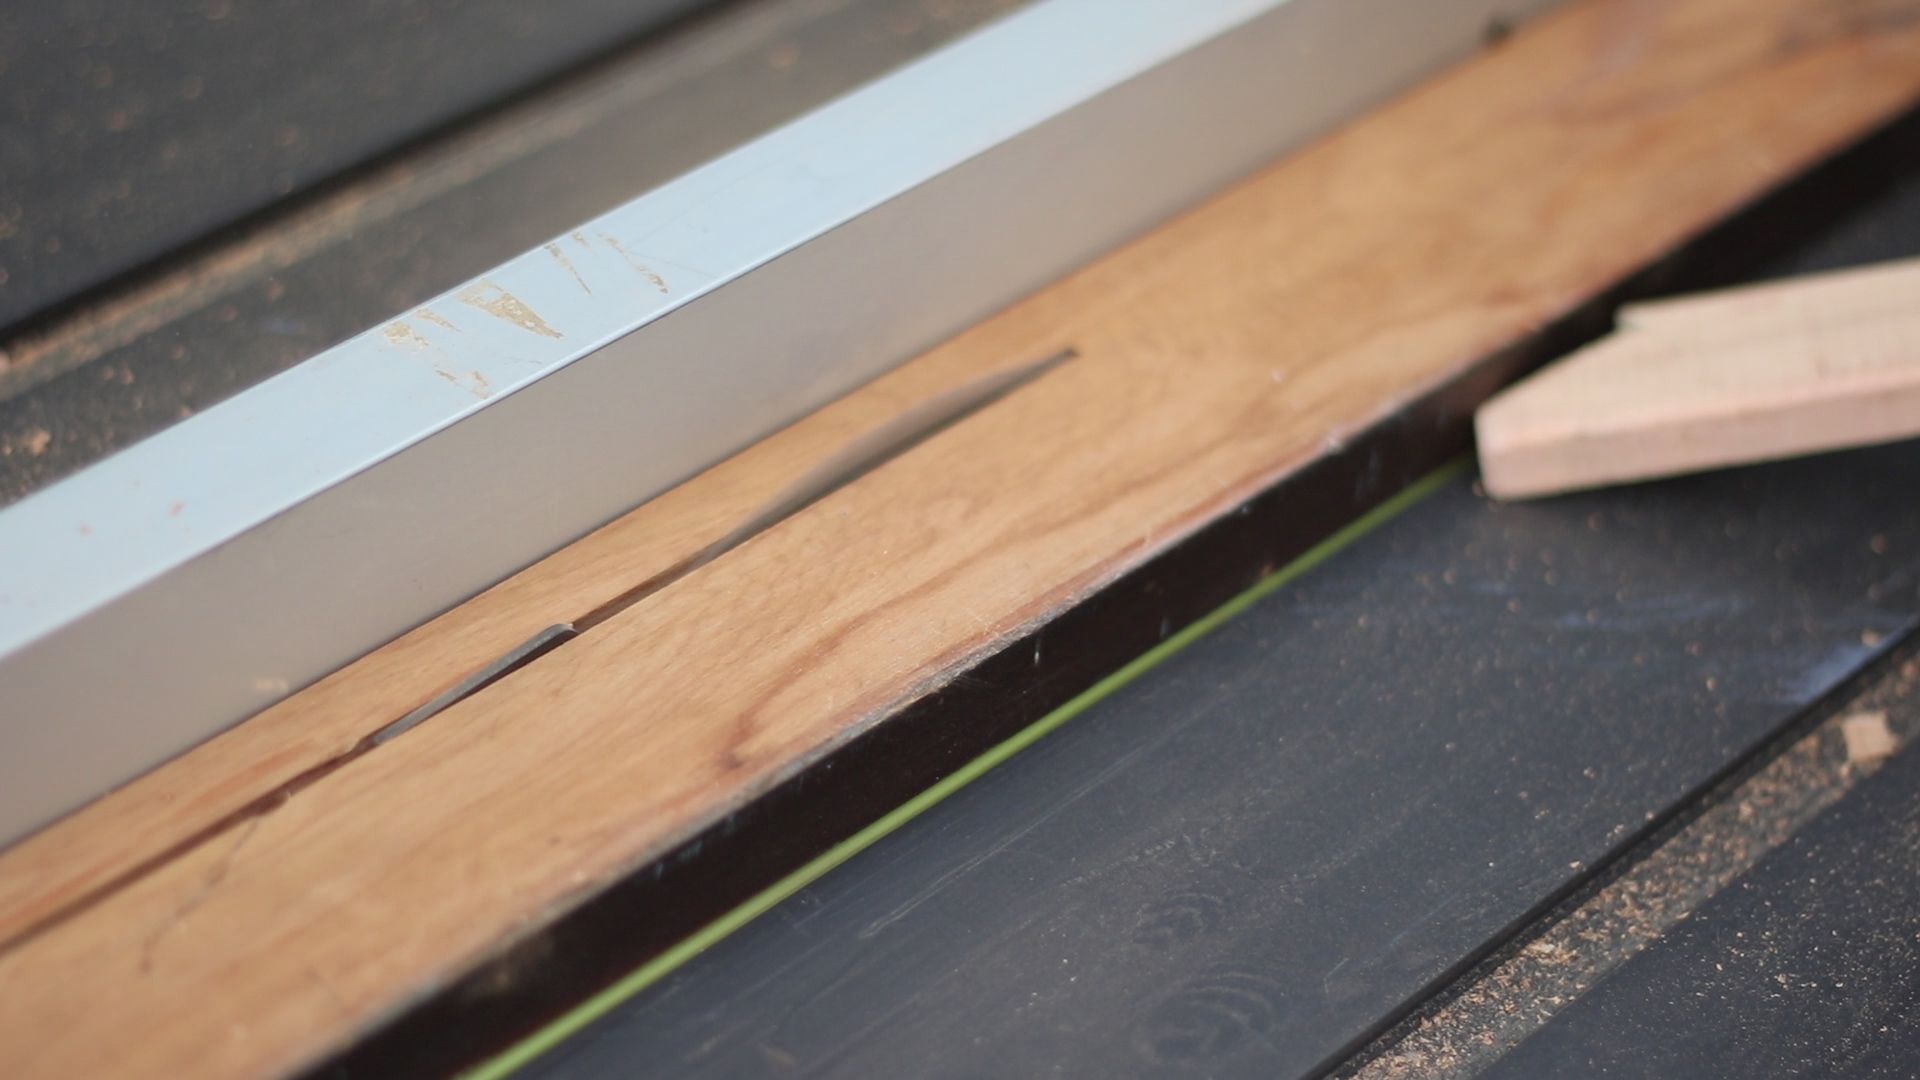
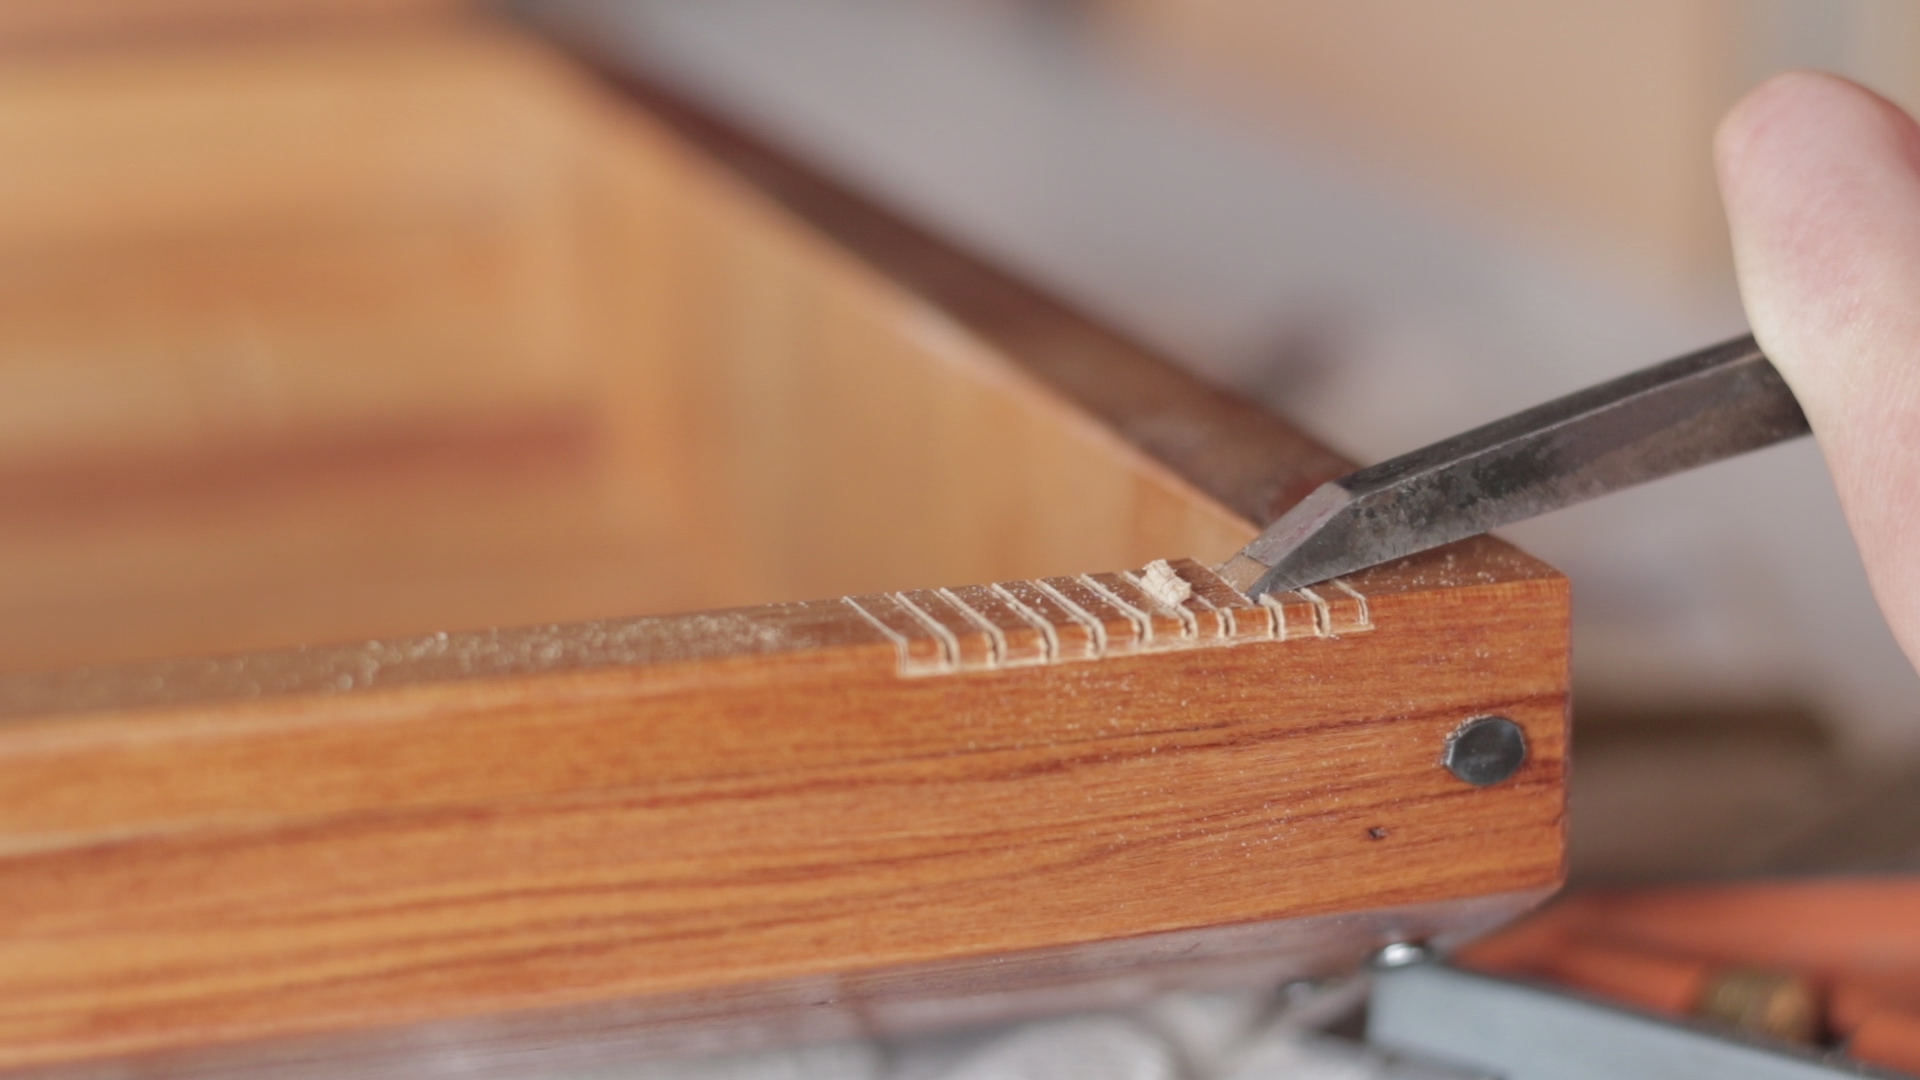
While I could’ve cut these by hand, I’m a big believer in choosing your battles. Cutting the tails with tablesaw is straightforward and saves a lot of time, and is fairly idiot proof on a cheap wobbly tablesaw like this, as any accuracy errors you make here can just be accommodated when you mark out the pins.
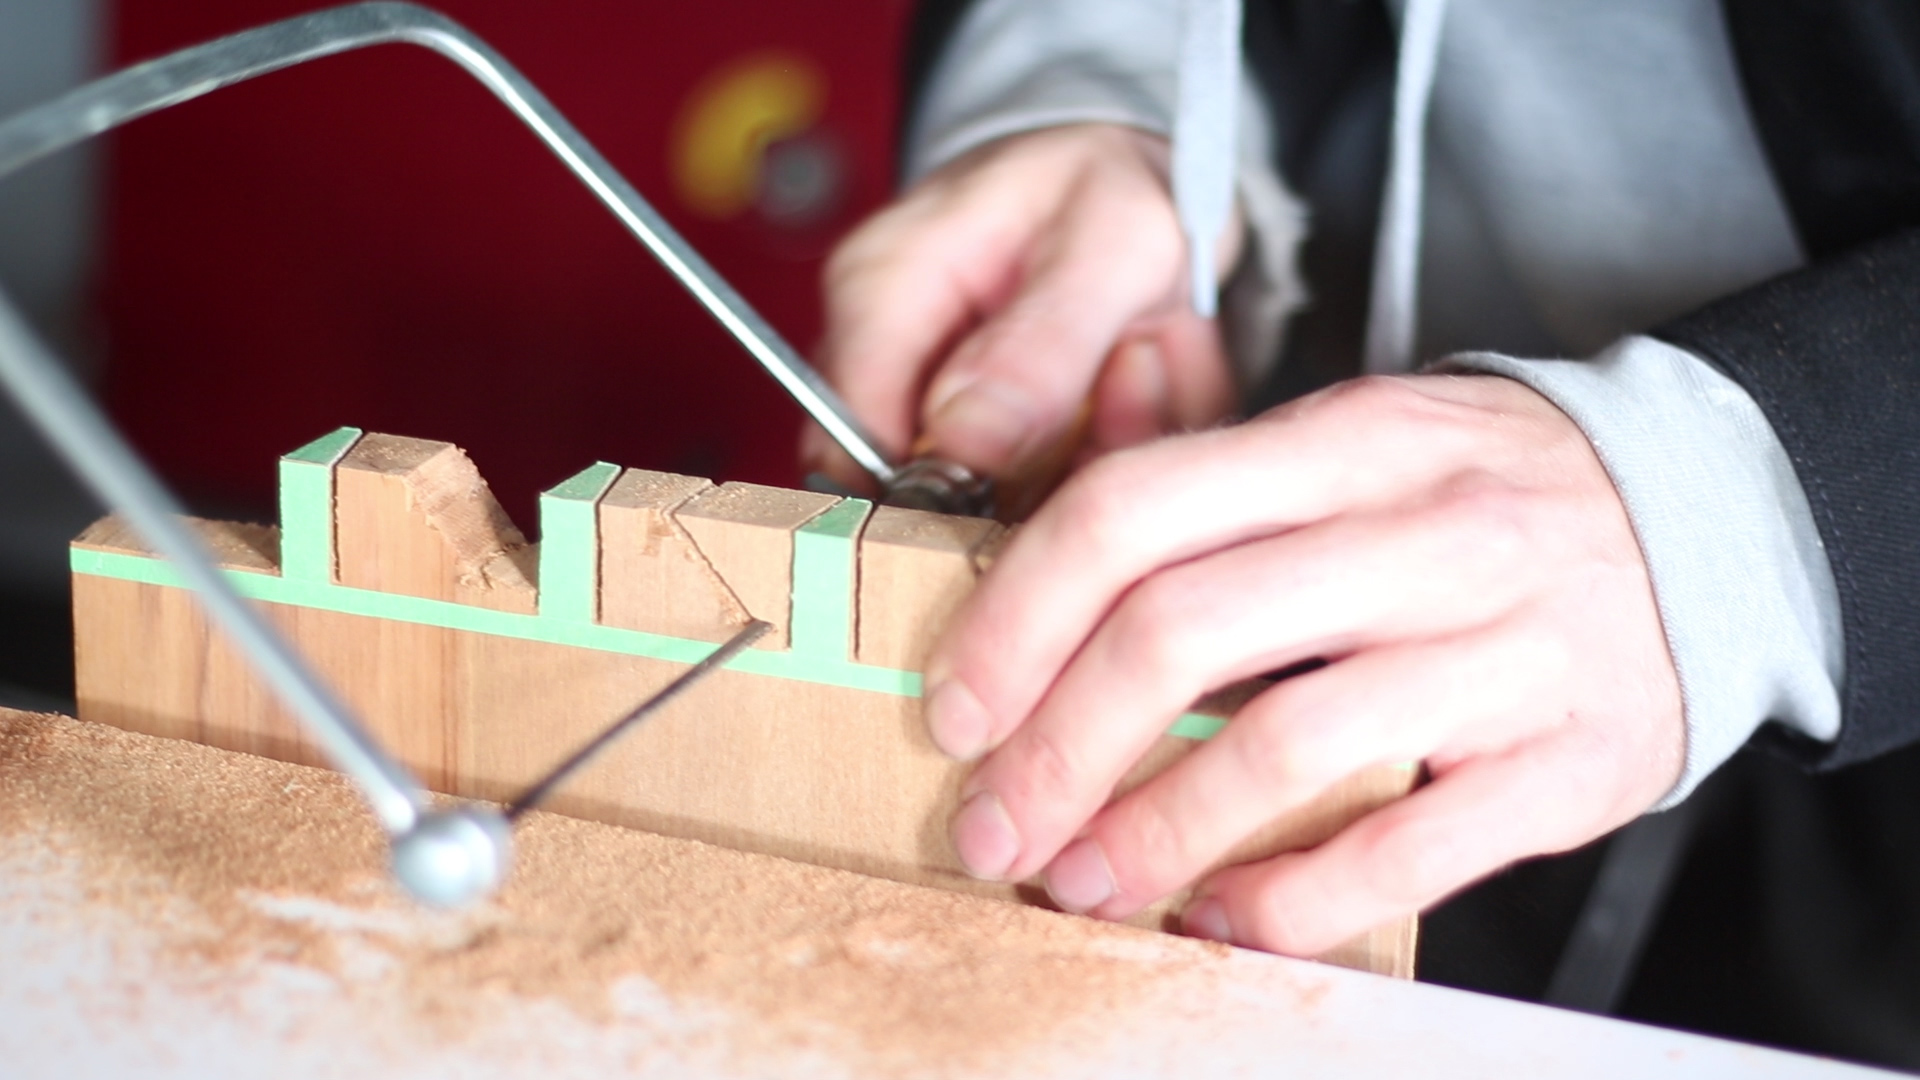
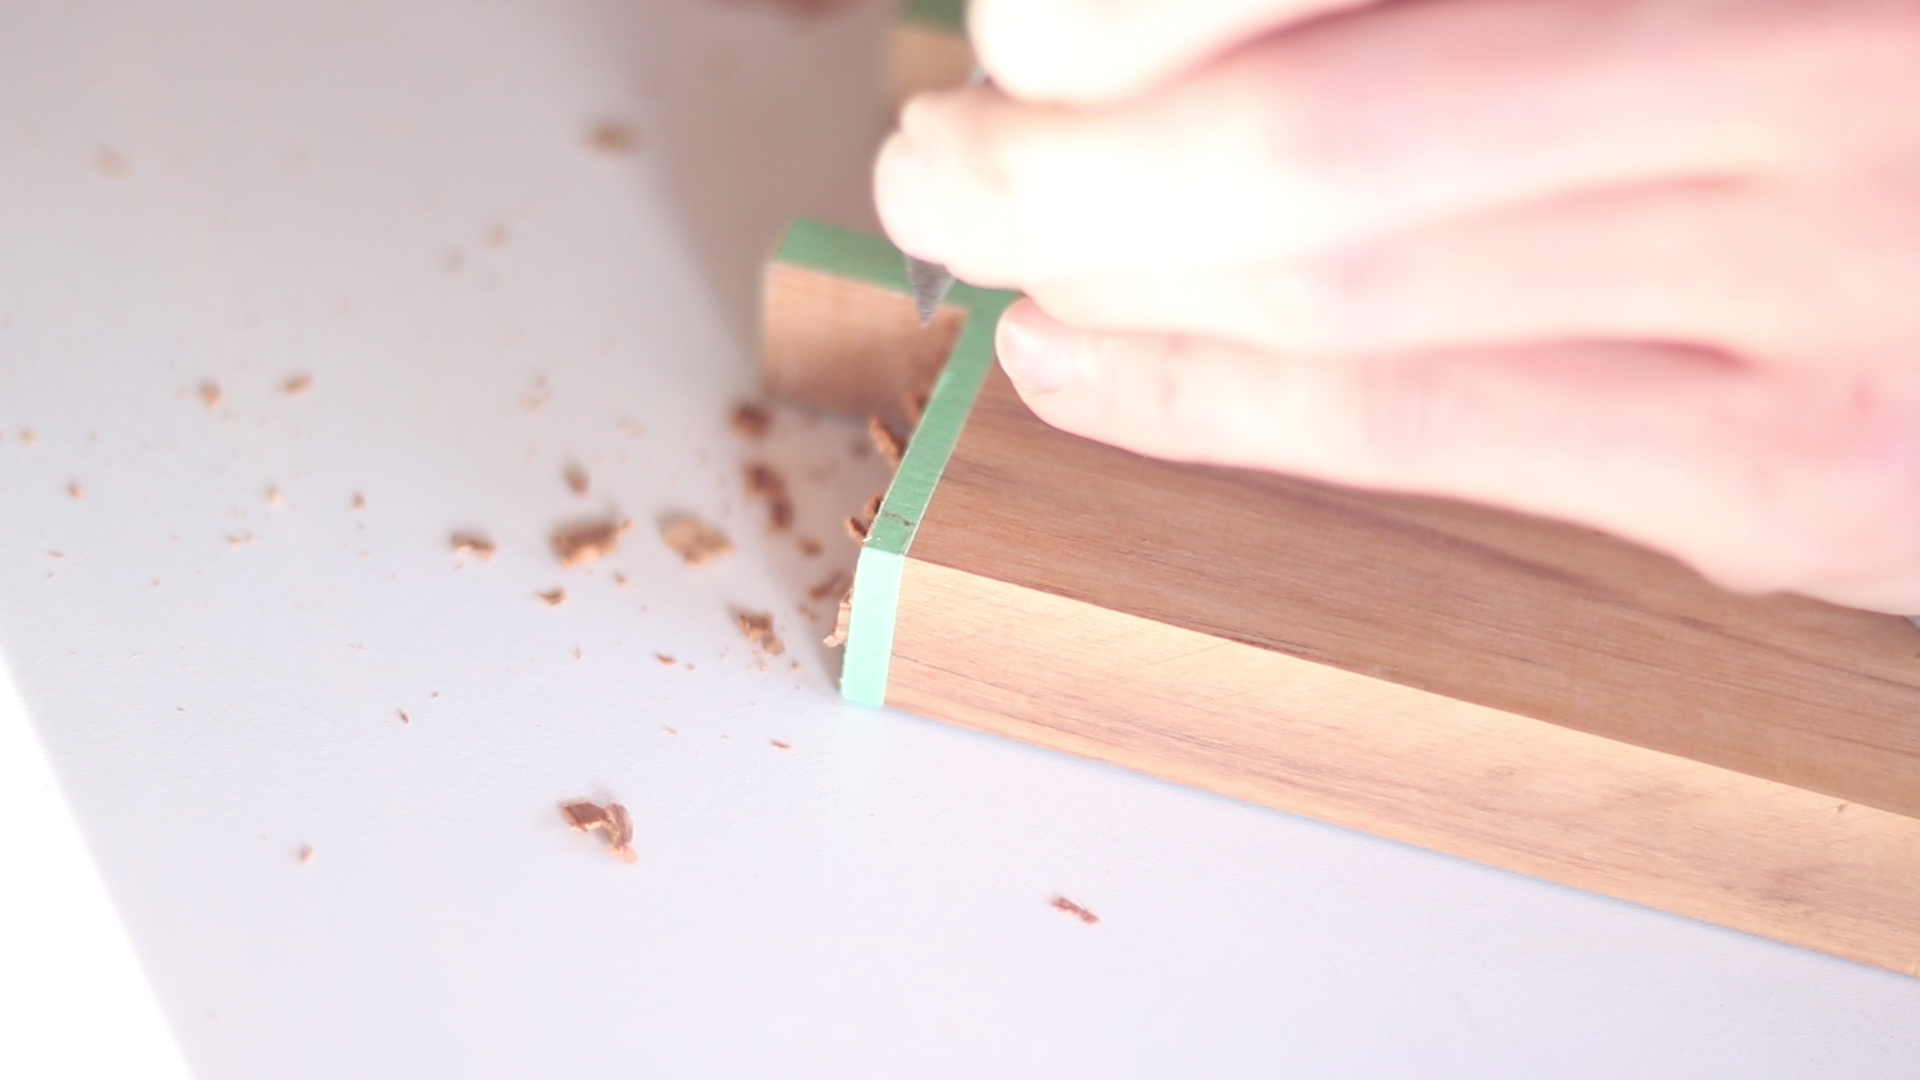
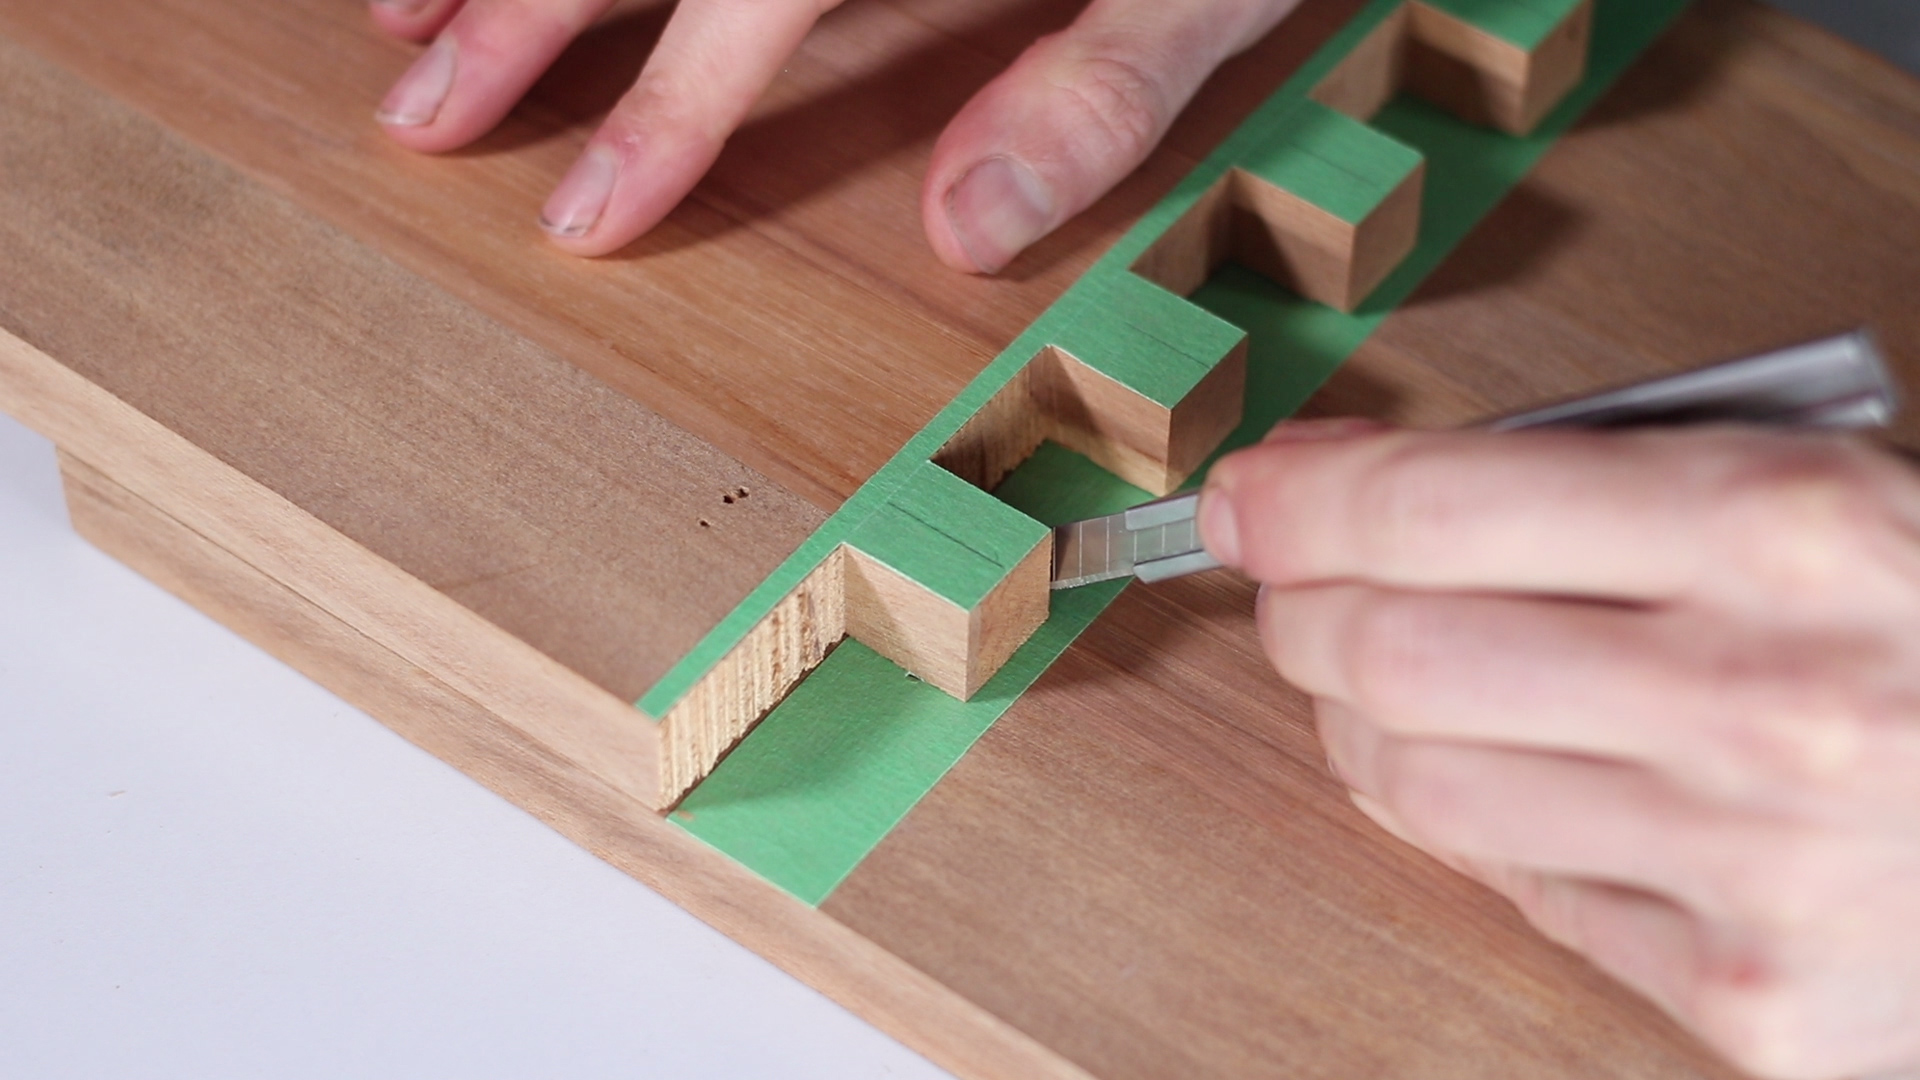
I couldn’t think of a good powered way to cut the pins, and I figured by the time I made a jig I could have just cut them all by hand anyway. So here I am doing it the old fashioned way.
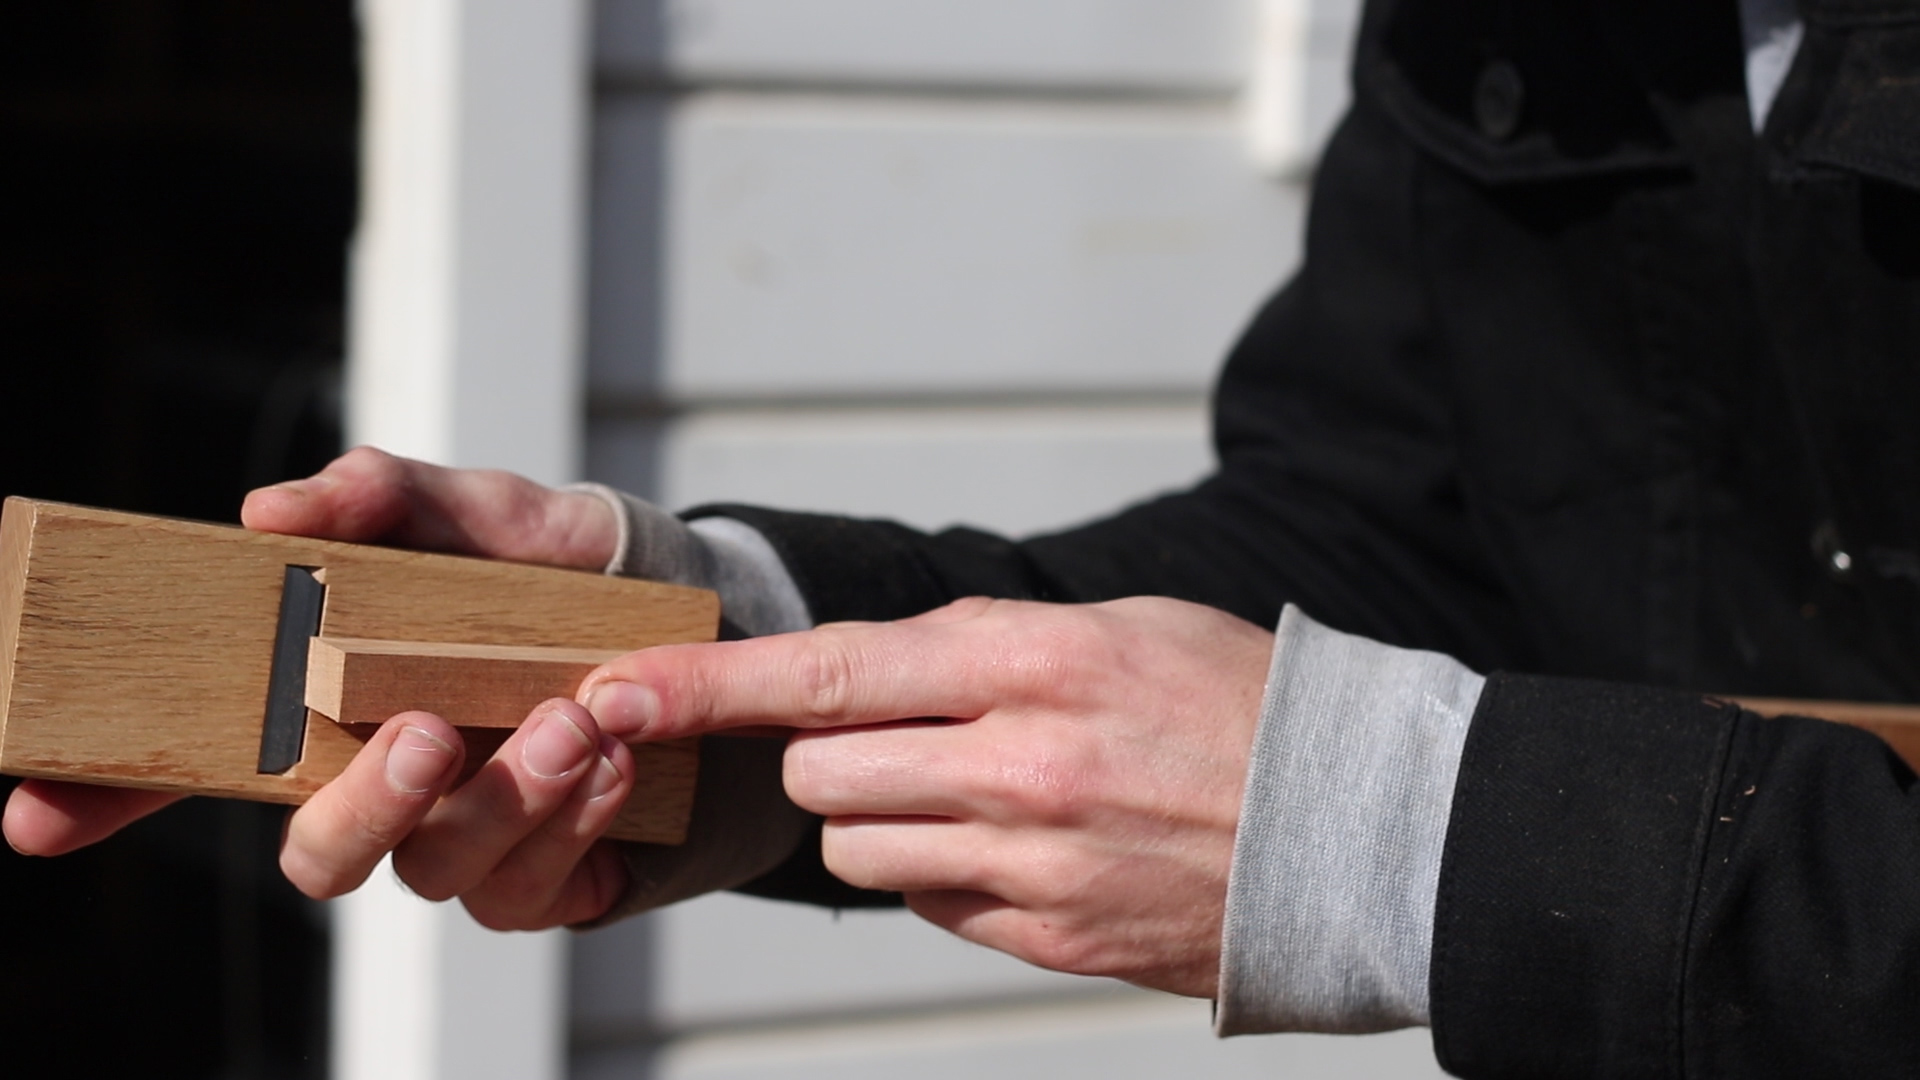
I’d like to pretend that these were a perfect fit straight away, but there was some back and forthing with the chisel to get the fit right.
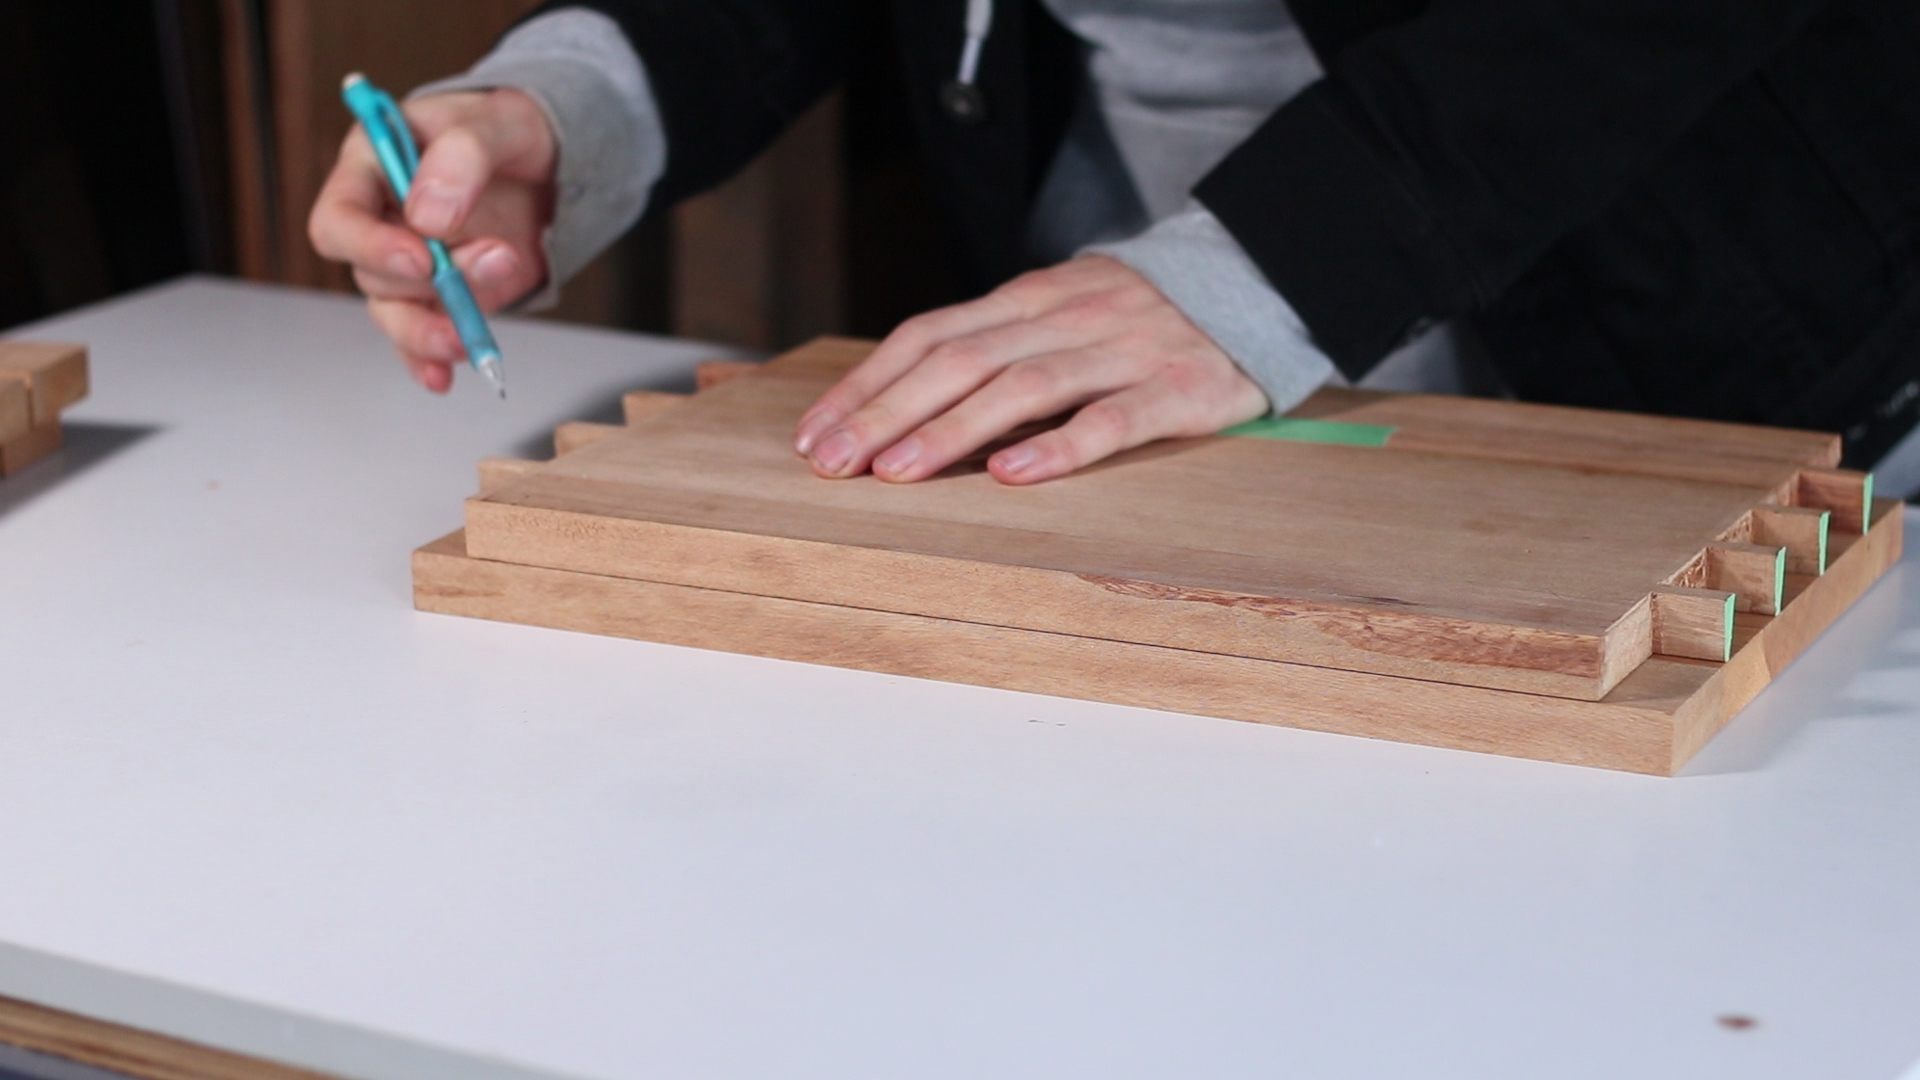
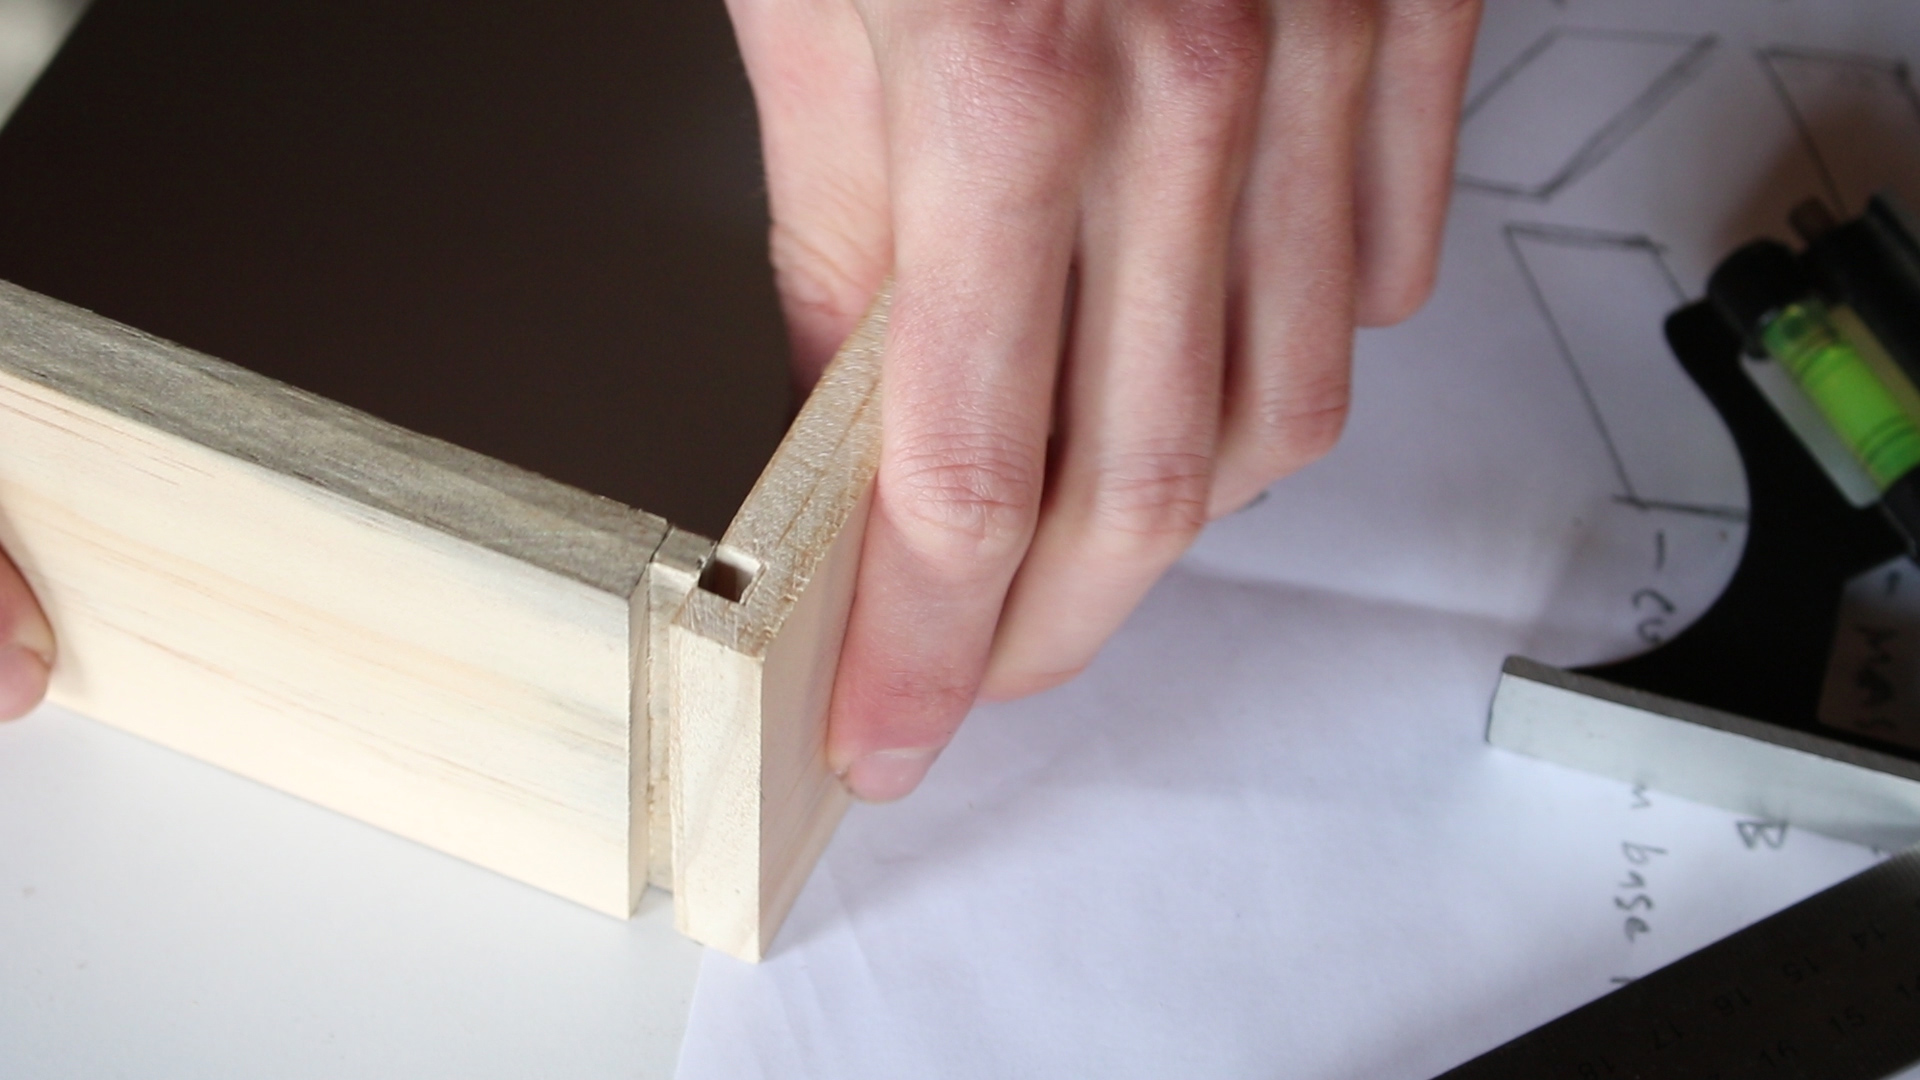
For the mortise and tenons the process was very similar.
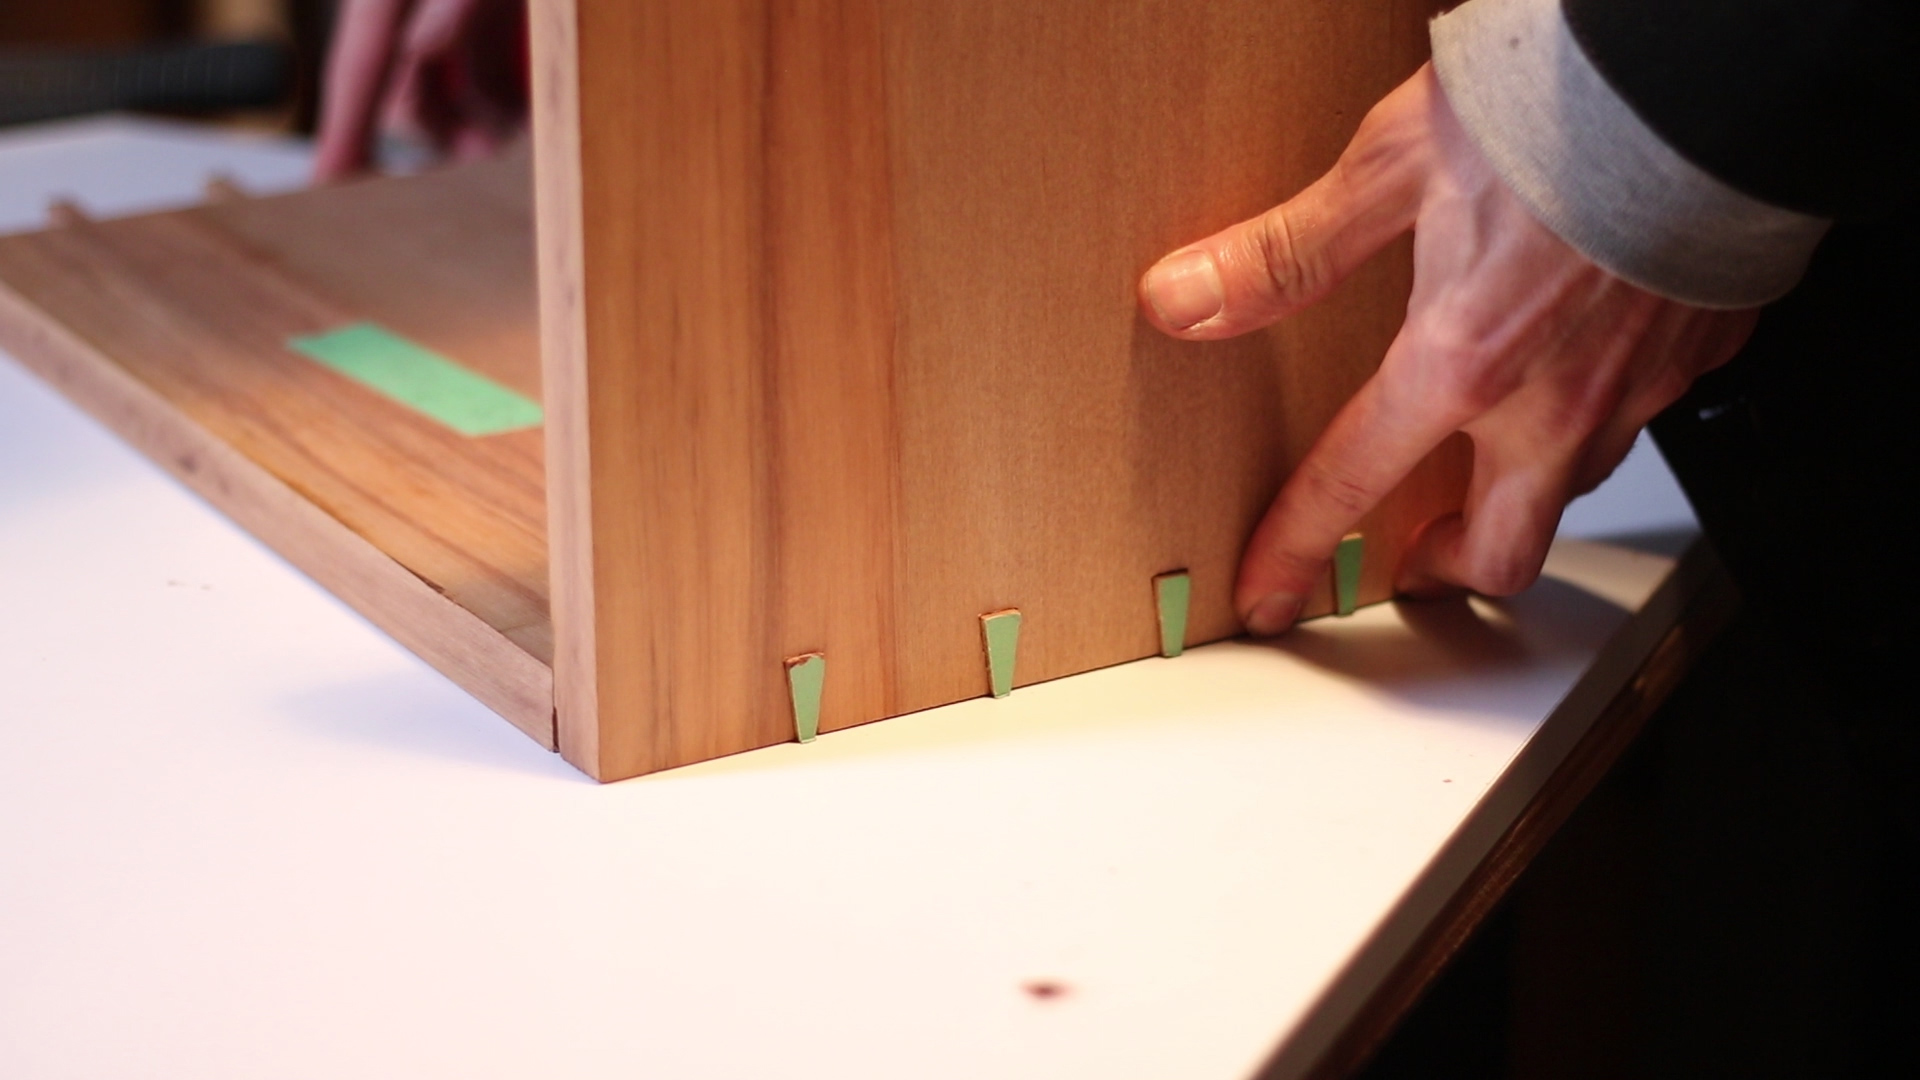
I used the position of the dove tails to mark where the tenons would be.
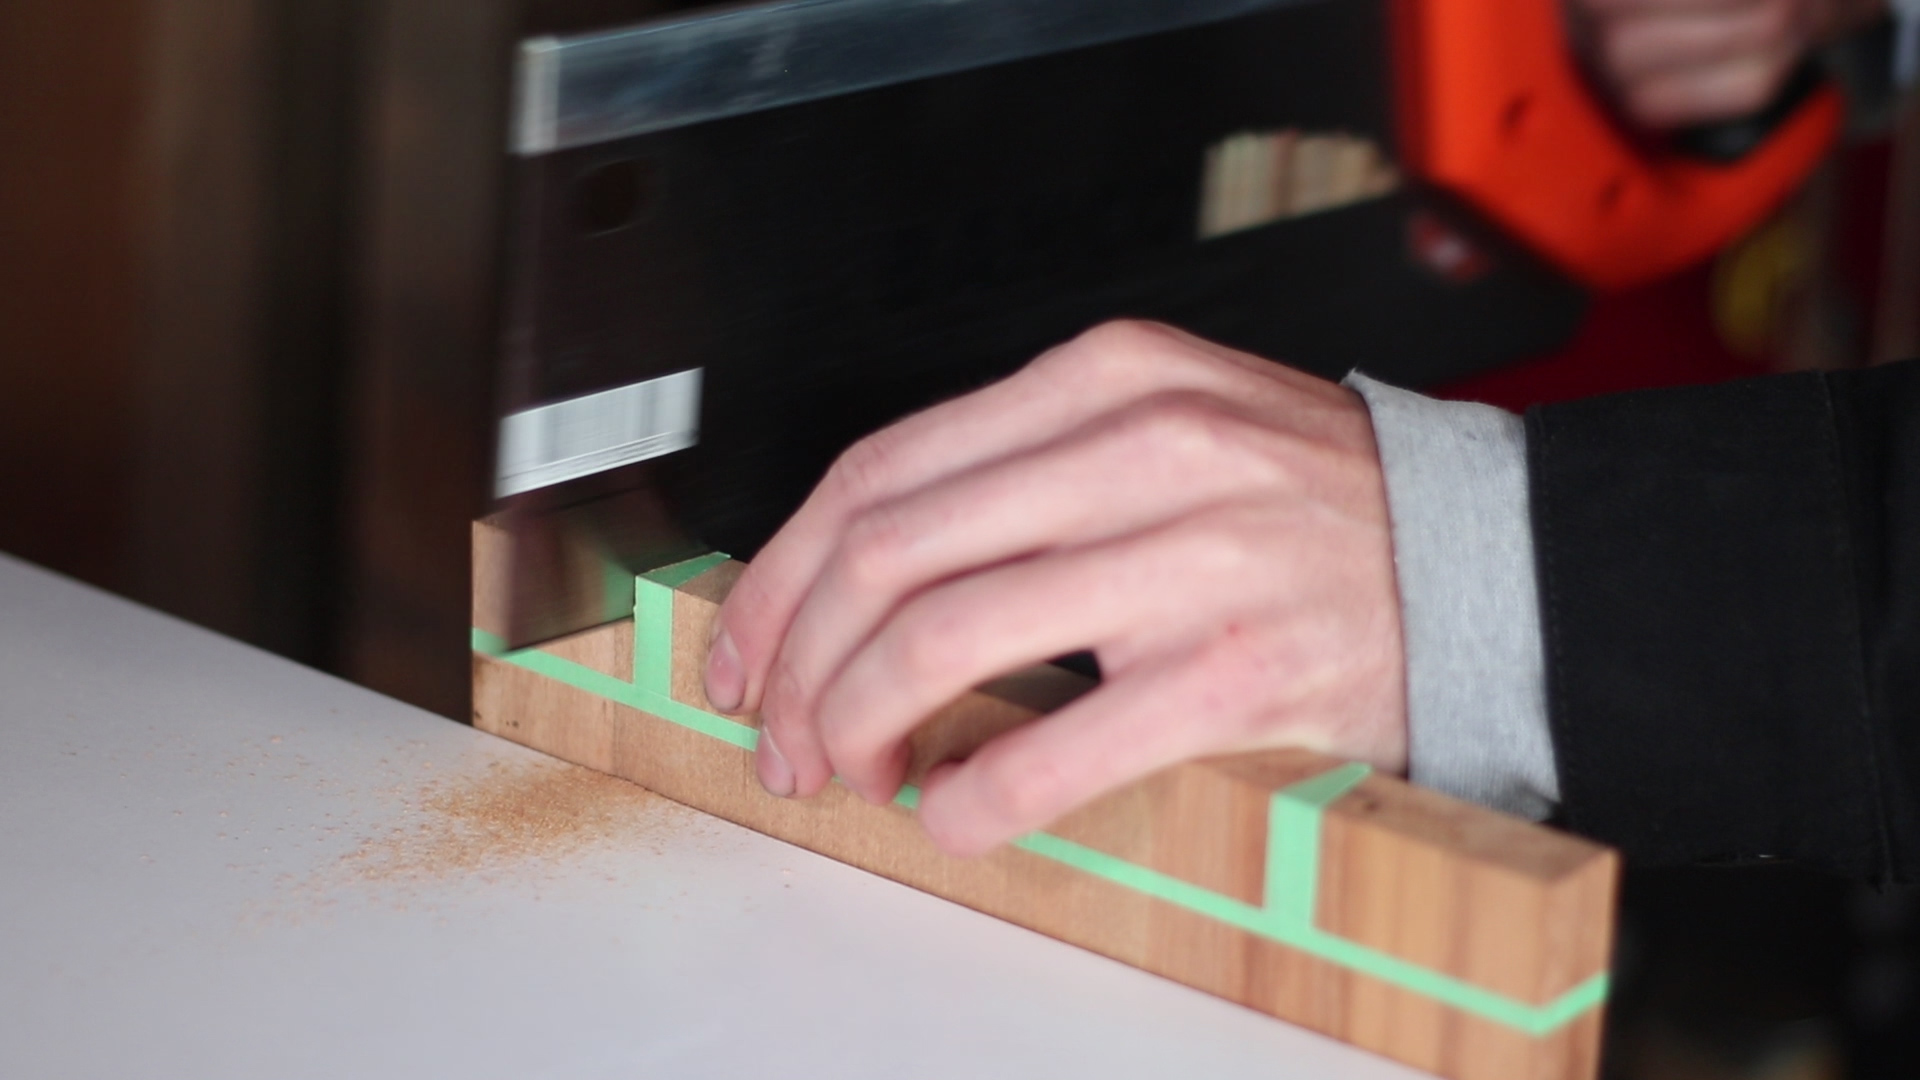
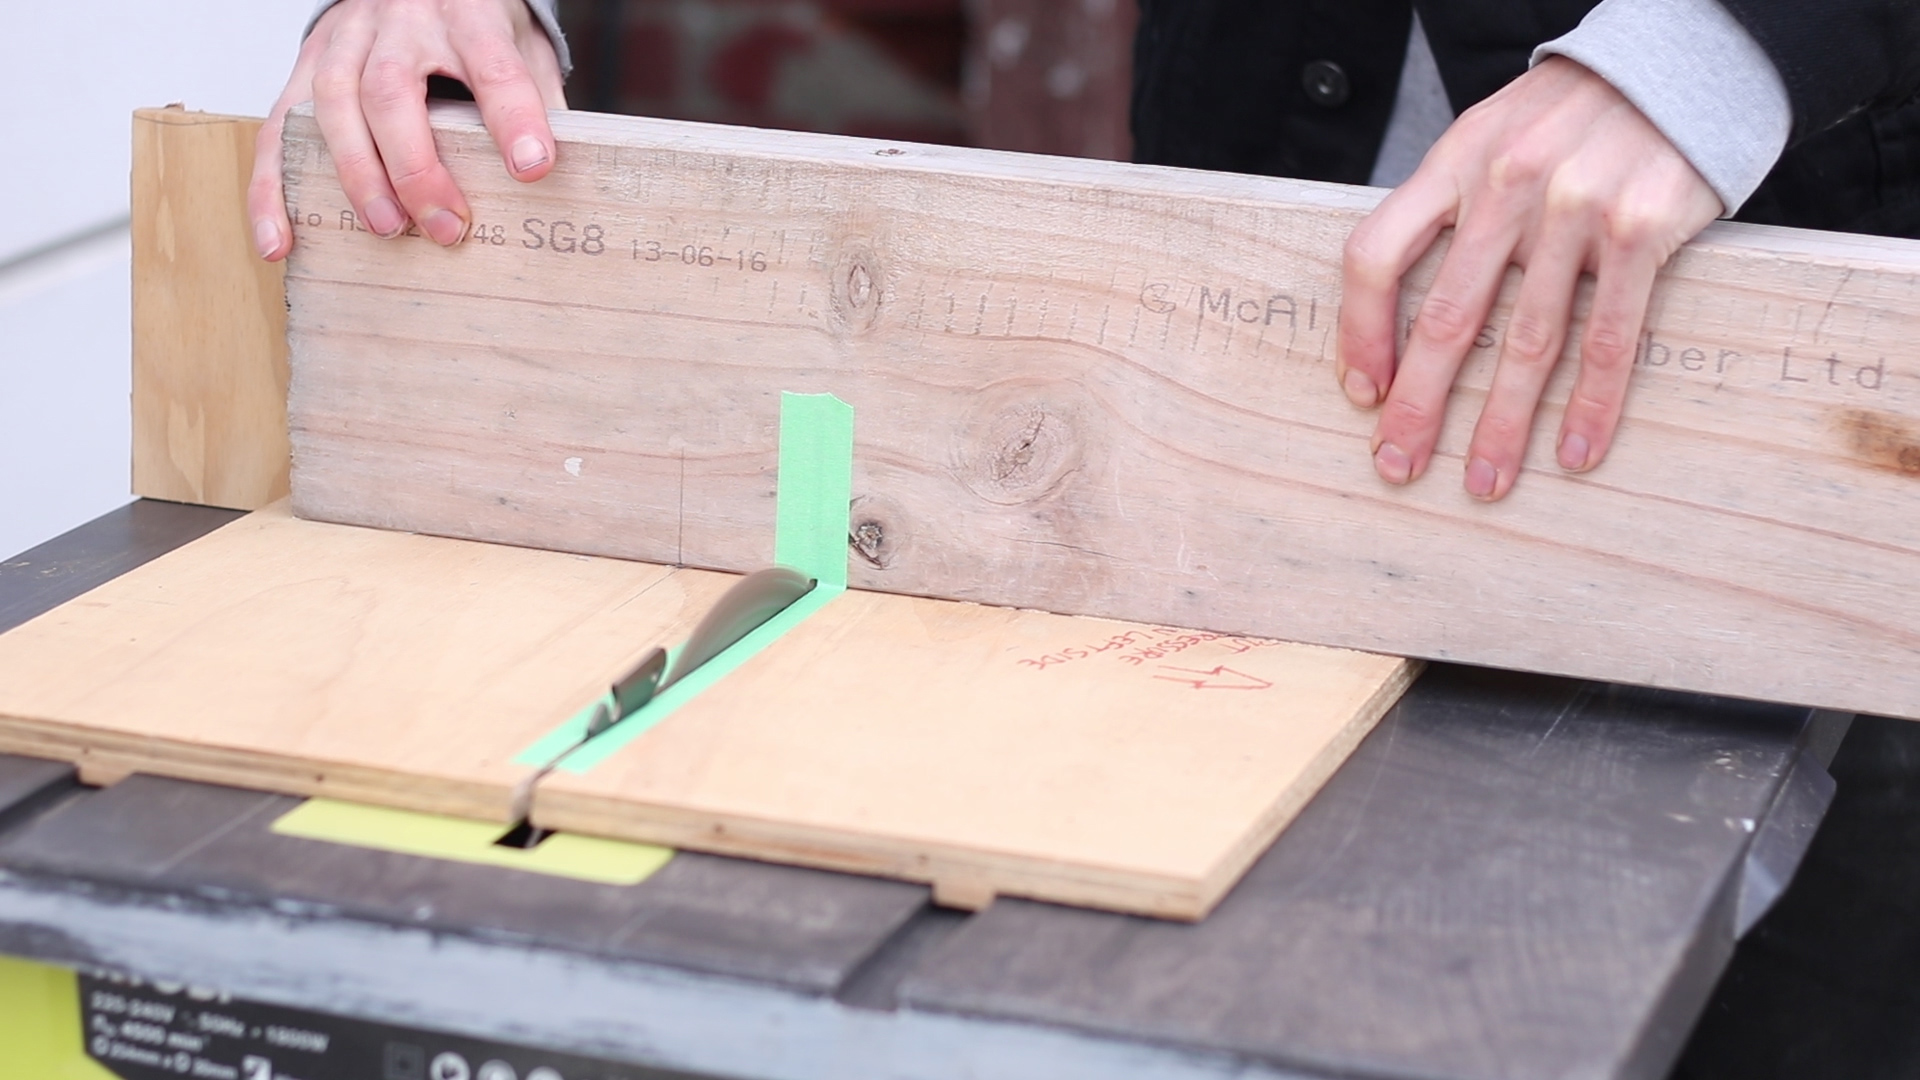
but before I cut them out, I added a strip of tape over my mitre sled to get a new, clean kerf line to help me eyeball the tenon cuts.
I made my first cut just off to the side of my line and then nibbled my way up to it.
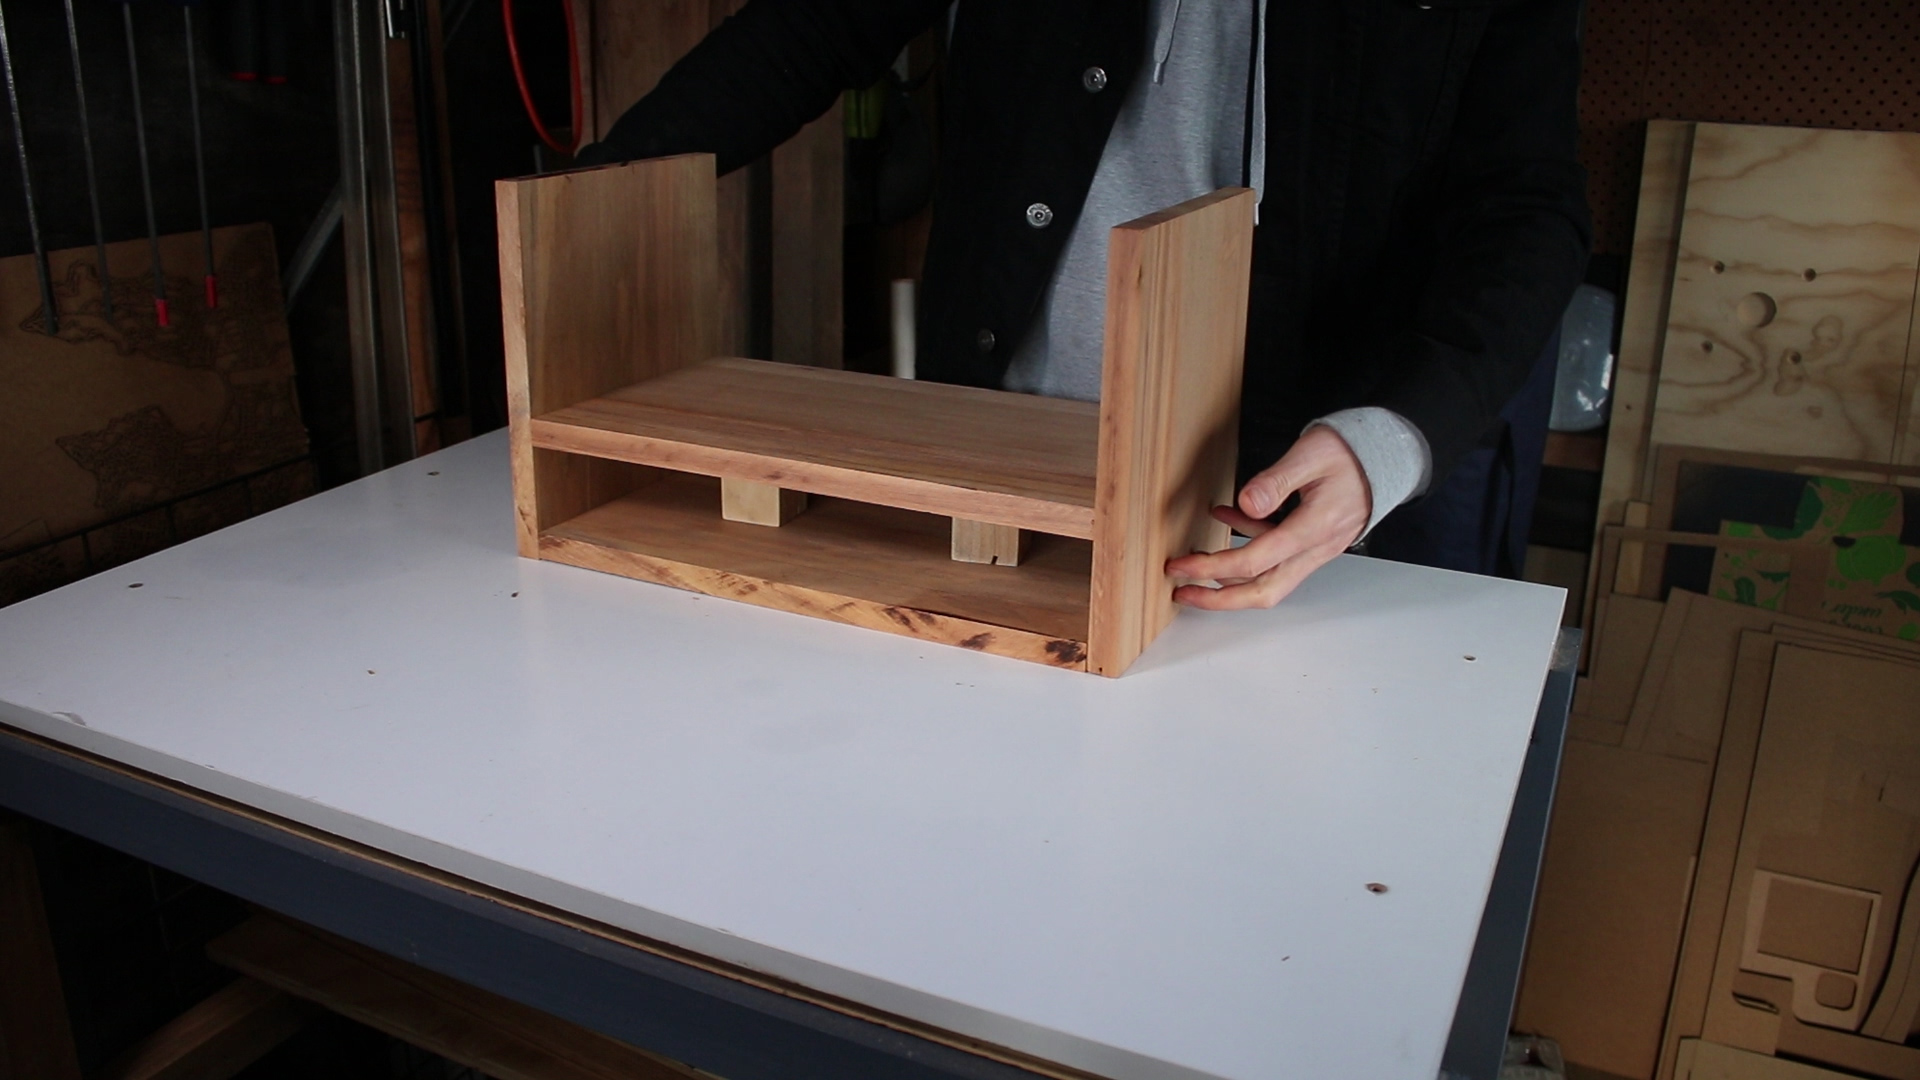
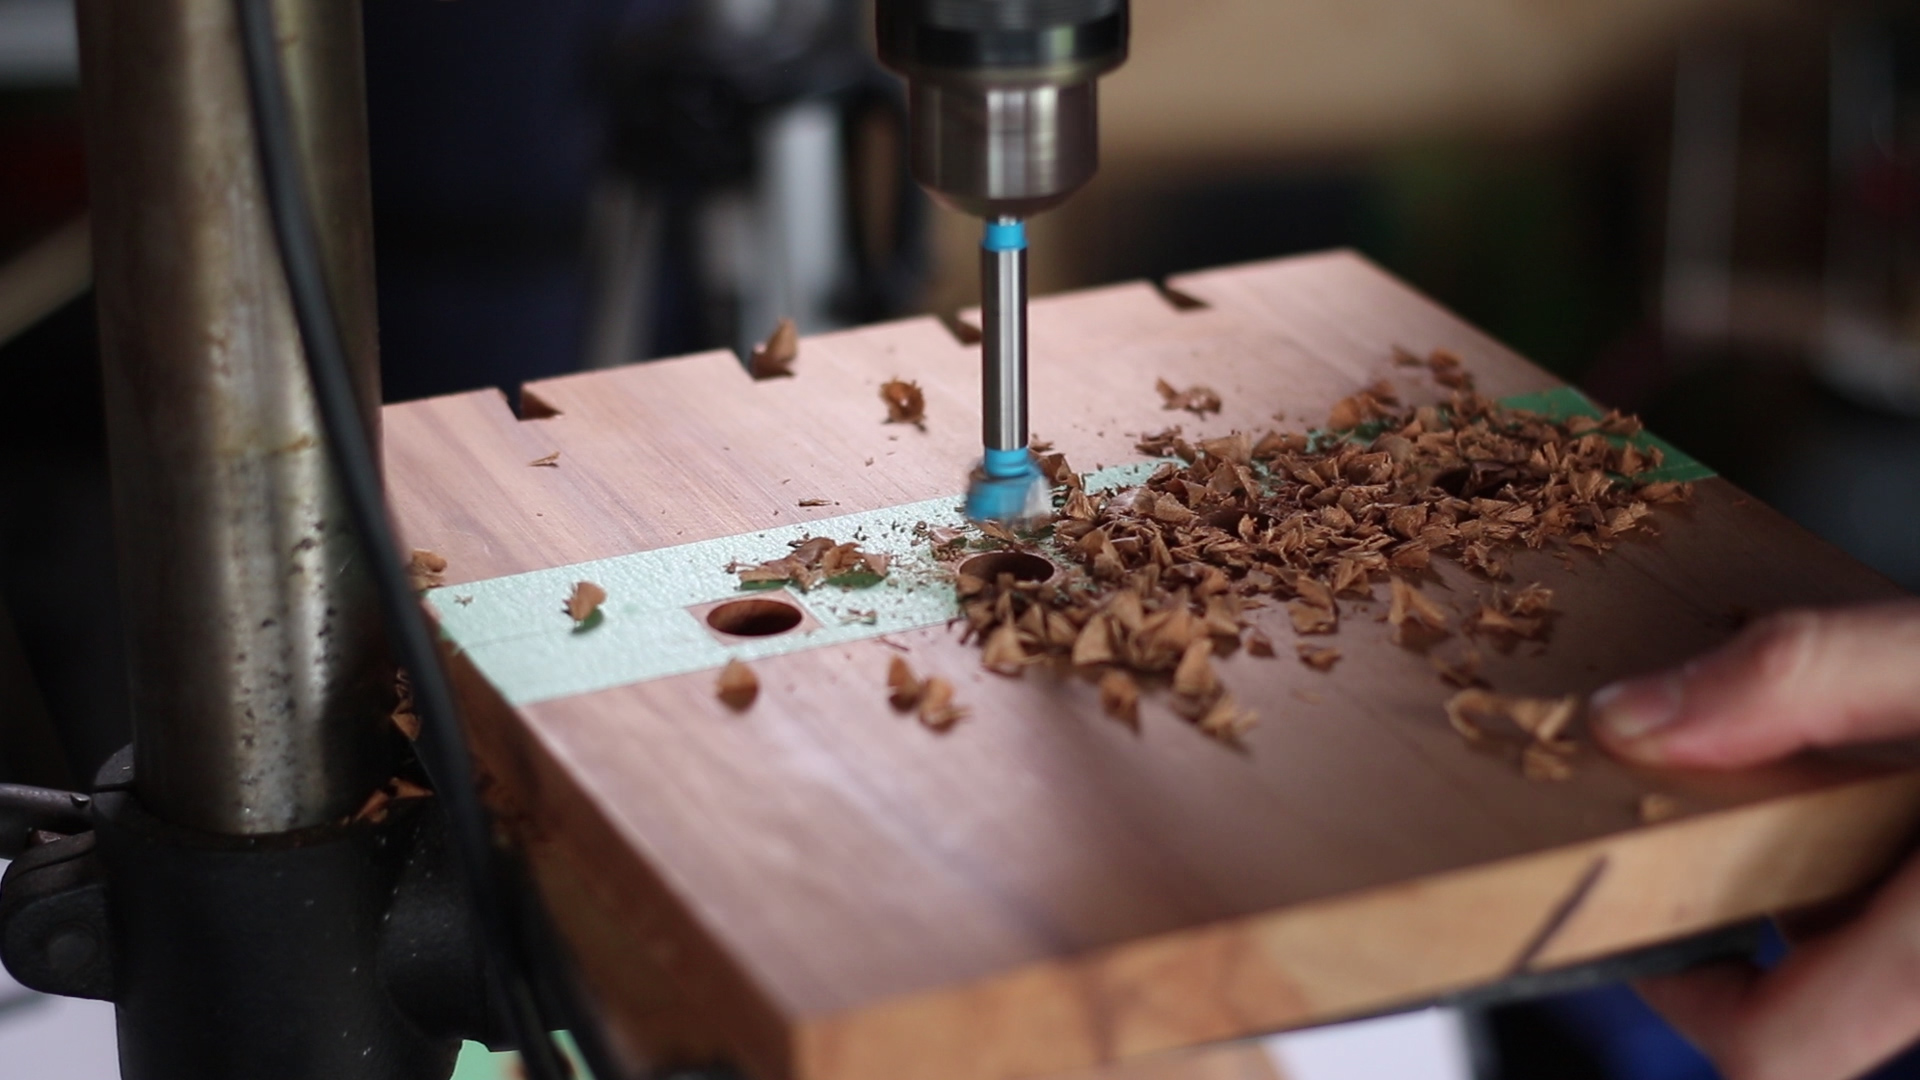
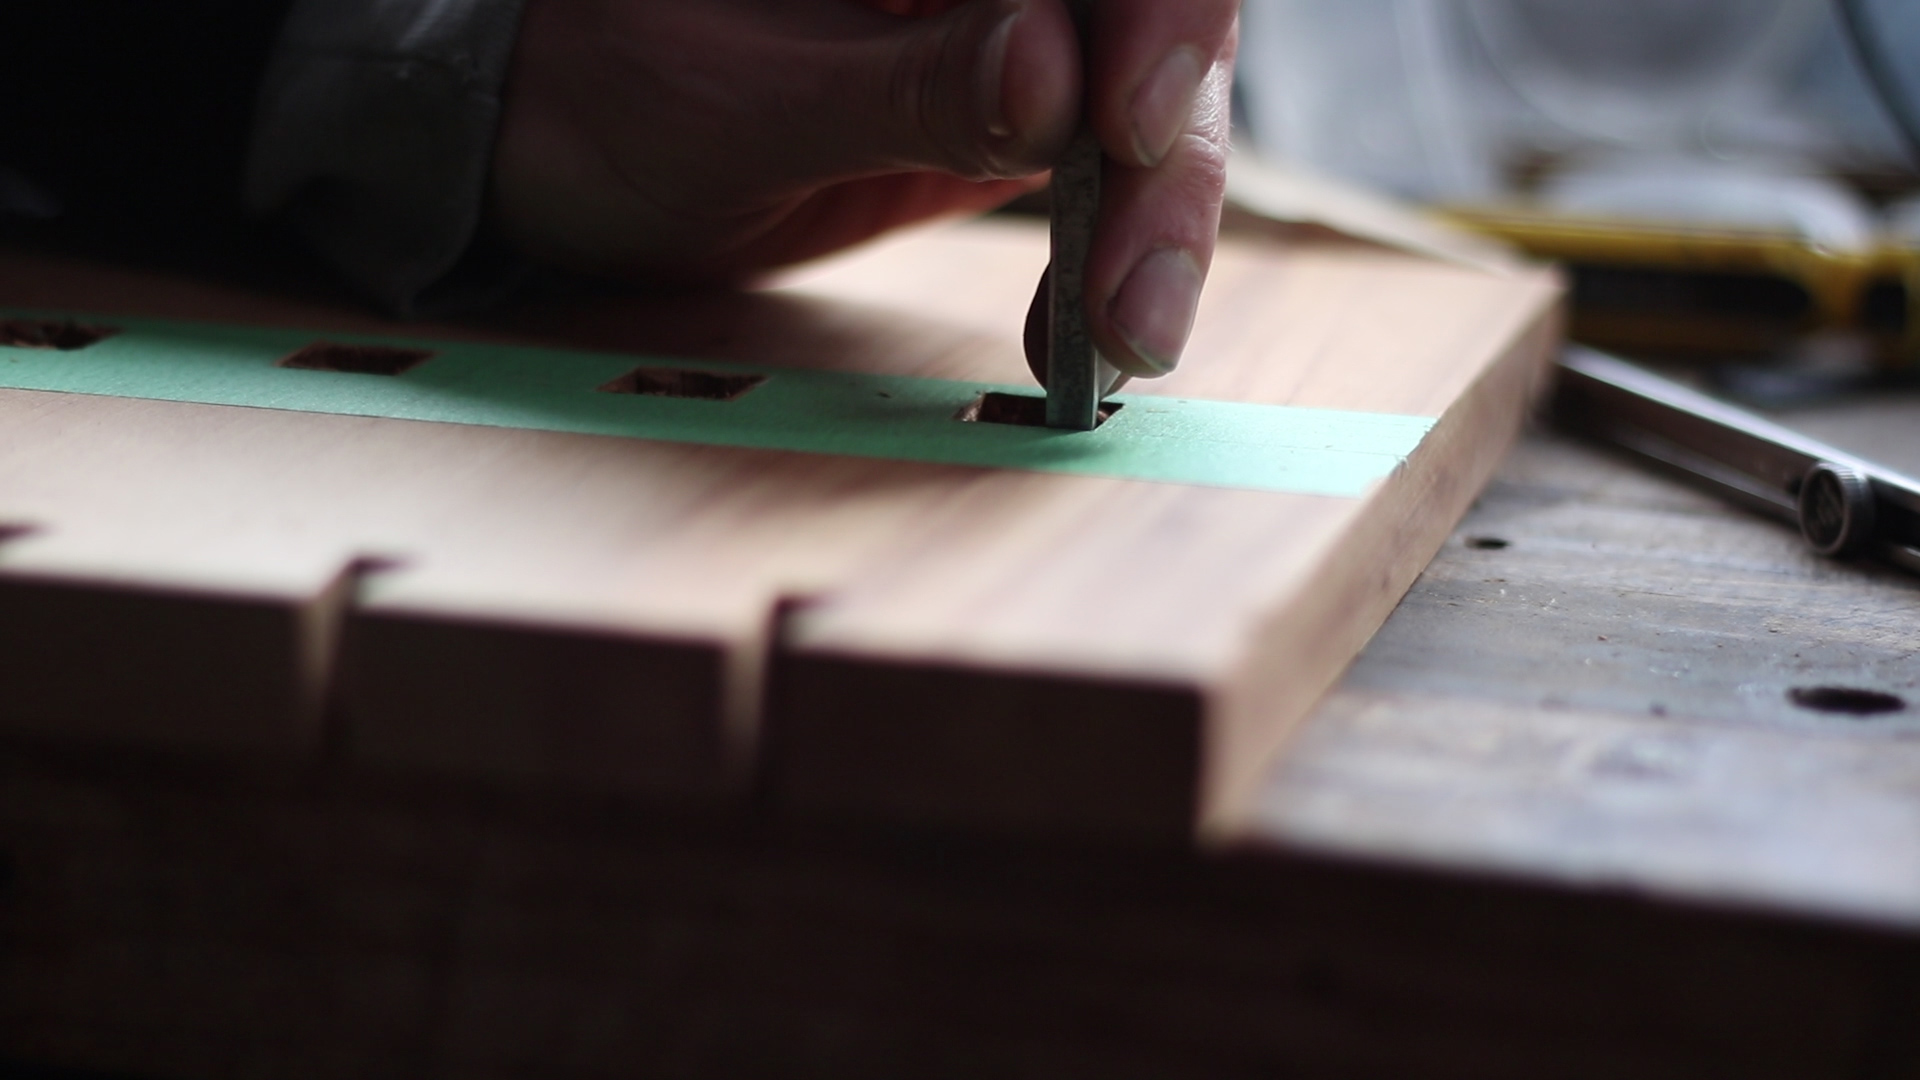
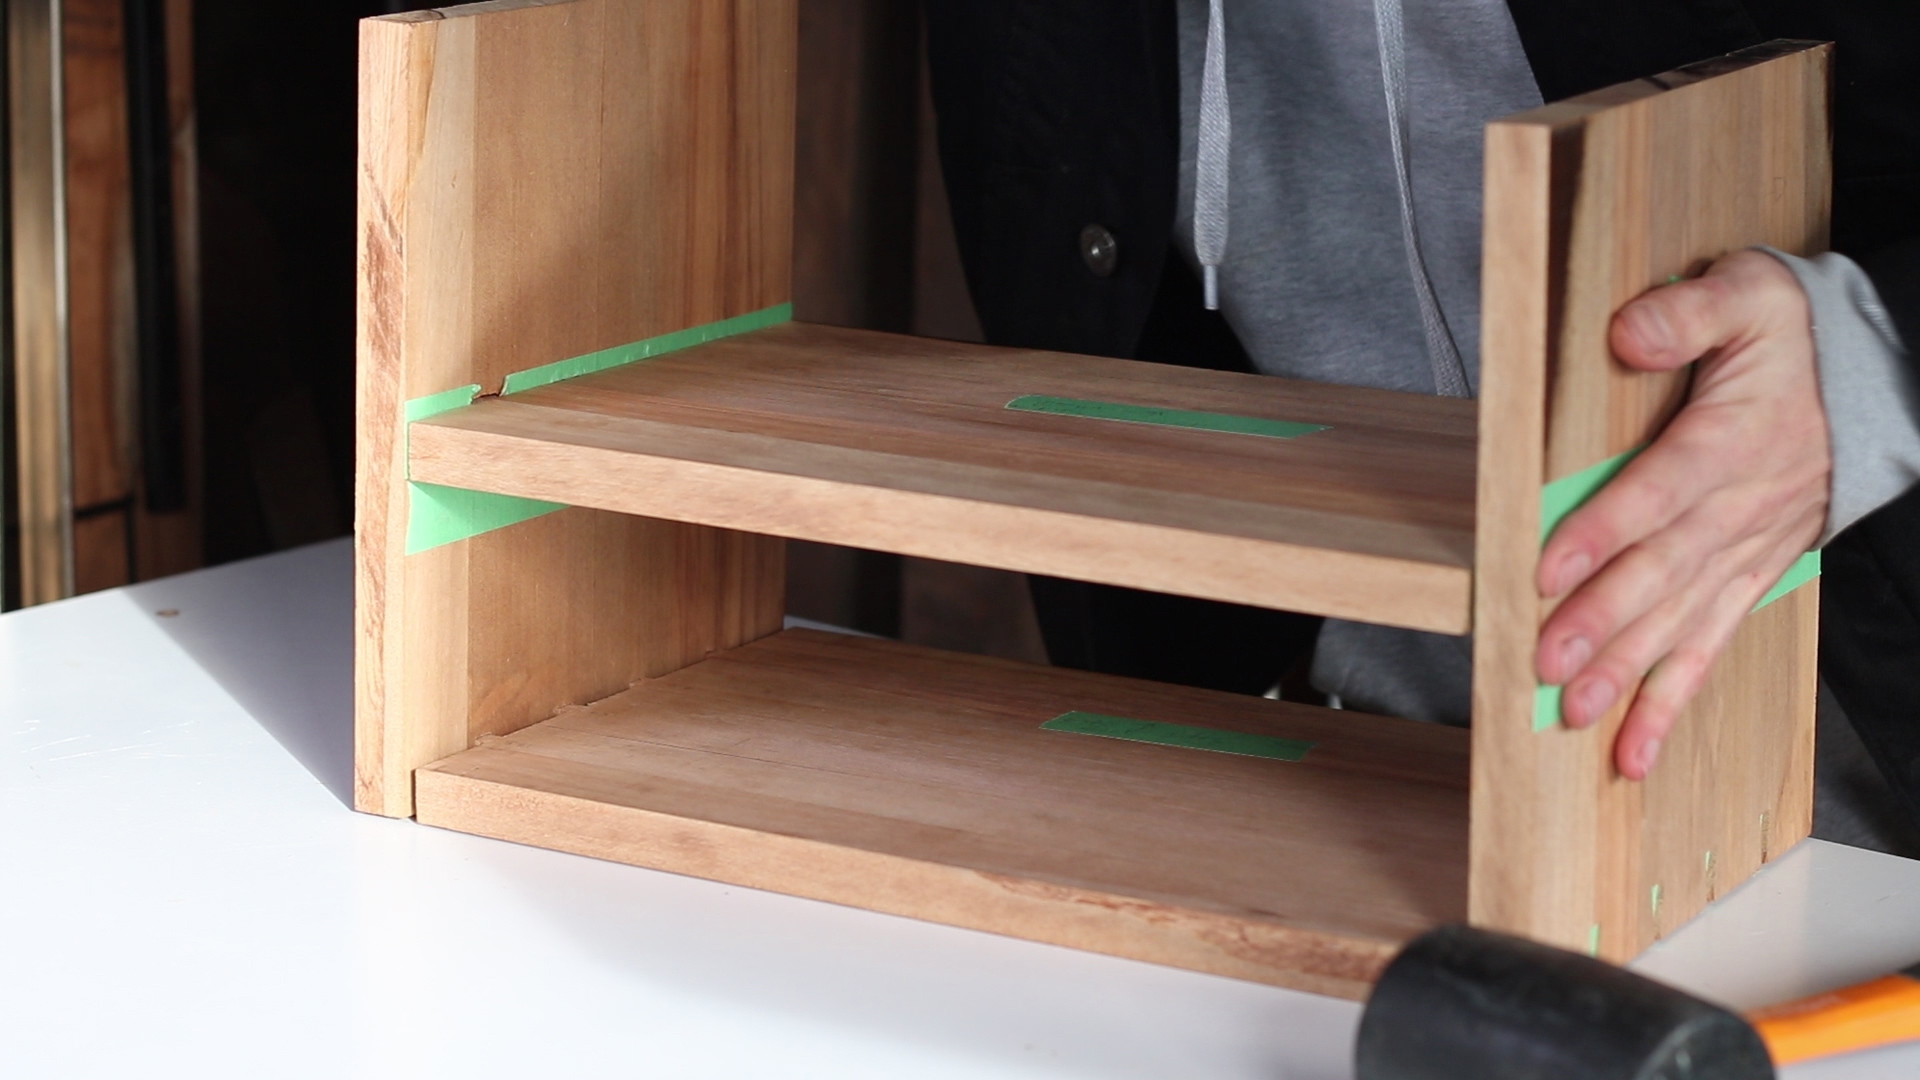
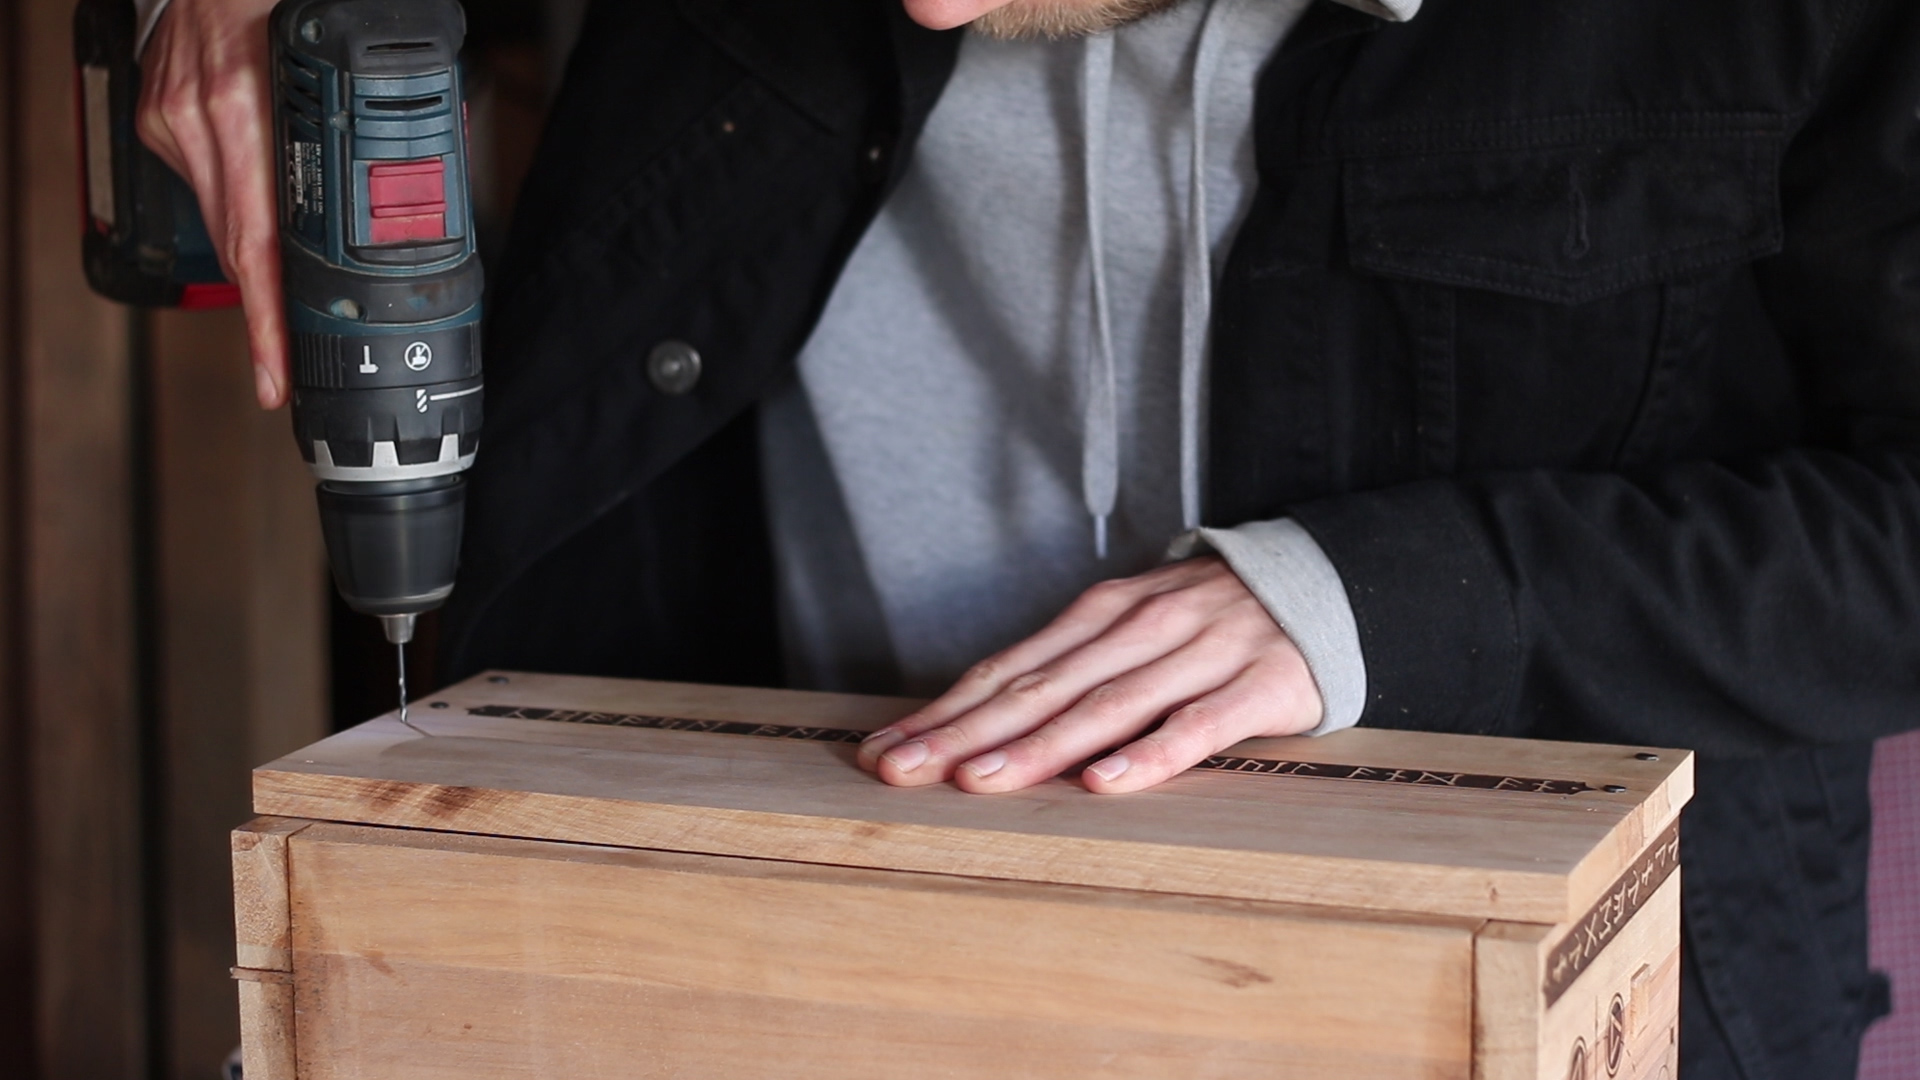
After marking out the mortises, I drilled out the bulk of the waste and then squared up the corners with a bit of chiseling. Then I could do a quick dry fit.
So yeah everything so far has been pretty by book. It’s kinda now where things start to get a touch more complicated.

I messed around on the computer to create a nice arc for the top of the lid, I didn’t know it then but this is the moment I really stitched myself up, I’ll show you why in just a sec when we get to it.
I used double sided tape to temporarily join the two side pieces together so they’d stay in place and be identical as I cut the curve out and separated the lid pieces.
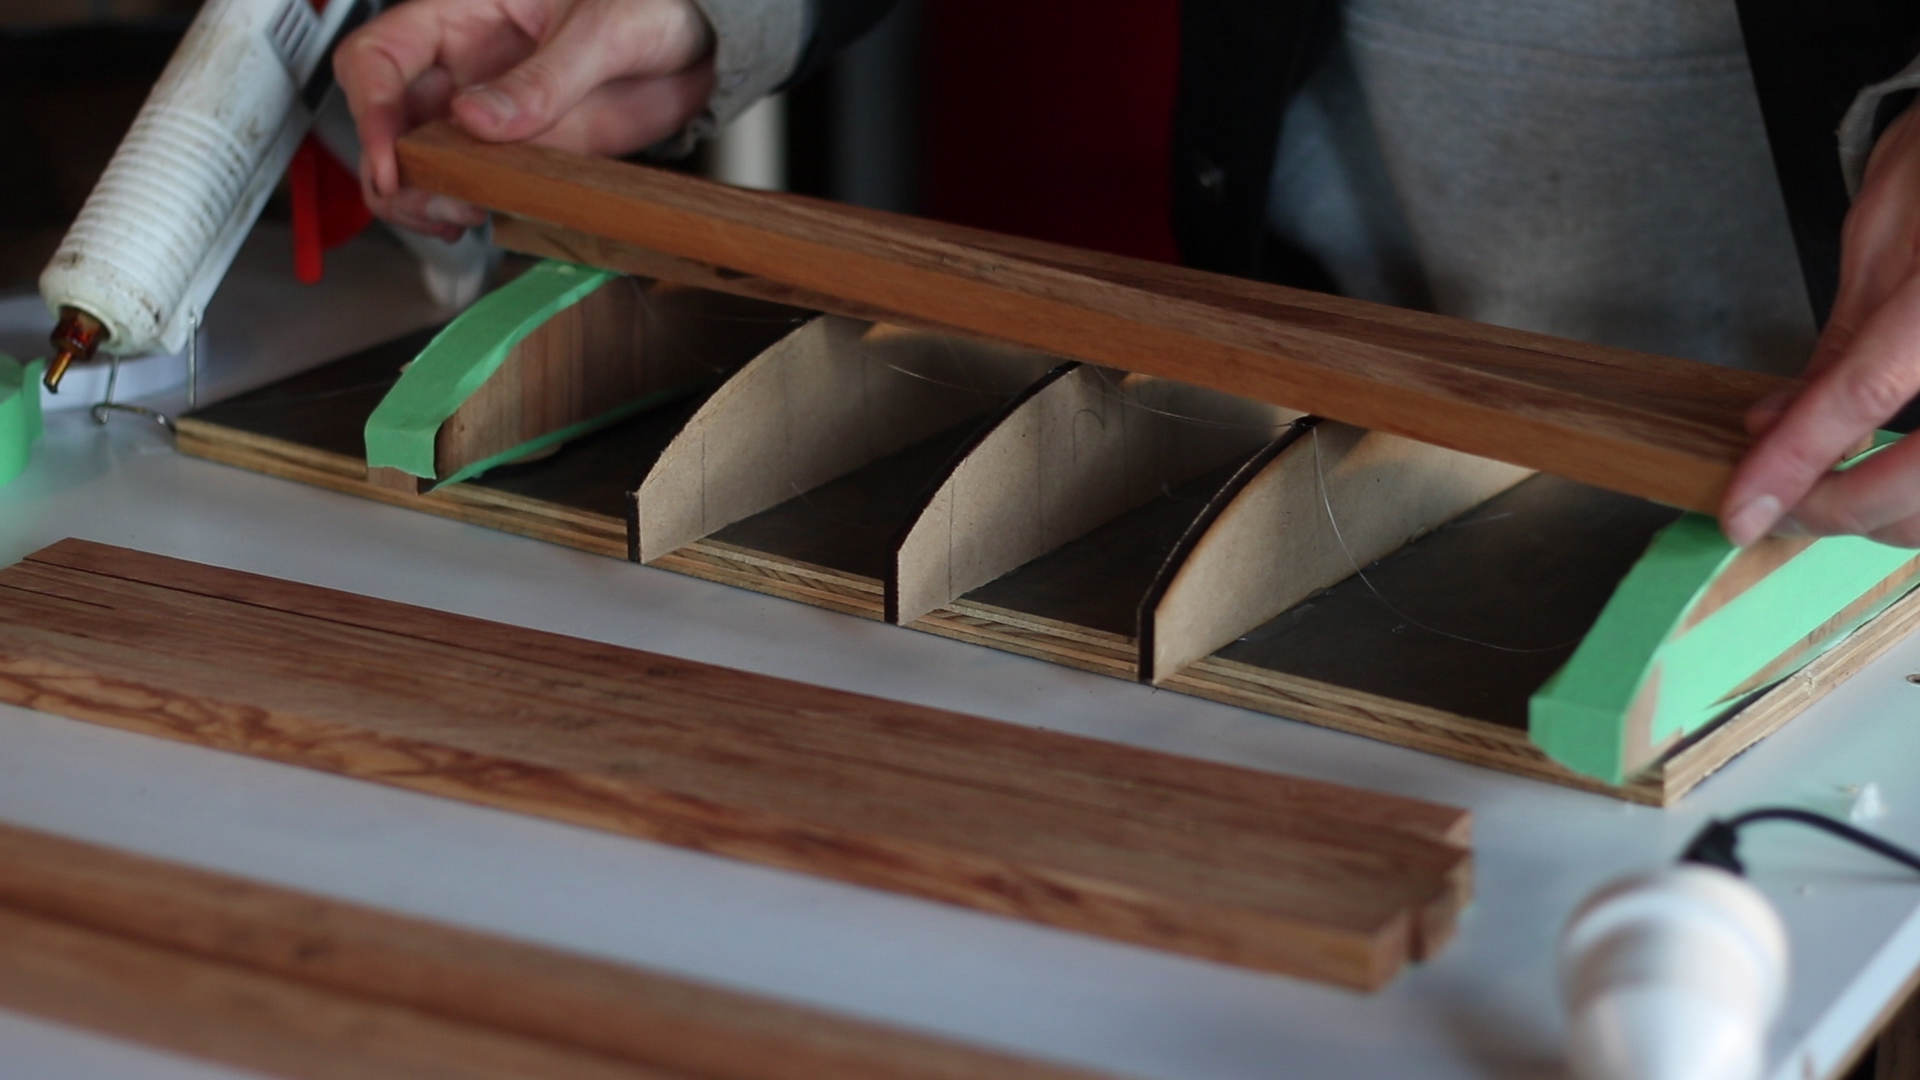
I then cut strips from an offcut piece to be the slats for the curved lid.
Now, this was the problem. The arc I’d made for the lid was actually a non-uniform curve - which is to say, the curvature angle changes as you move across it - as opposed to a uniform curve where the angle is the same. - think of an ellipse vs a circle.
I’d chosen a non-uniform curve shape because I thought it looked cooler (which it does) however fitting the slats so their angles matched the radius became quite an ordeal.
My original plan was just cut the angles in with the tablesaw, but we’re talking a changing difference in angles of less than half a degree between slats in some cases - and it turns out I just couldn’t get that kind of accuracy.
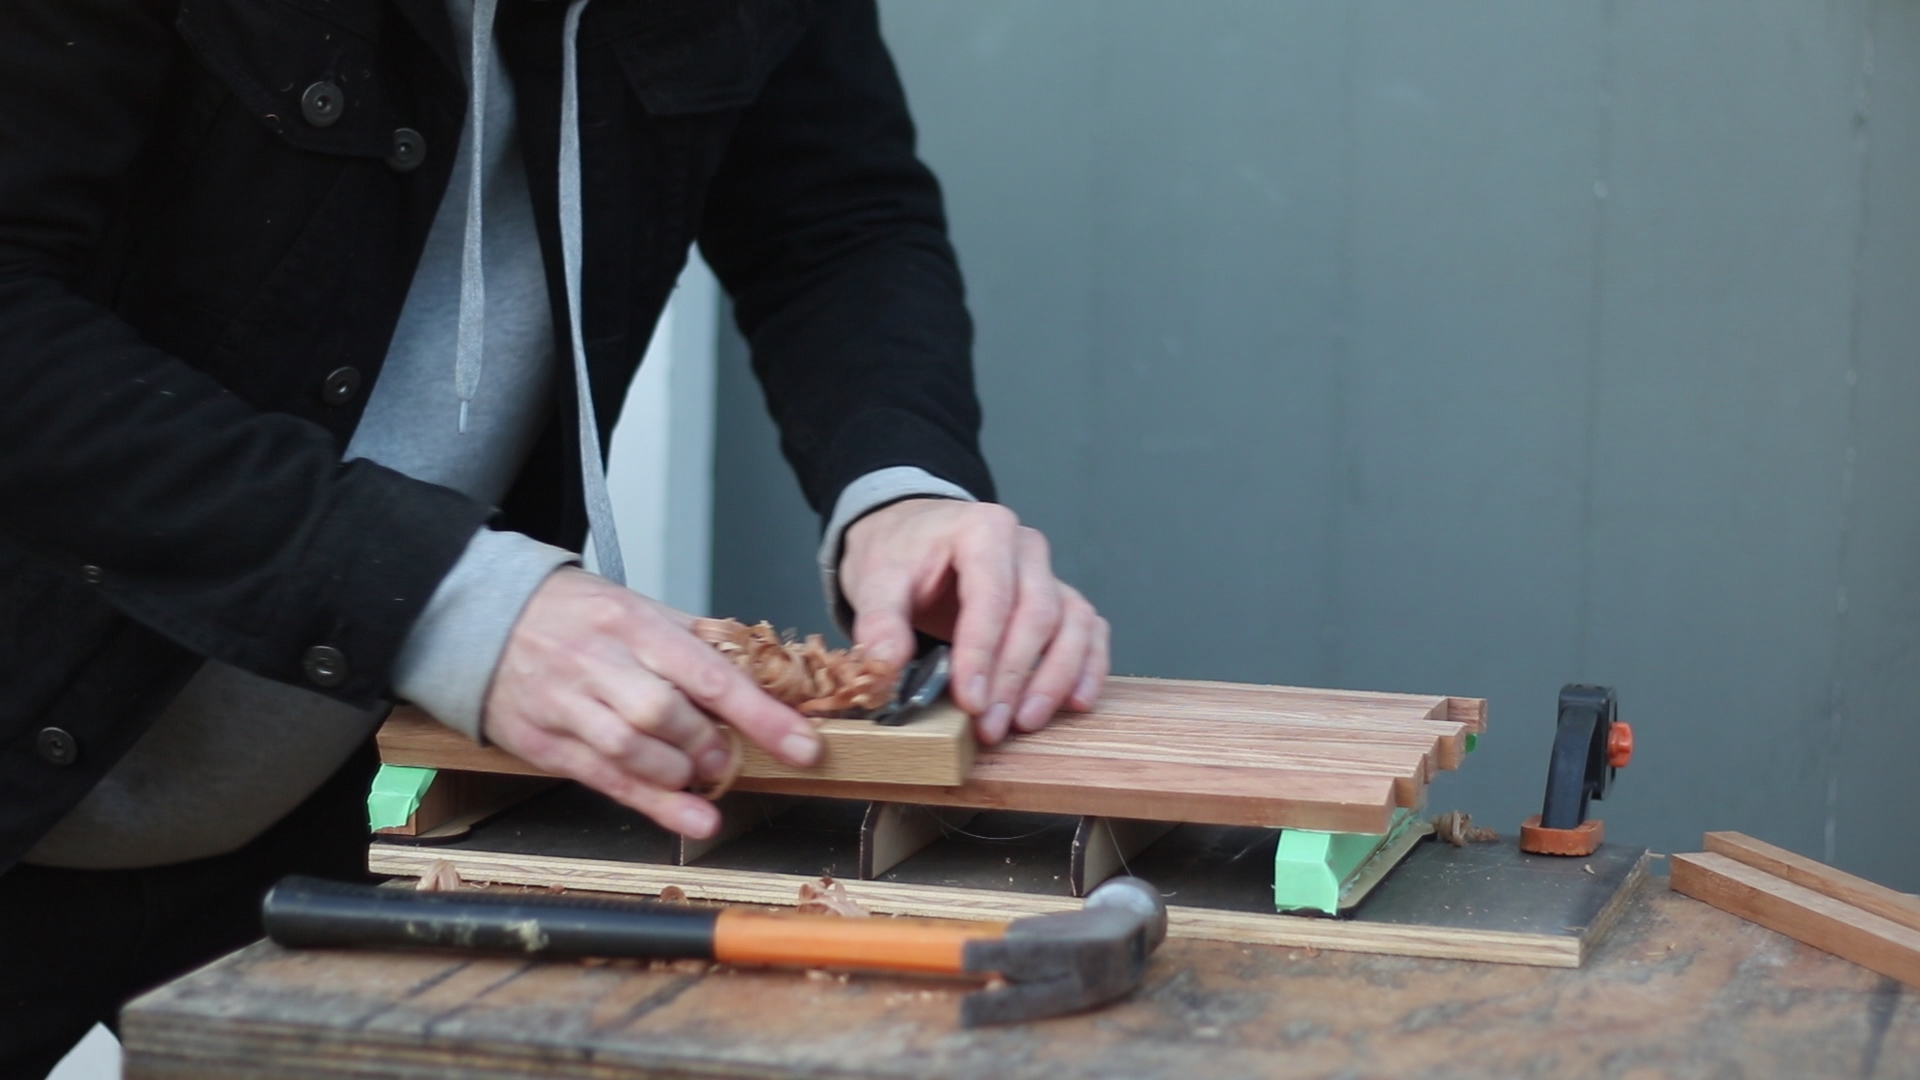
So what I settled for instead was to just shape them by hand. It was slow, but it worked.
Did I mention things get complicated, well things got complicated.
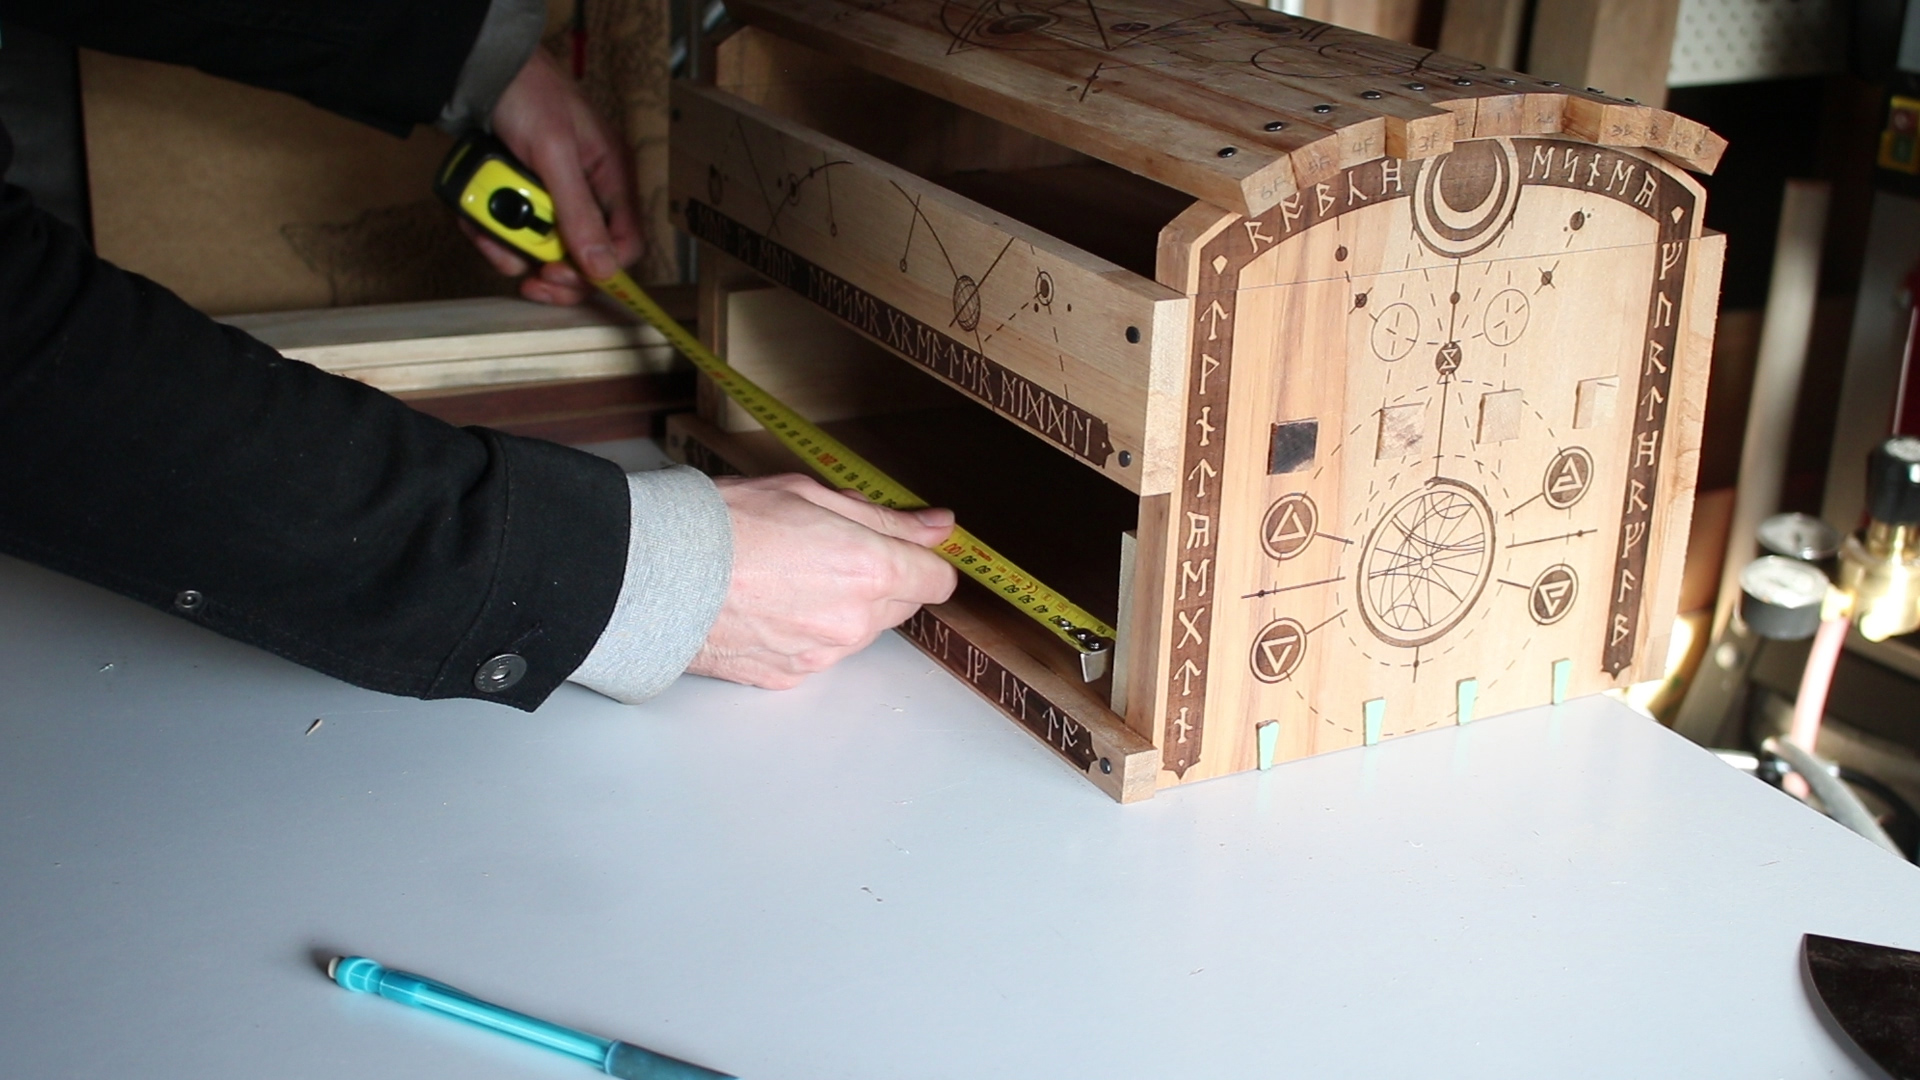
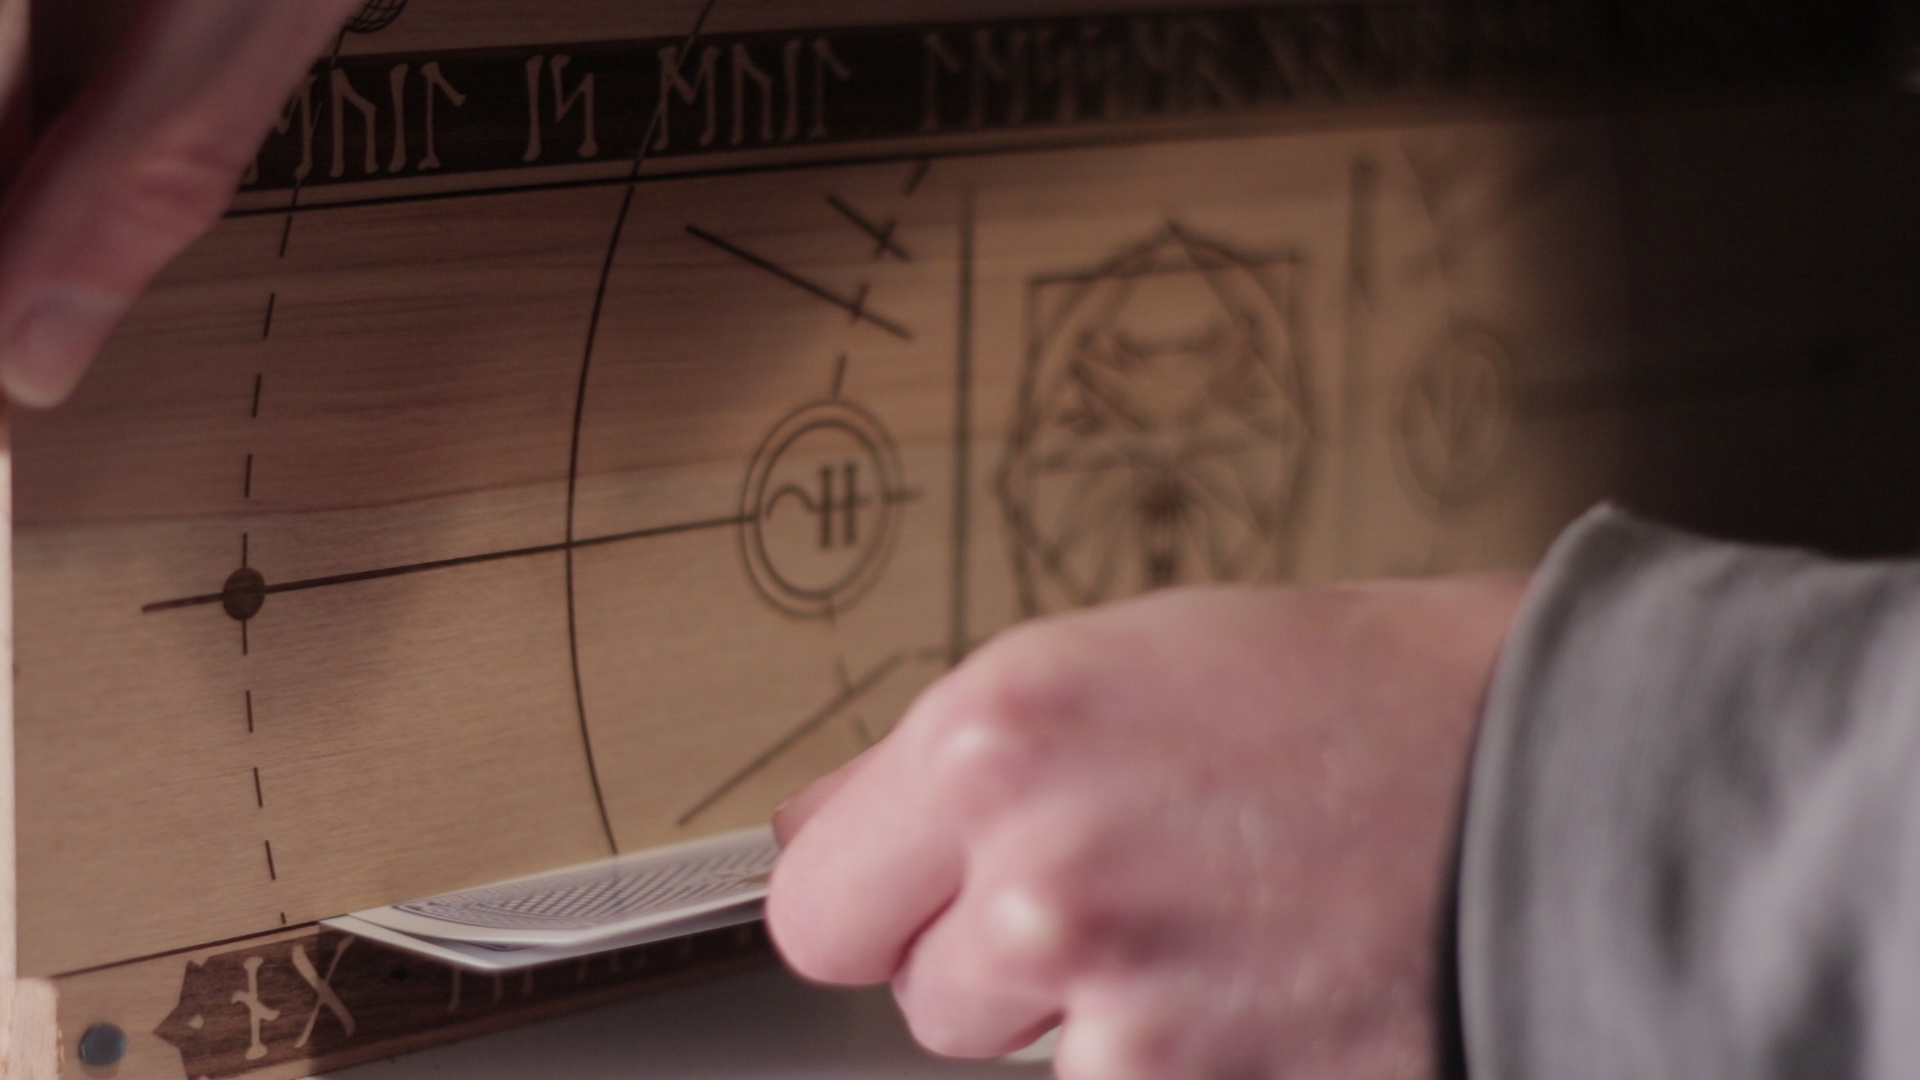
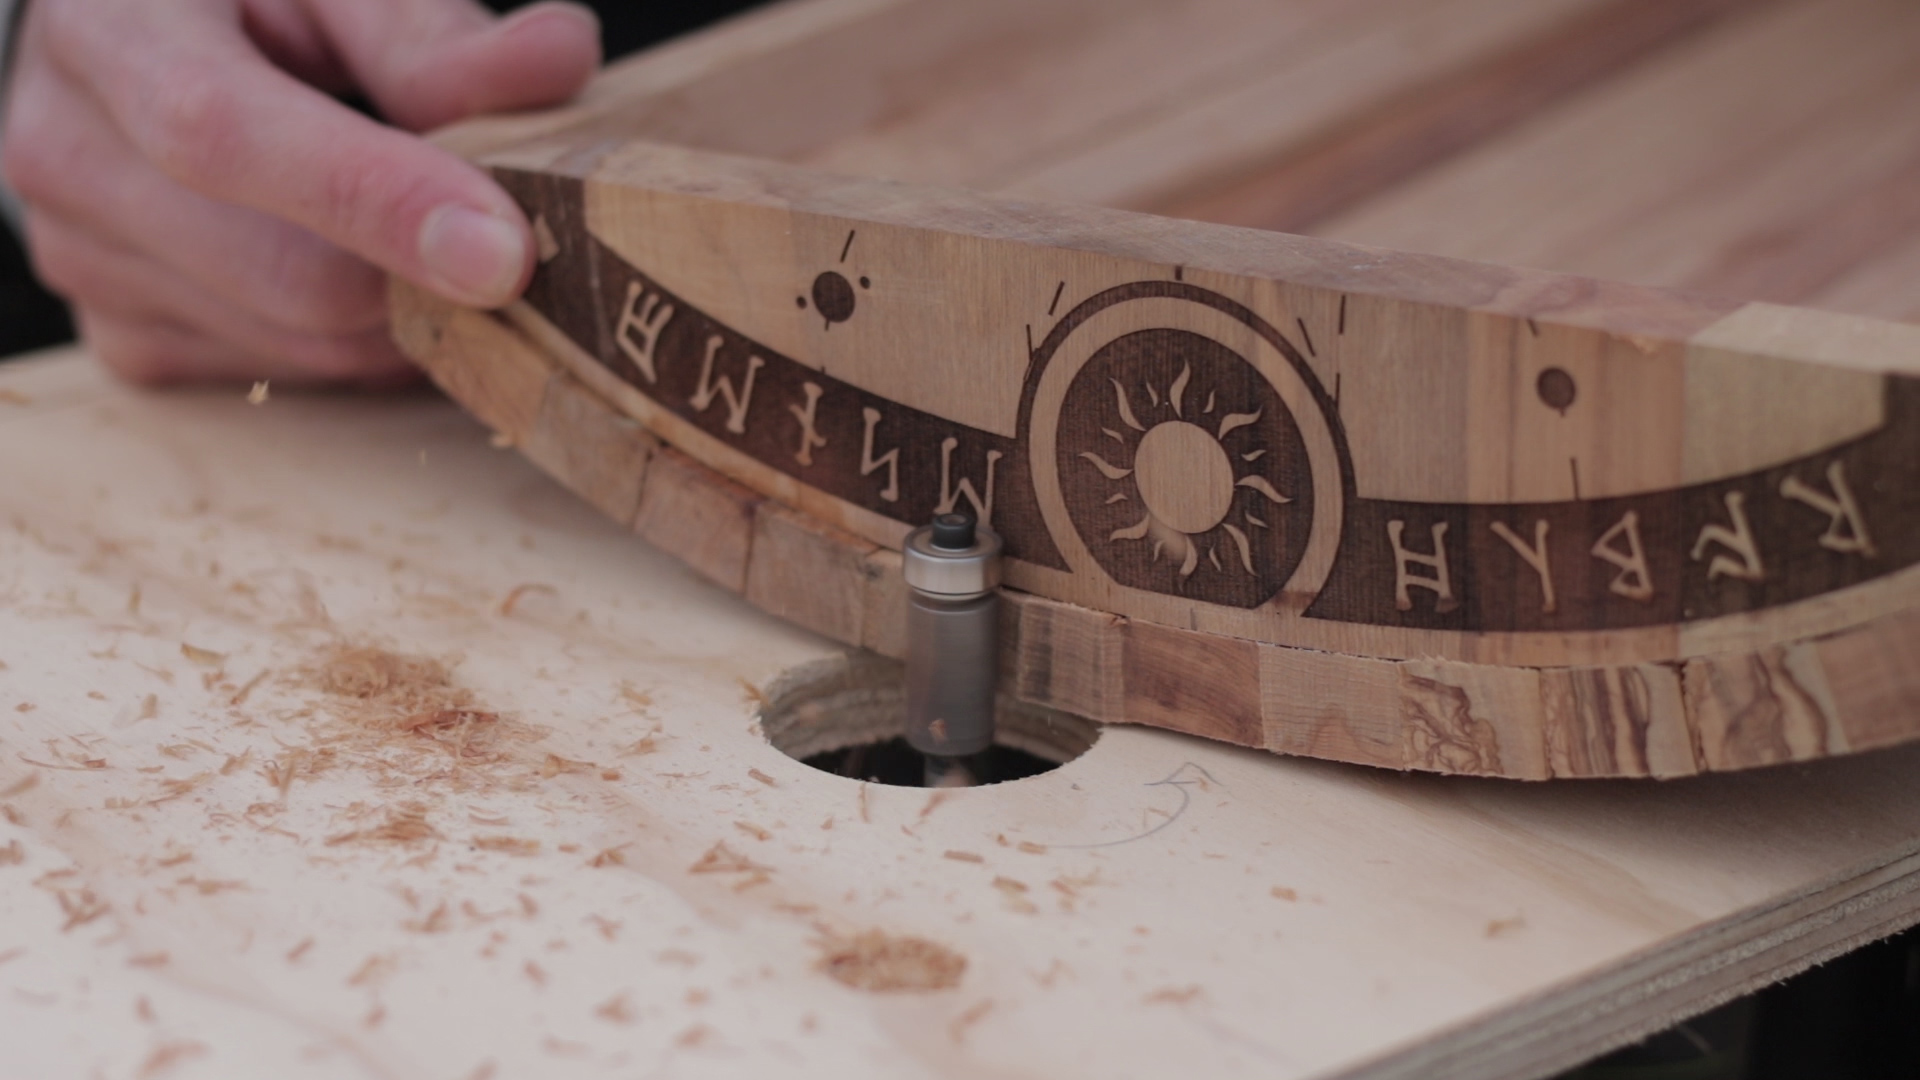
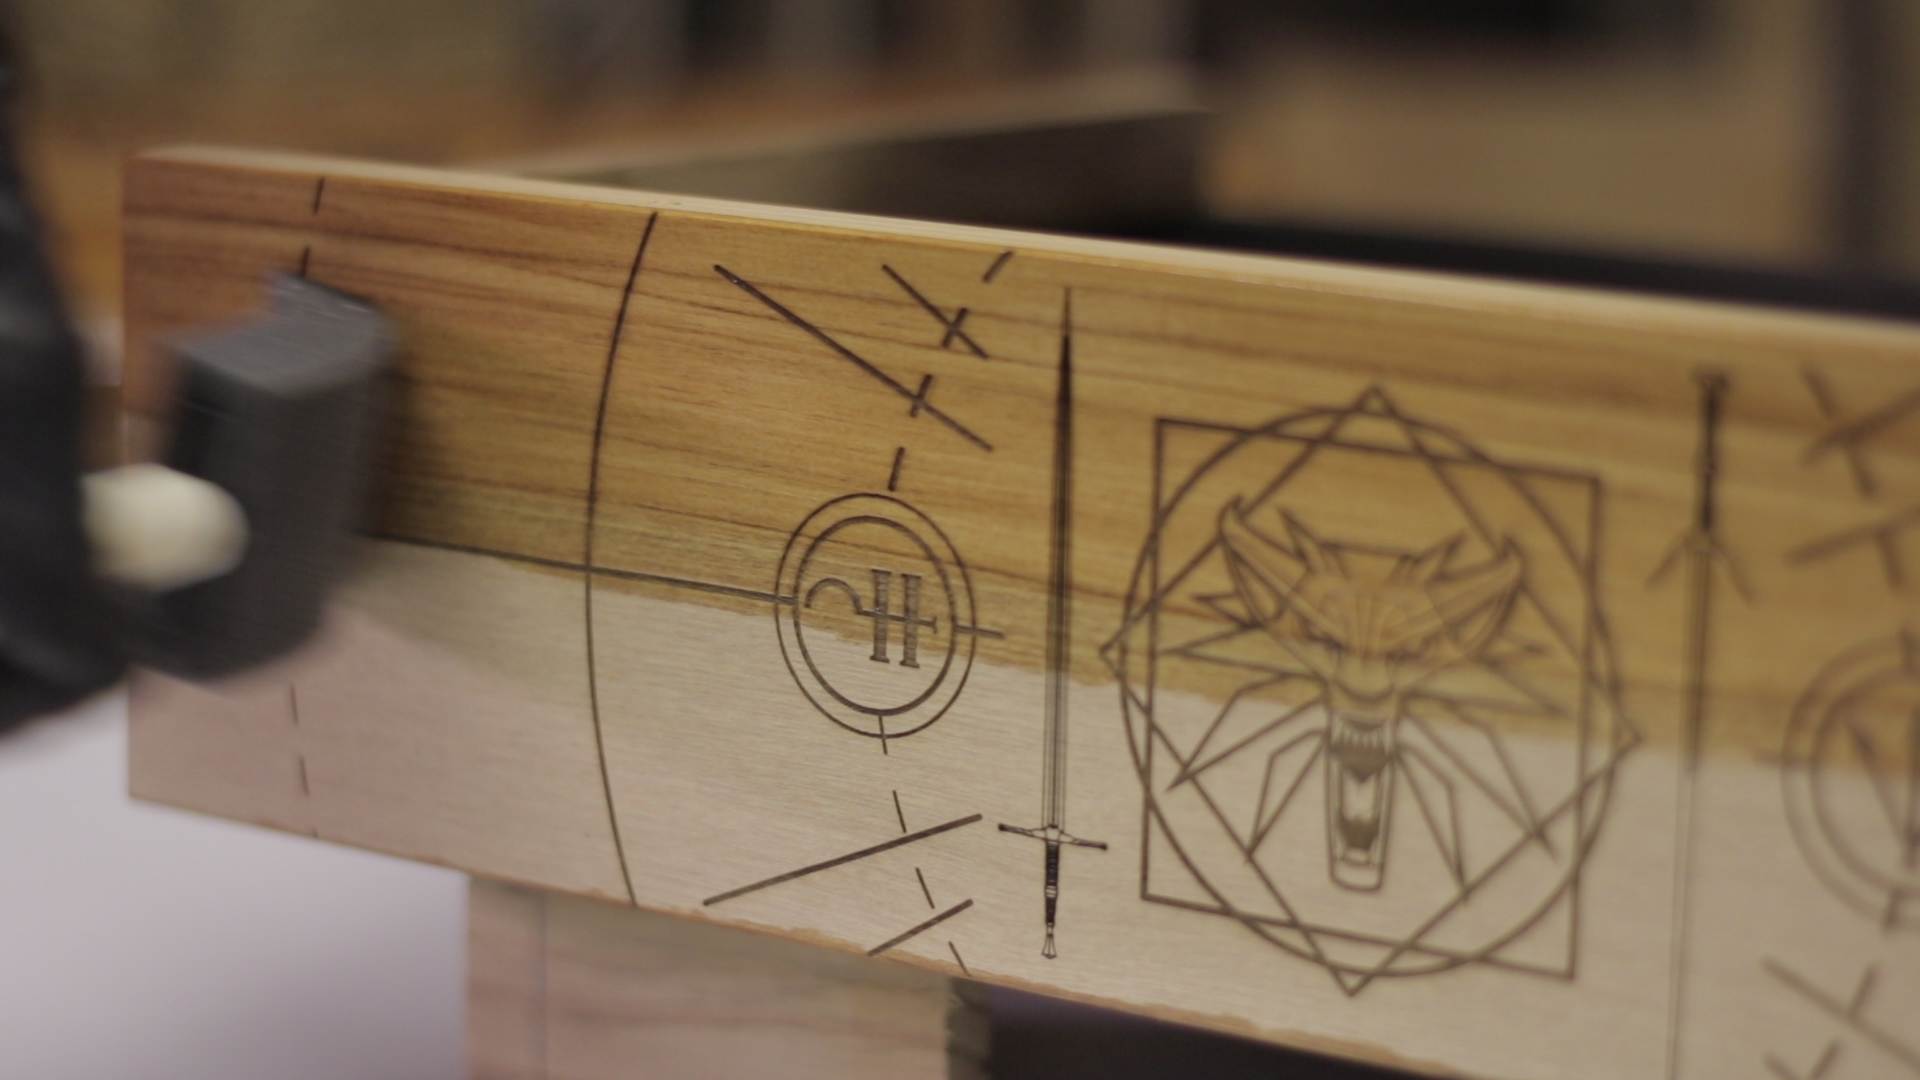
I wanted to do some engravings all over the chest, to really make this thing something special that tied in with its fantasy inspiration.
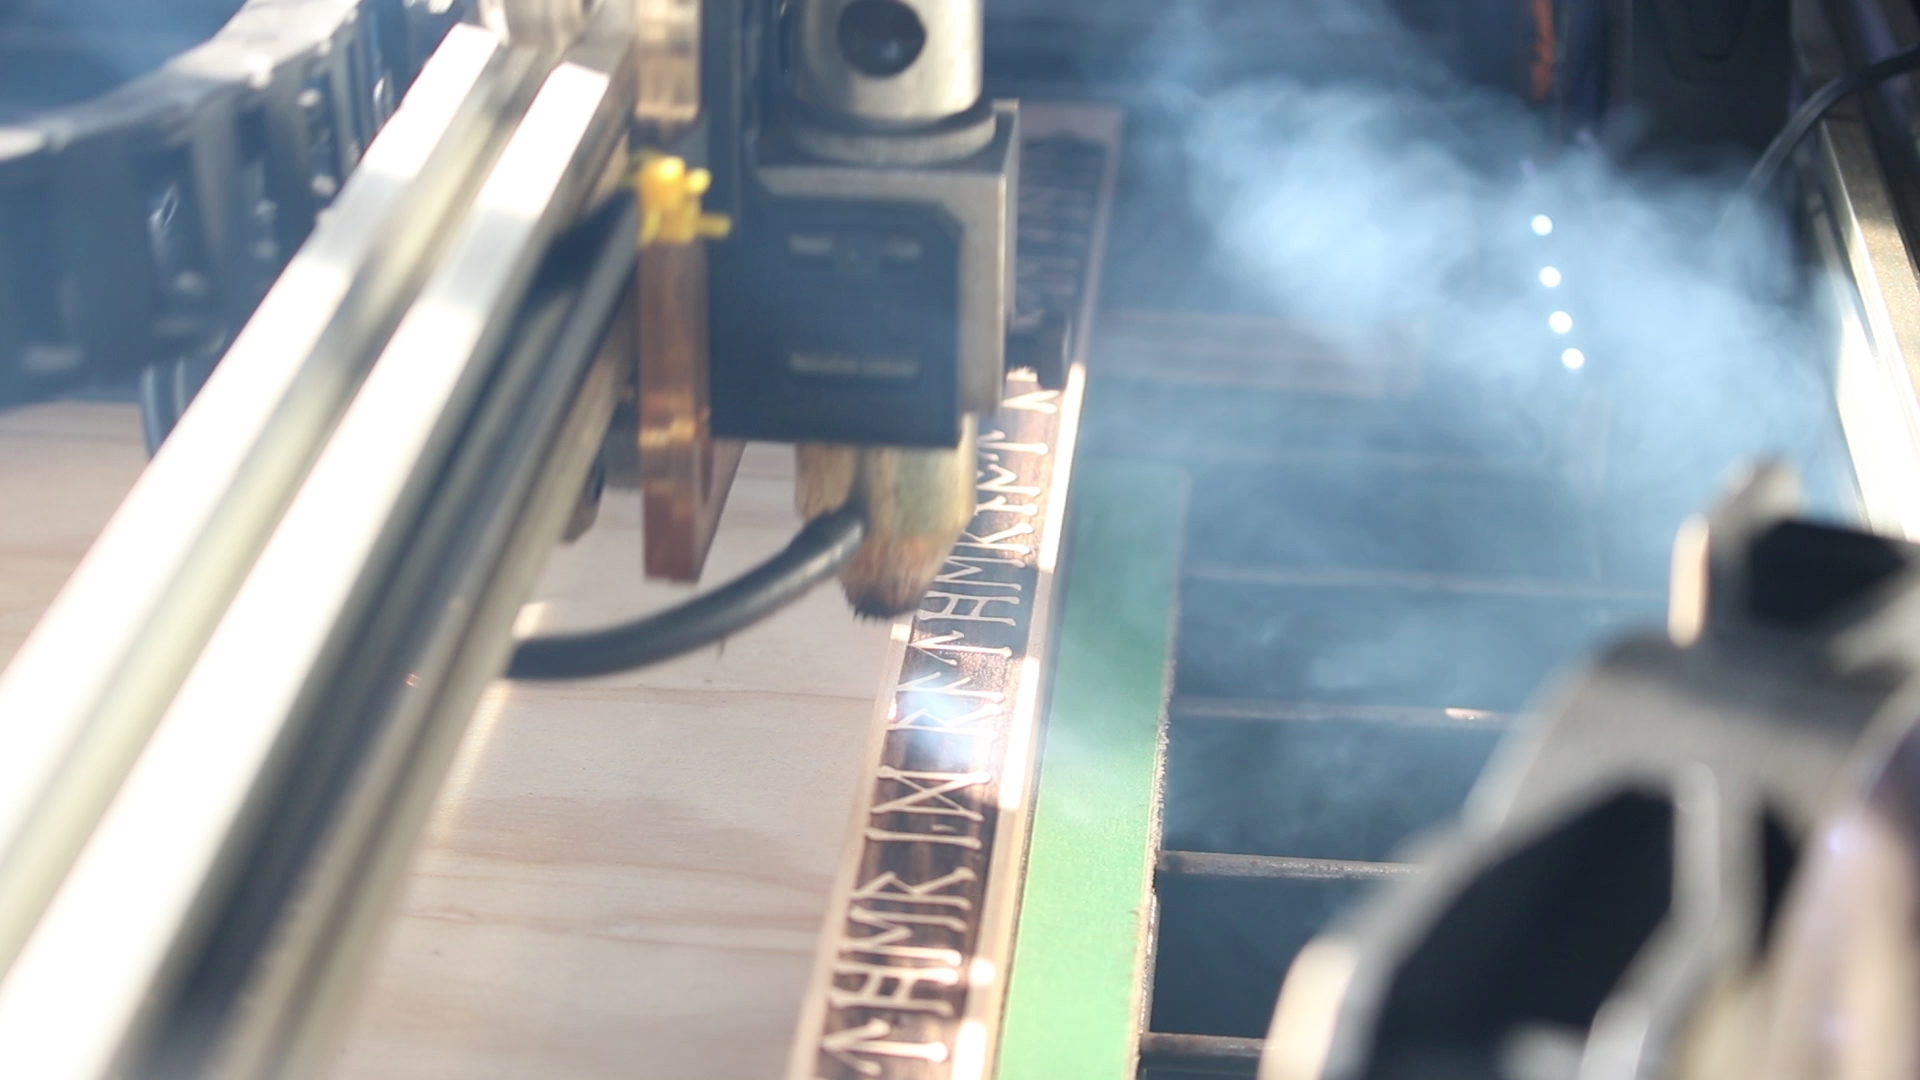
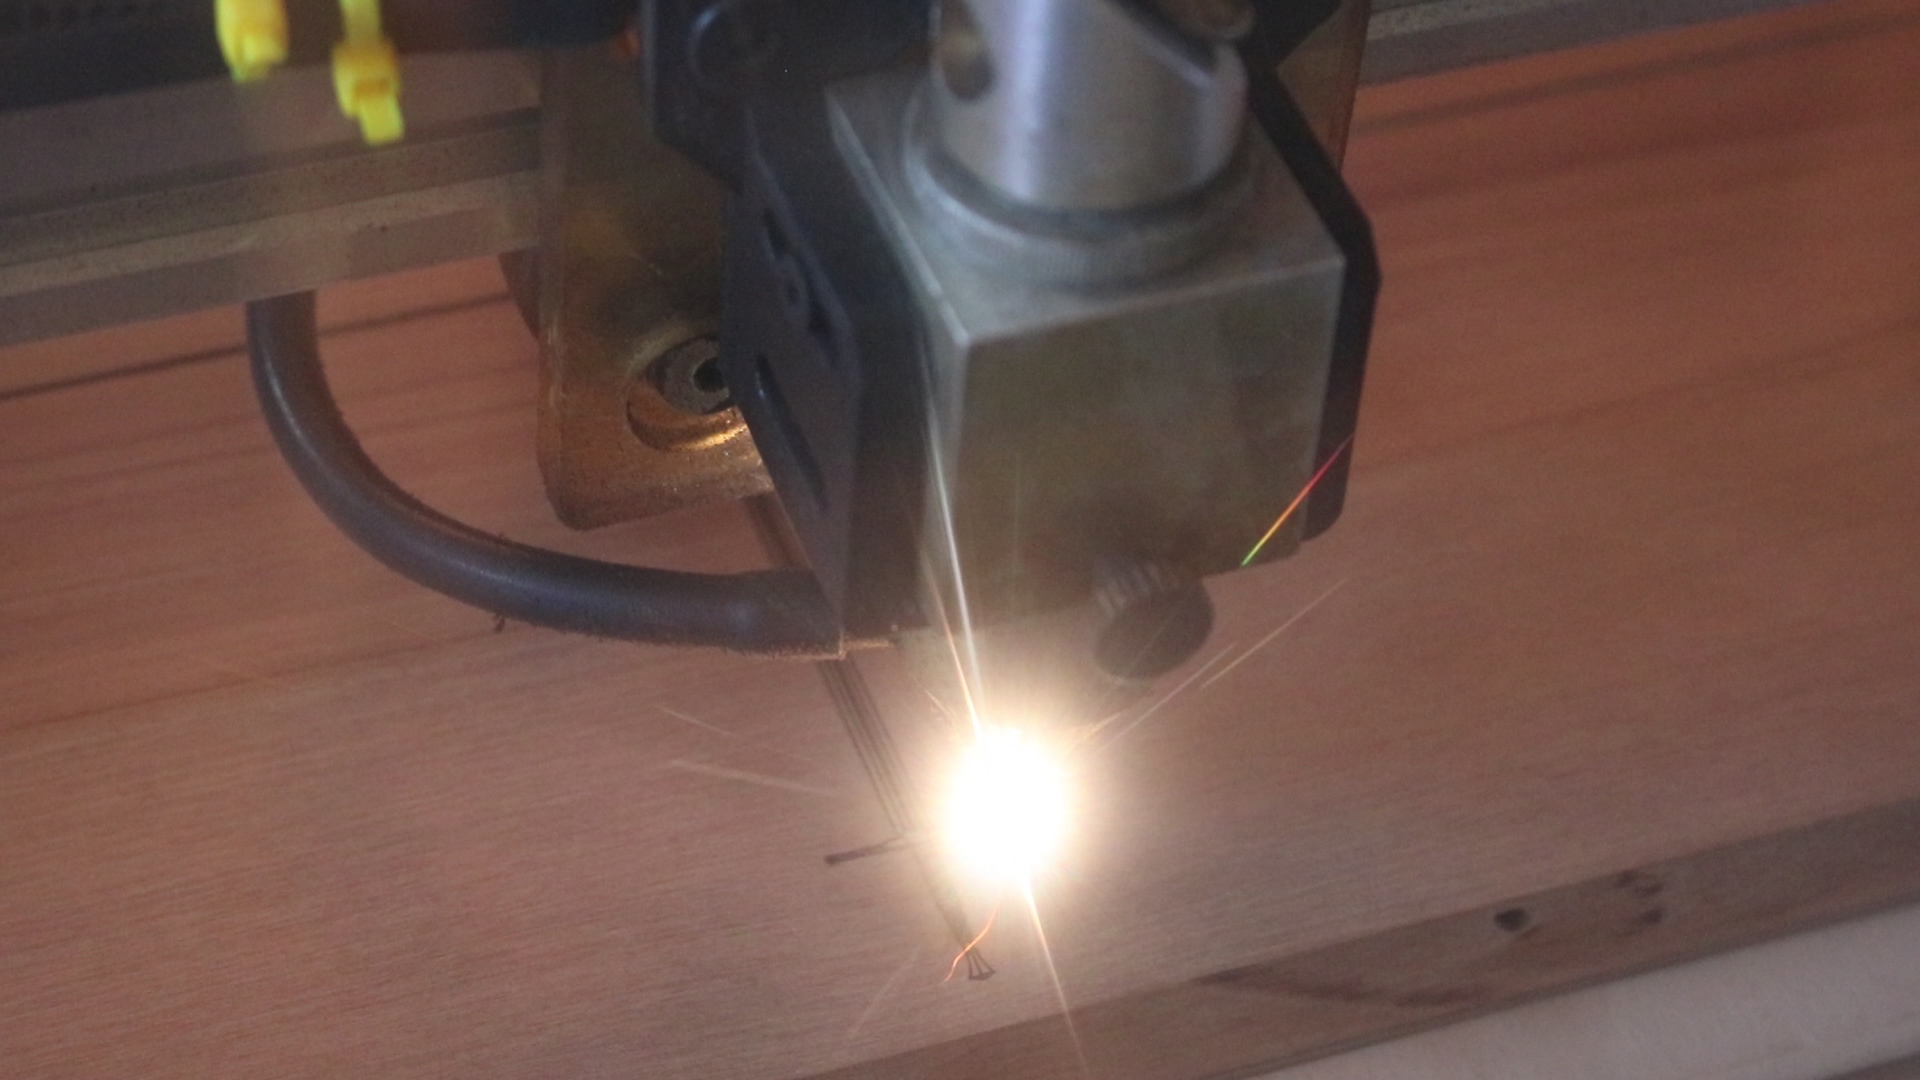
Unfortunately, the closest I’m going to get to magical engravings is using my laser cutter.
So to engrave the top of the curved lid all the pieces would need to be laid flat inside the laser cutter and then fitted back on after engraving.
So I created this jig to temporarily hold all the slats down so that I could do their final shaping but also still be to pull them off in position to lay them flat inside the bed of the laser.
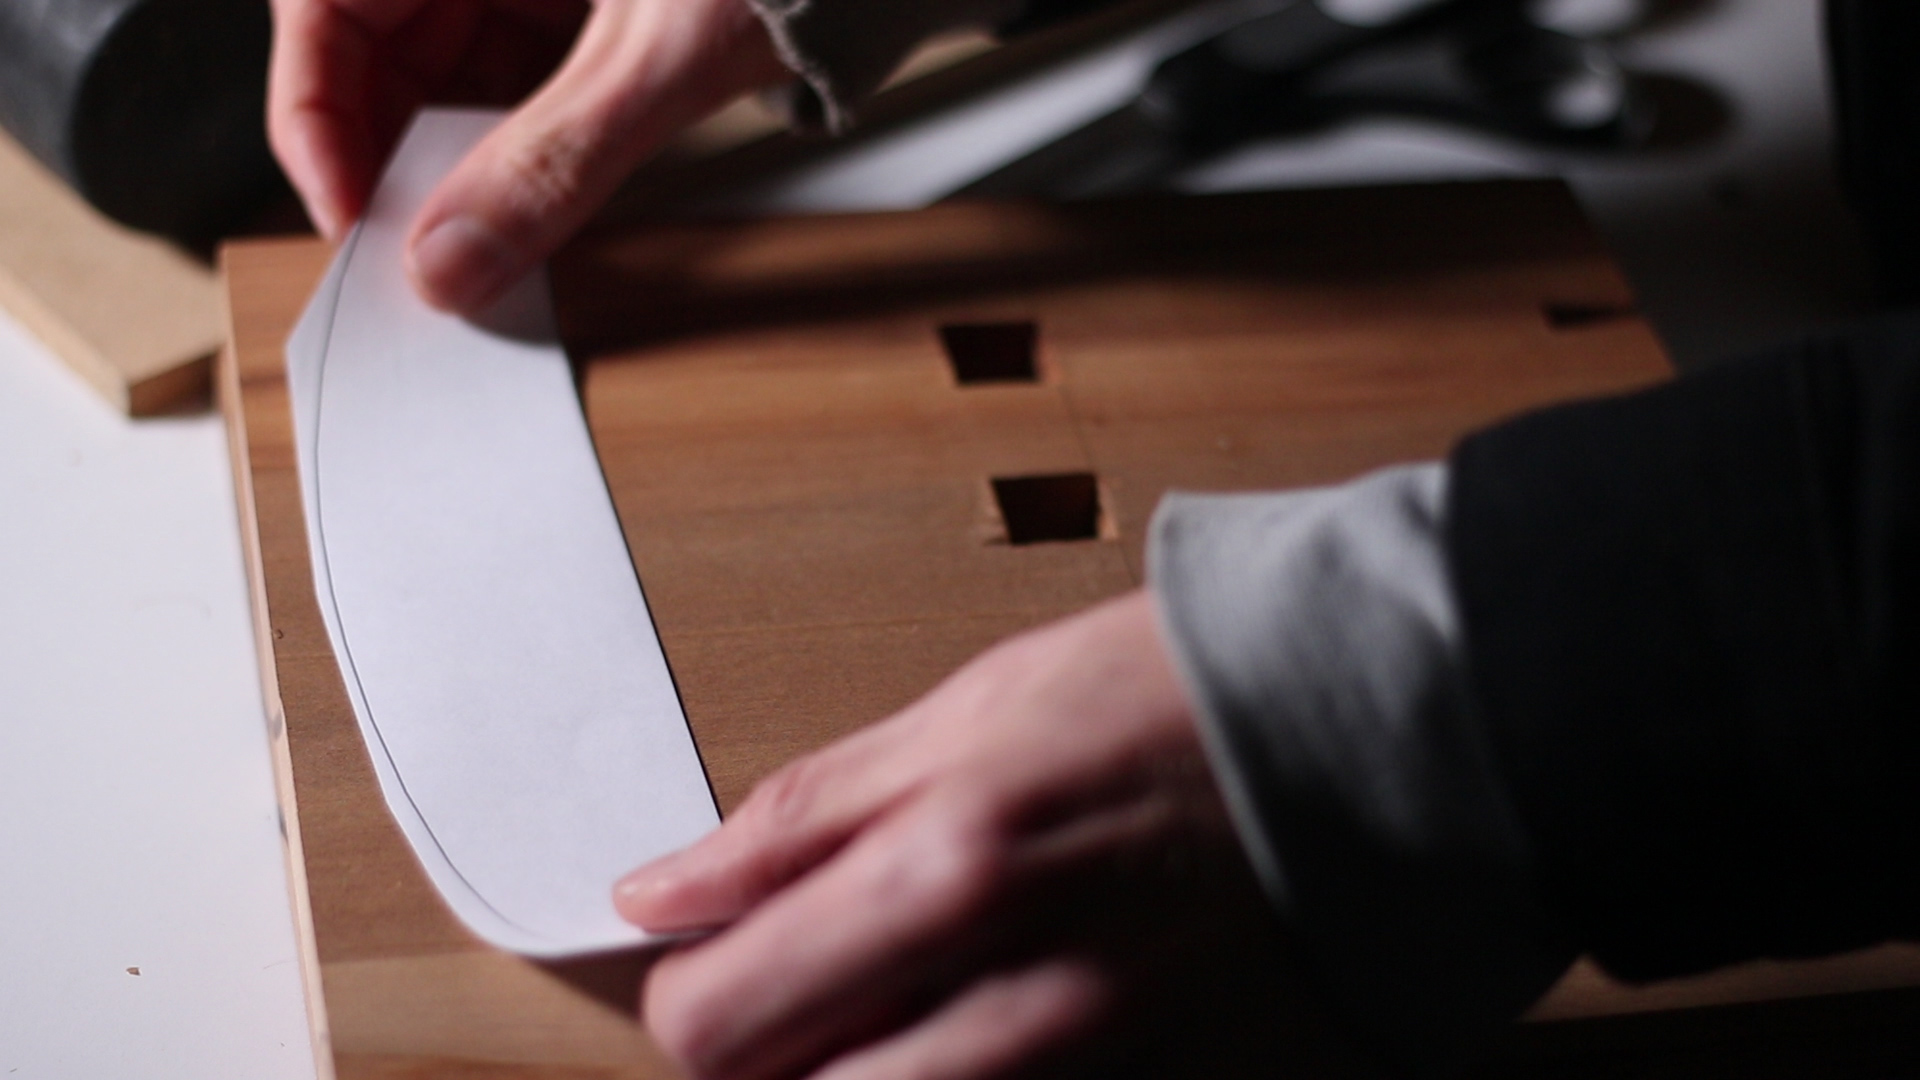
With all the parts prepped it was time to fire up the laser cutter.
To line up the pieces I used a scrap bit of plywood, which I engraved a rectangle on to. So that when I lined each of the parts up with the edges of the rectangle I’d know everything would be aligned.provided I didn’t bump anything.
I spent quite a while designing the artwork for the engravings, I wanted it to fit in the Witcher lore but not be too obvious at a casual glance. So I drew a lot of inspiration from the idea of alchemy and early astronomy diagrams. As well as elements from the Witcher Video games.
I’ll put a link below if you’d like a copy of the artwork, it seems a shame for it to be only used once.

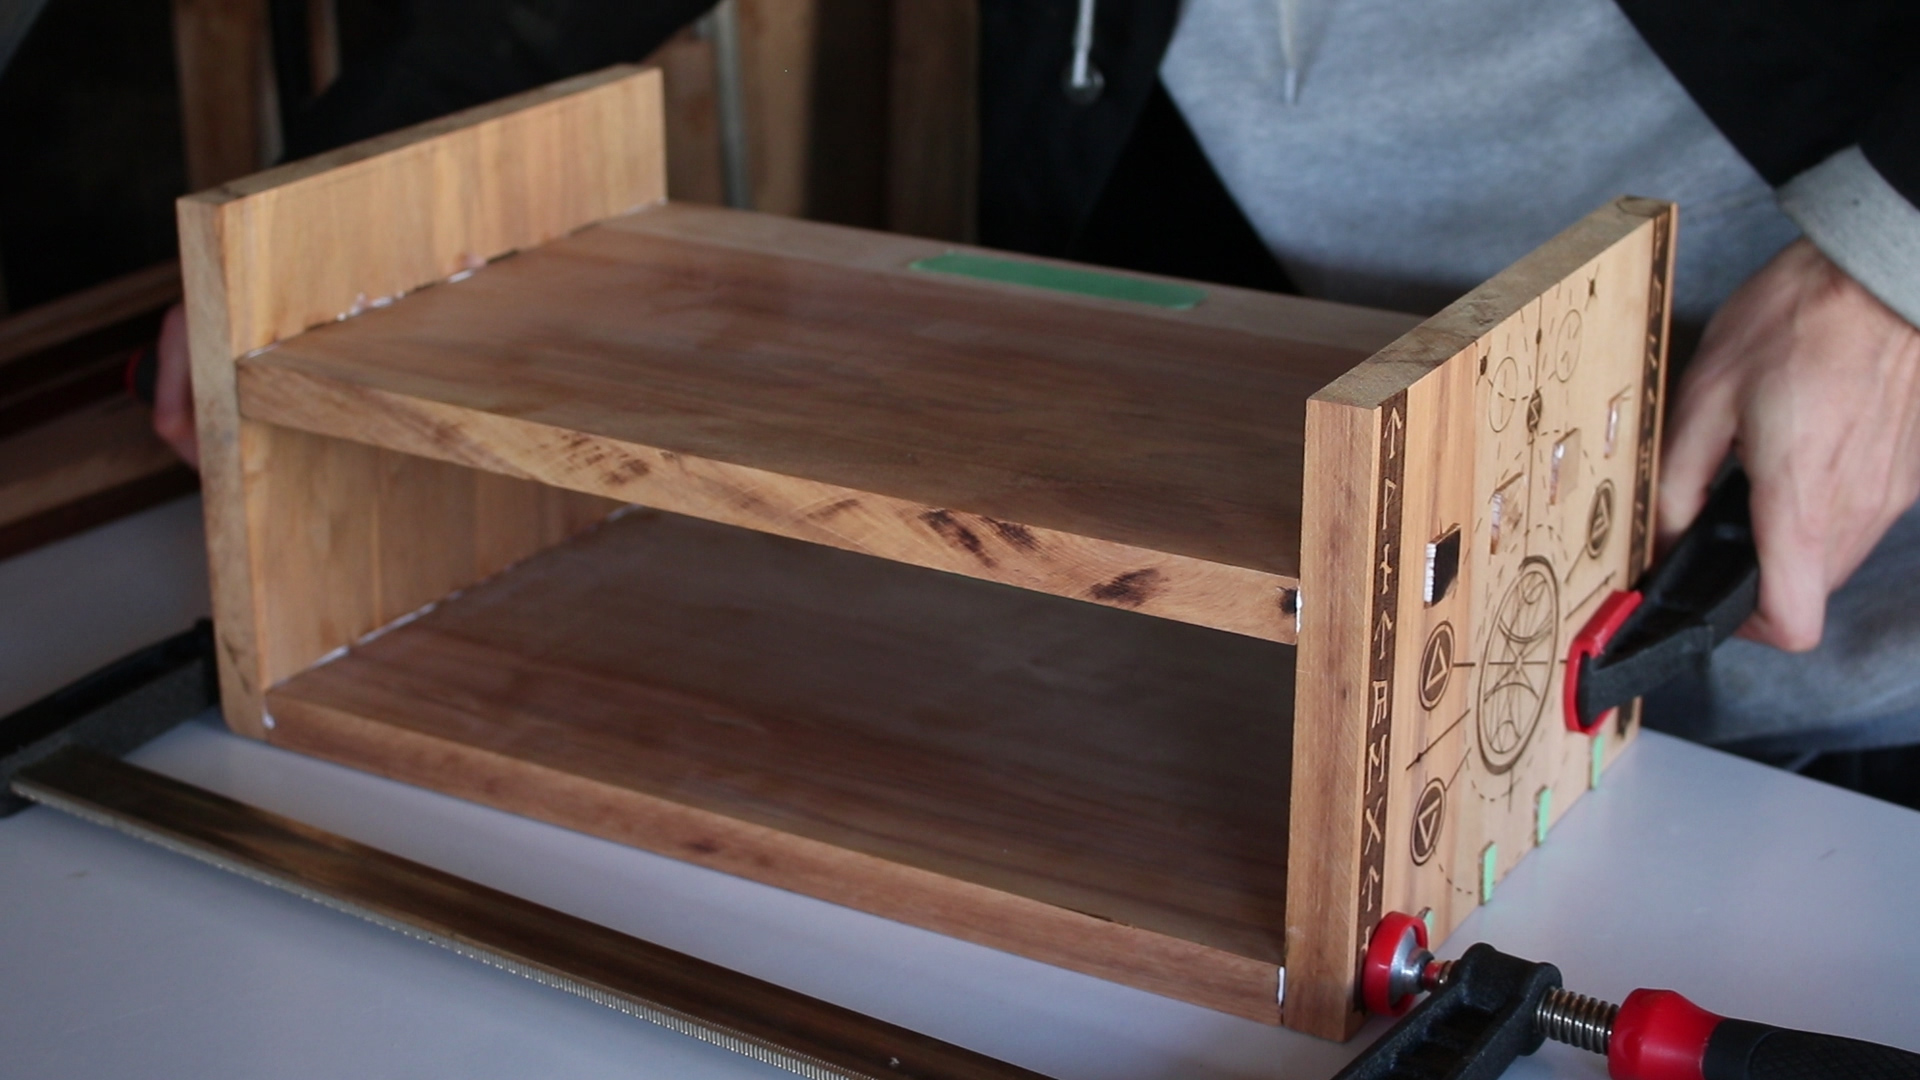

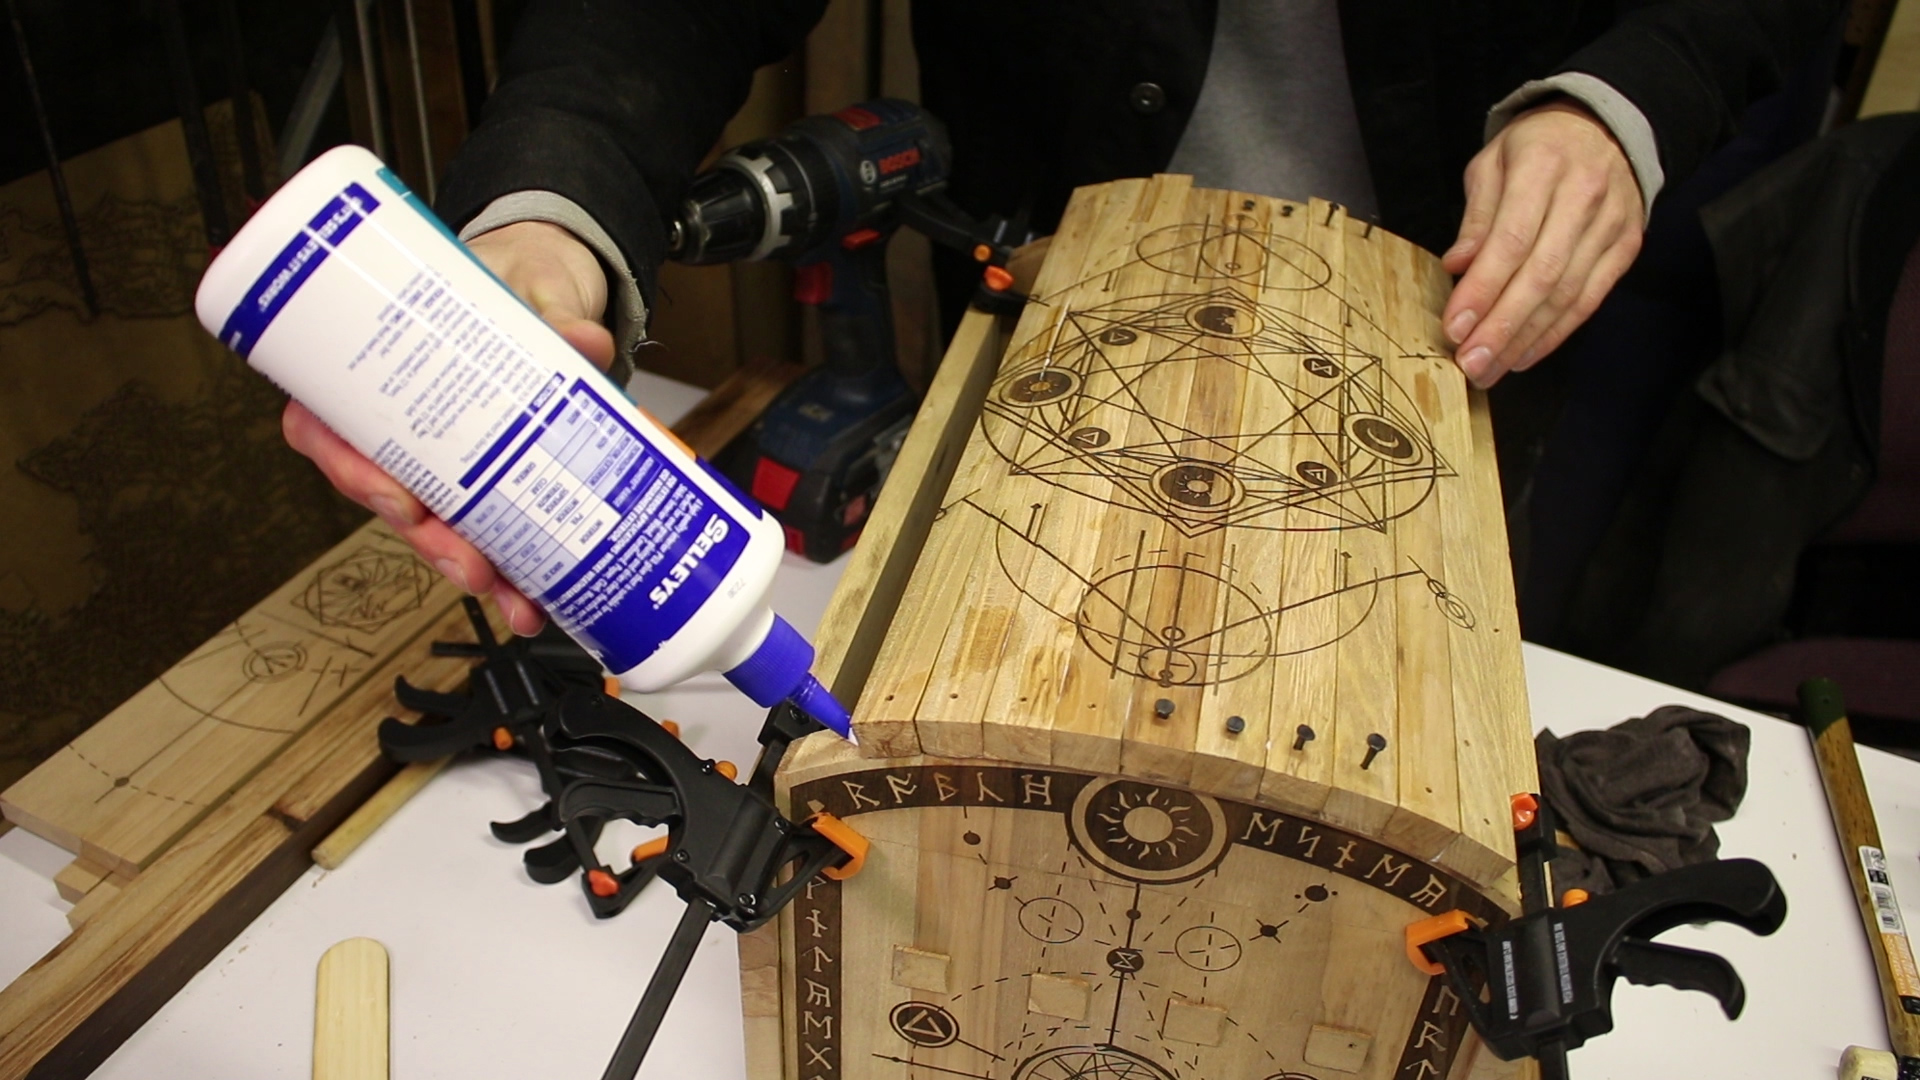
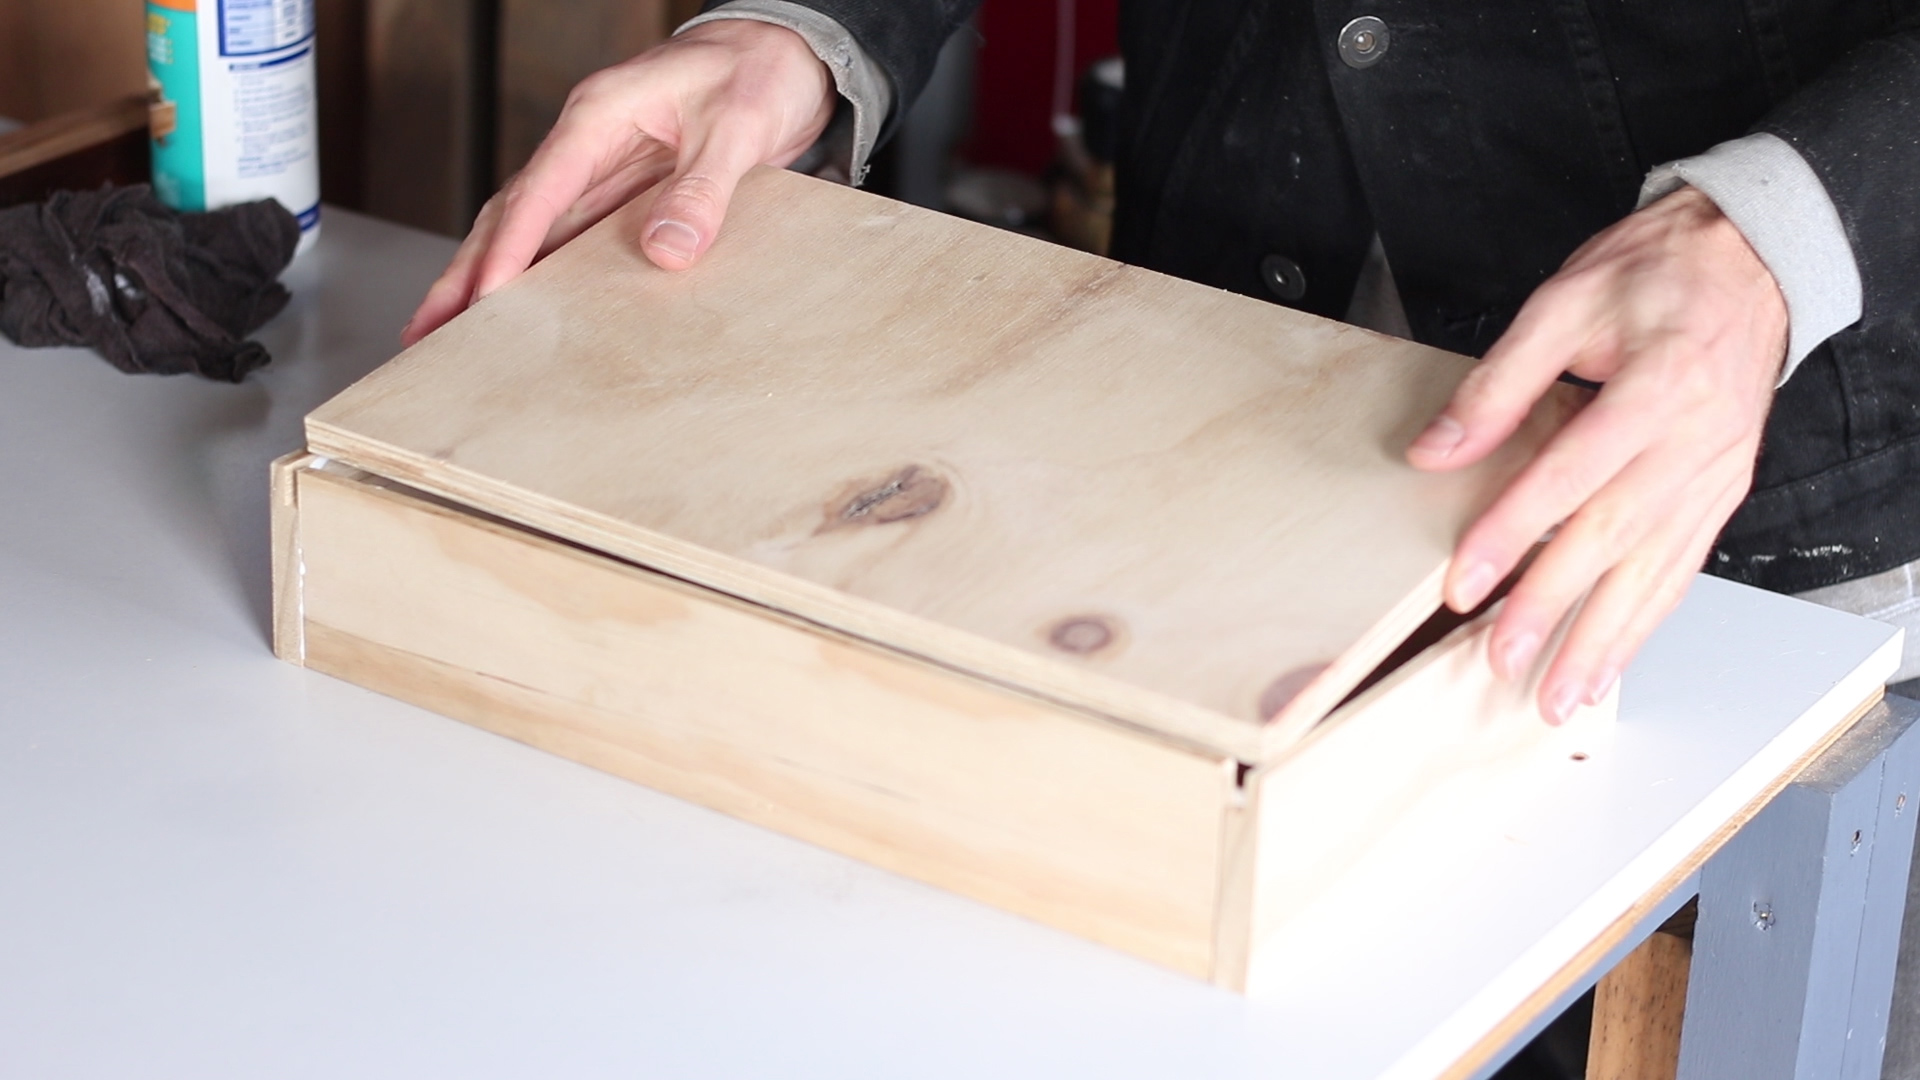
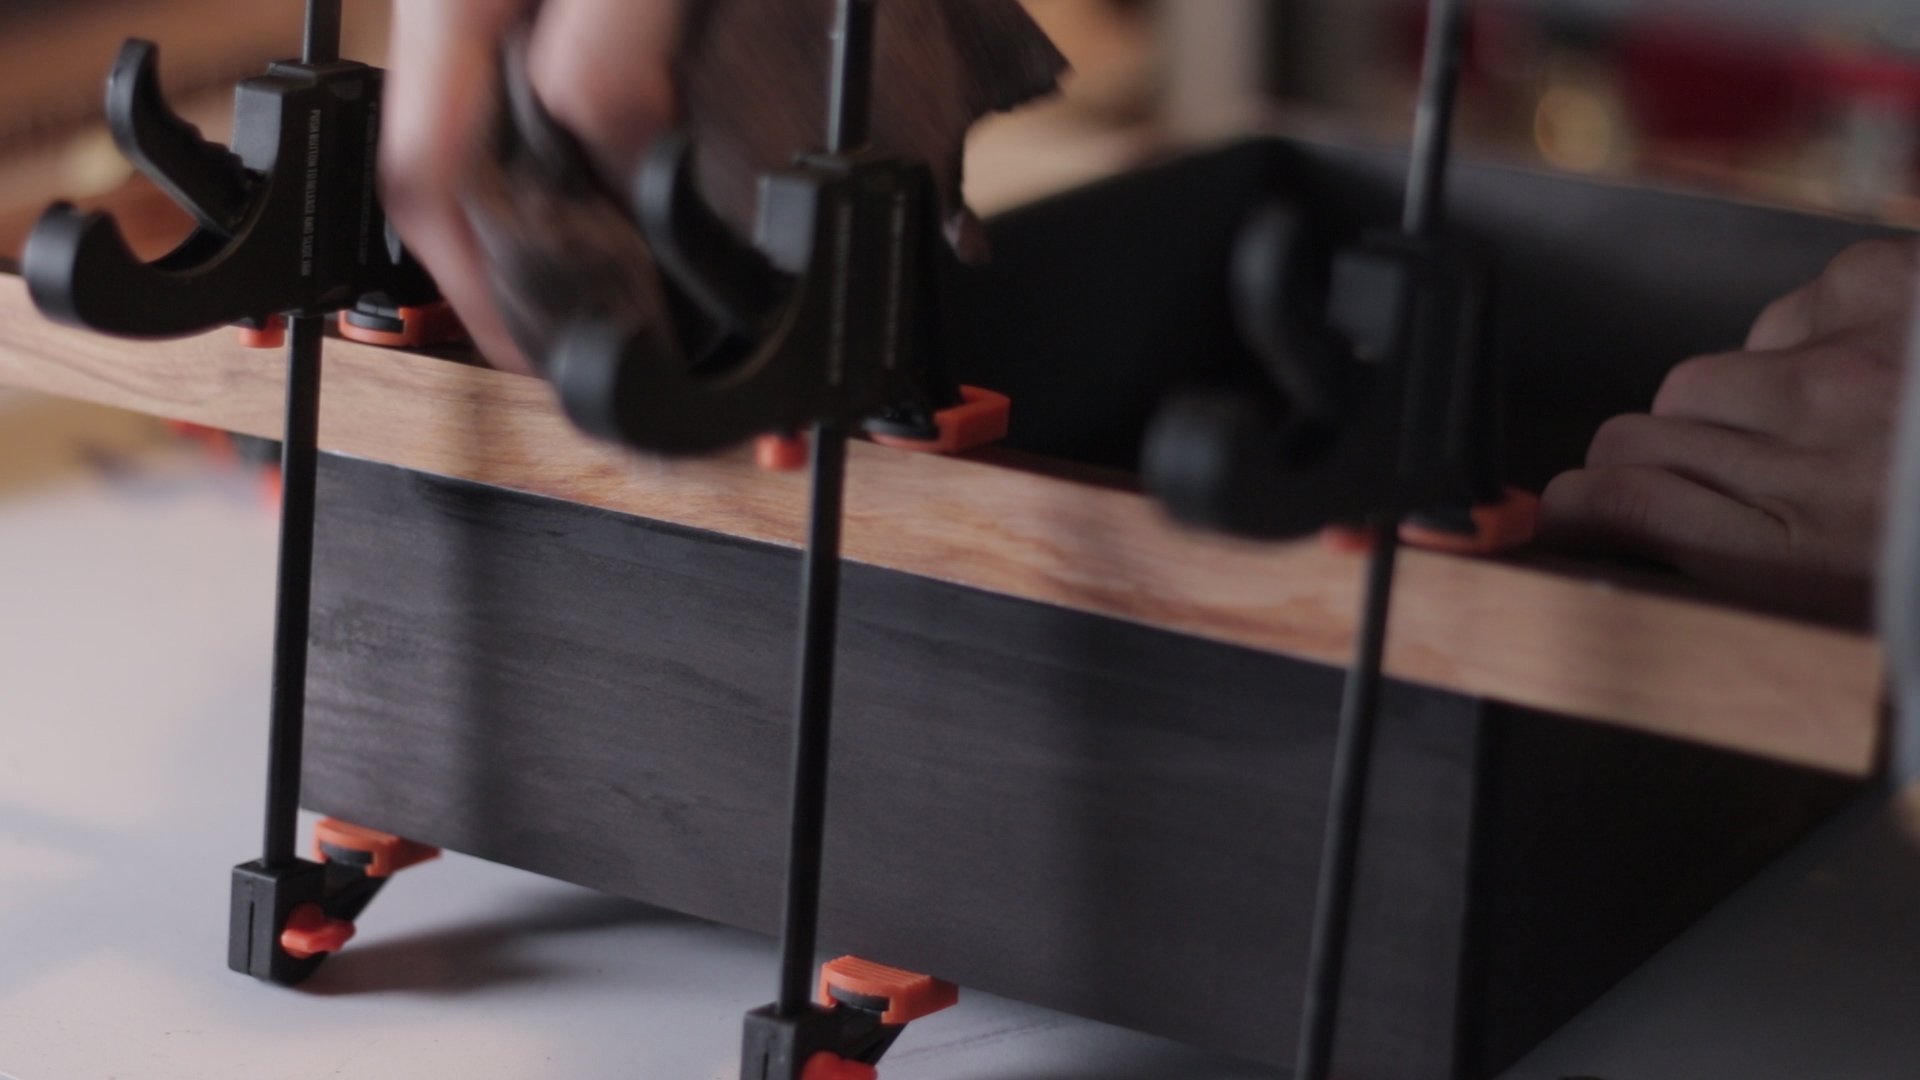
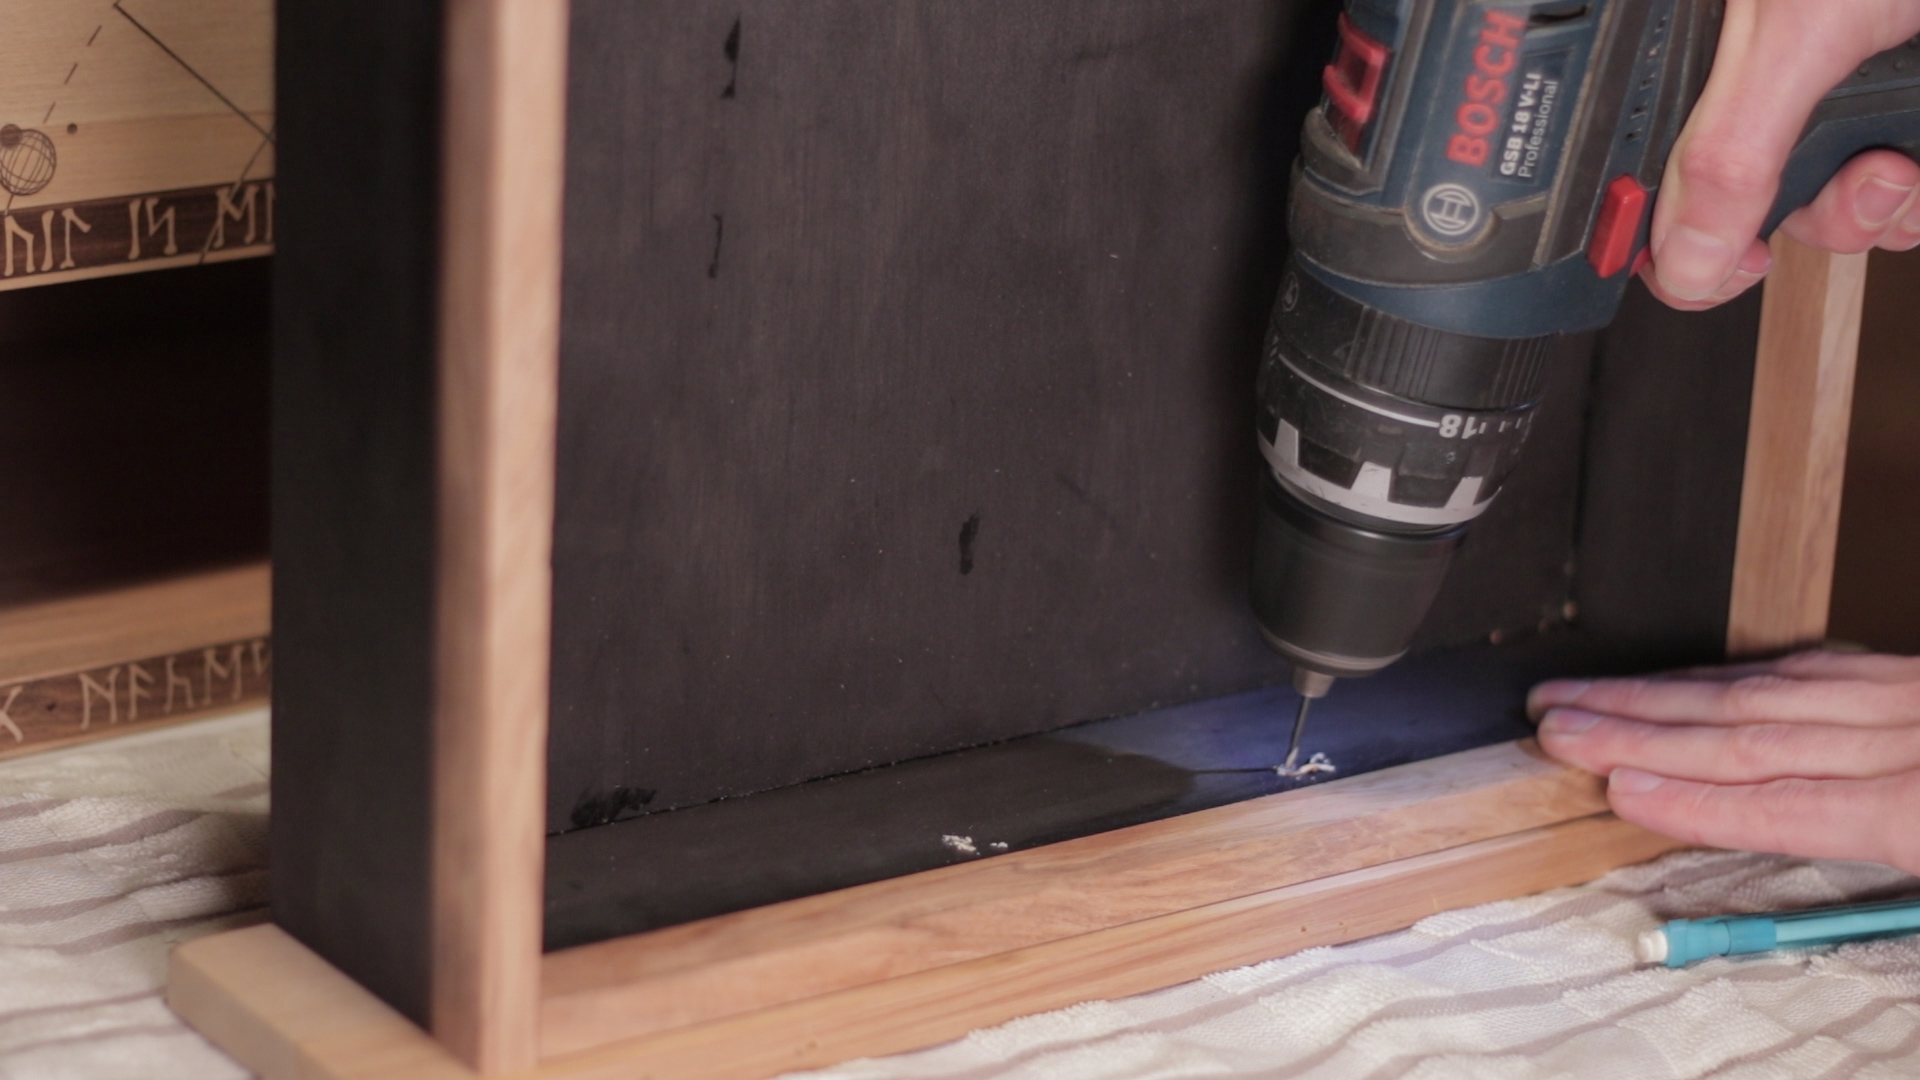
After I’d engraved the main pieces of the chest I could finally glue up all the joinery.
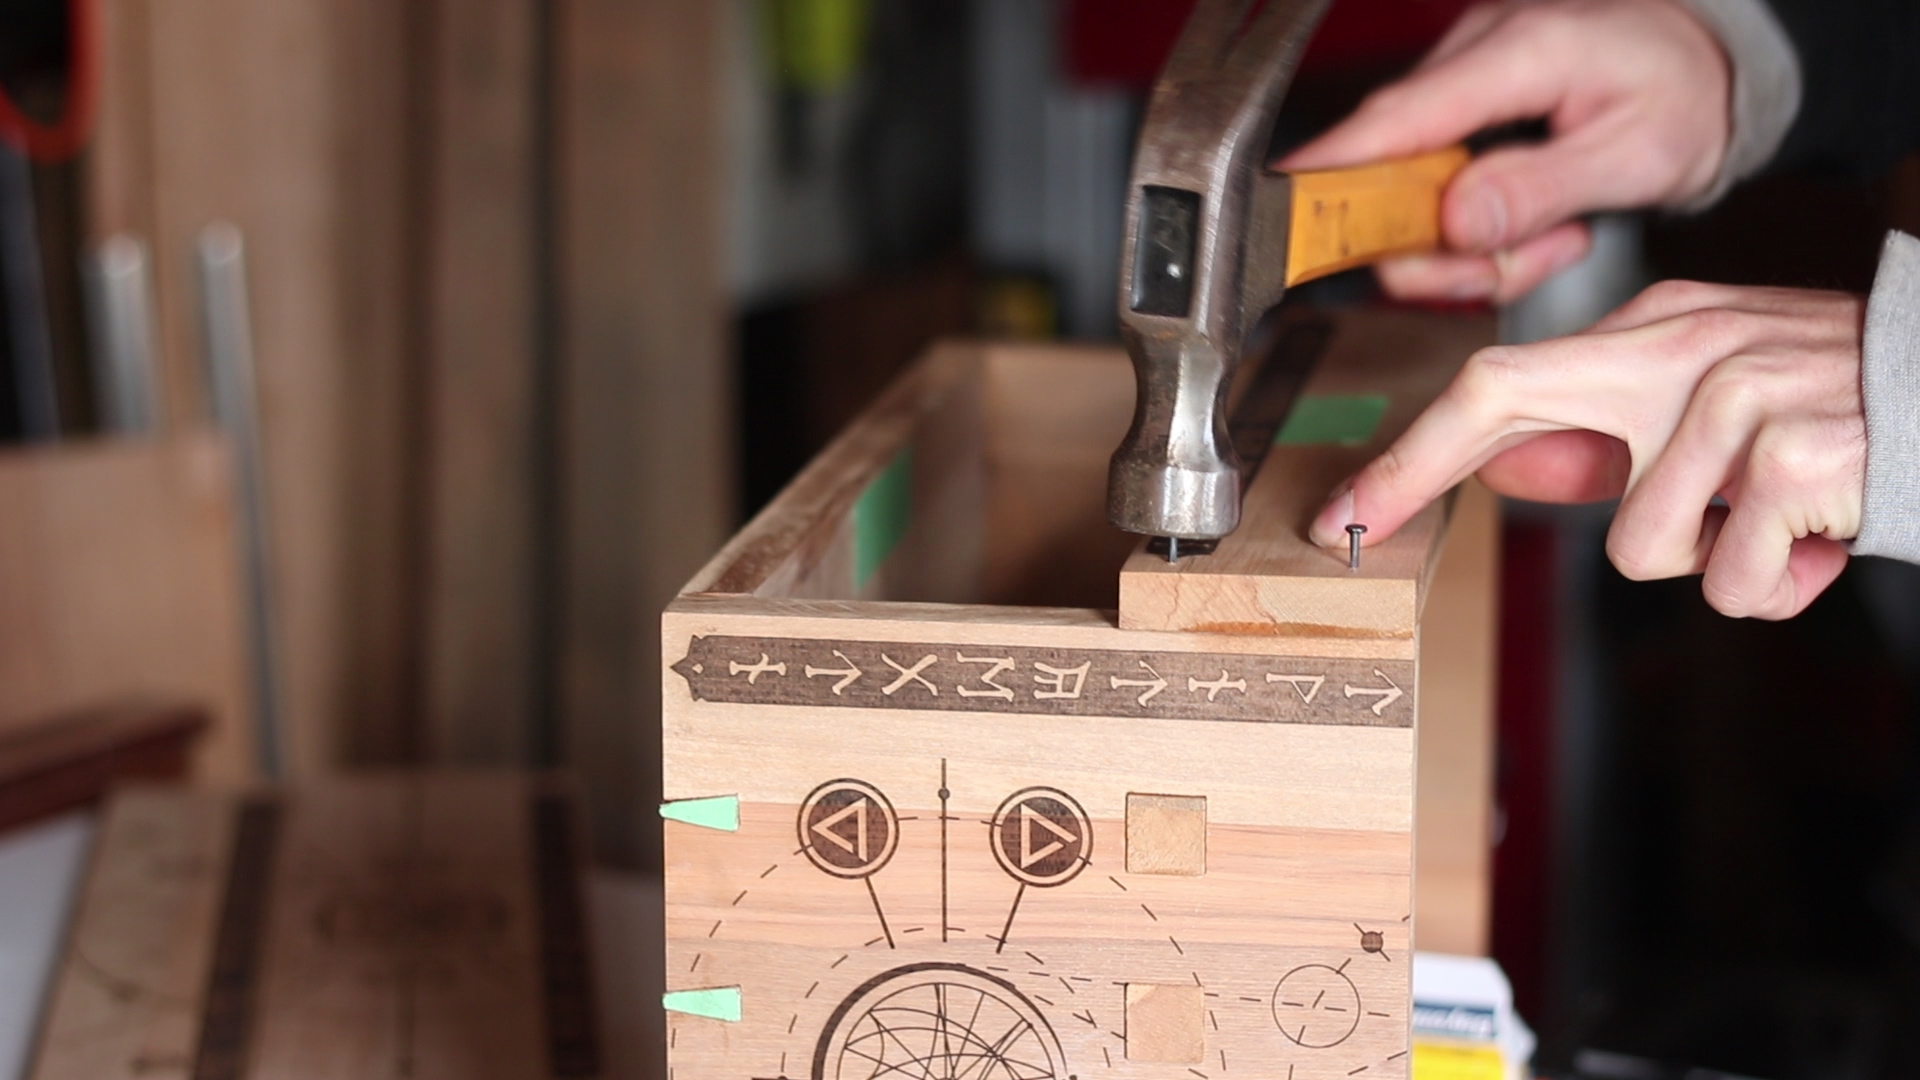
For attaching the panels I wanted to do a more old school look. So I’m using square cut tacks.
They have a really interesting shape. they have this extreme taper to them so you have to be careful you place them in the correct orientation.
You want the thin edge to be running with the direction of the wood grain, otherwise there’s a good chance they’ll split your timber.
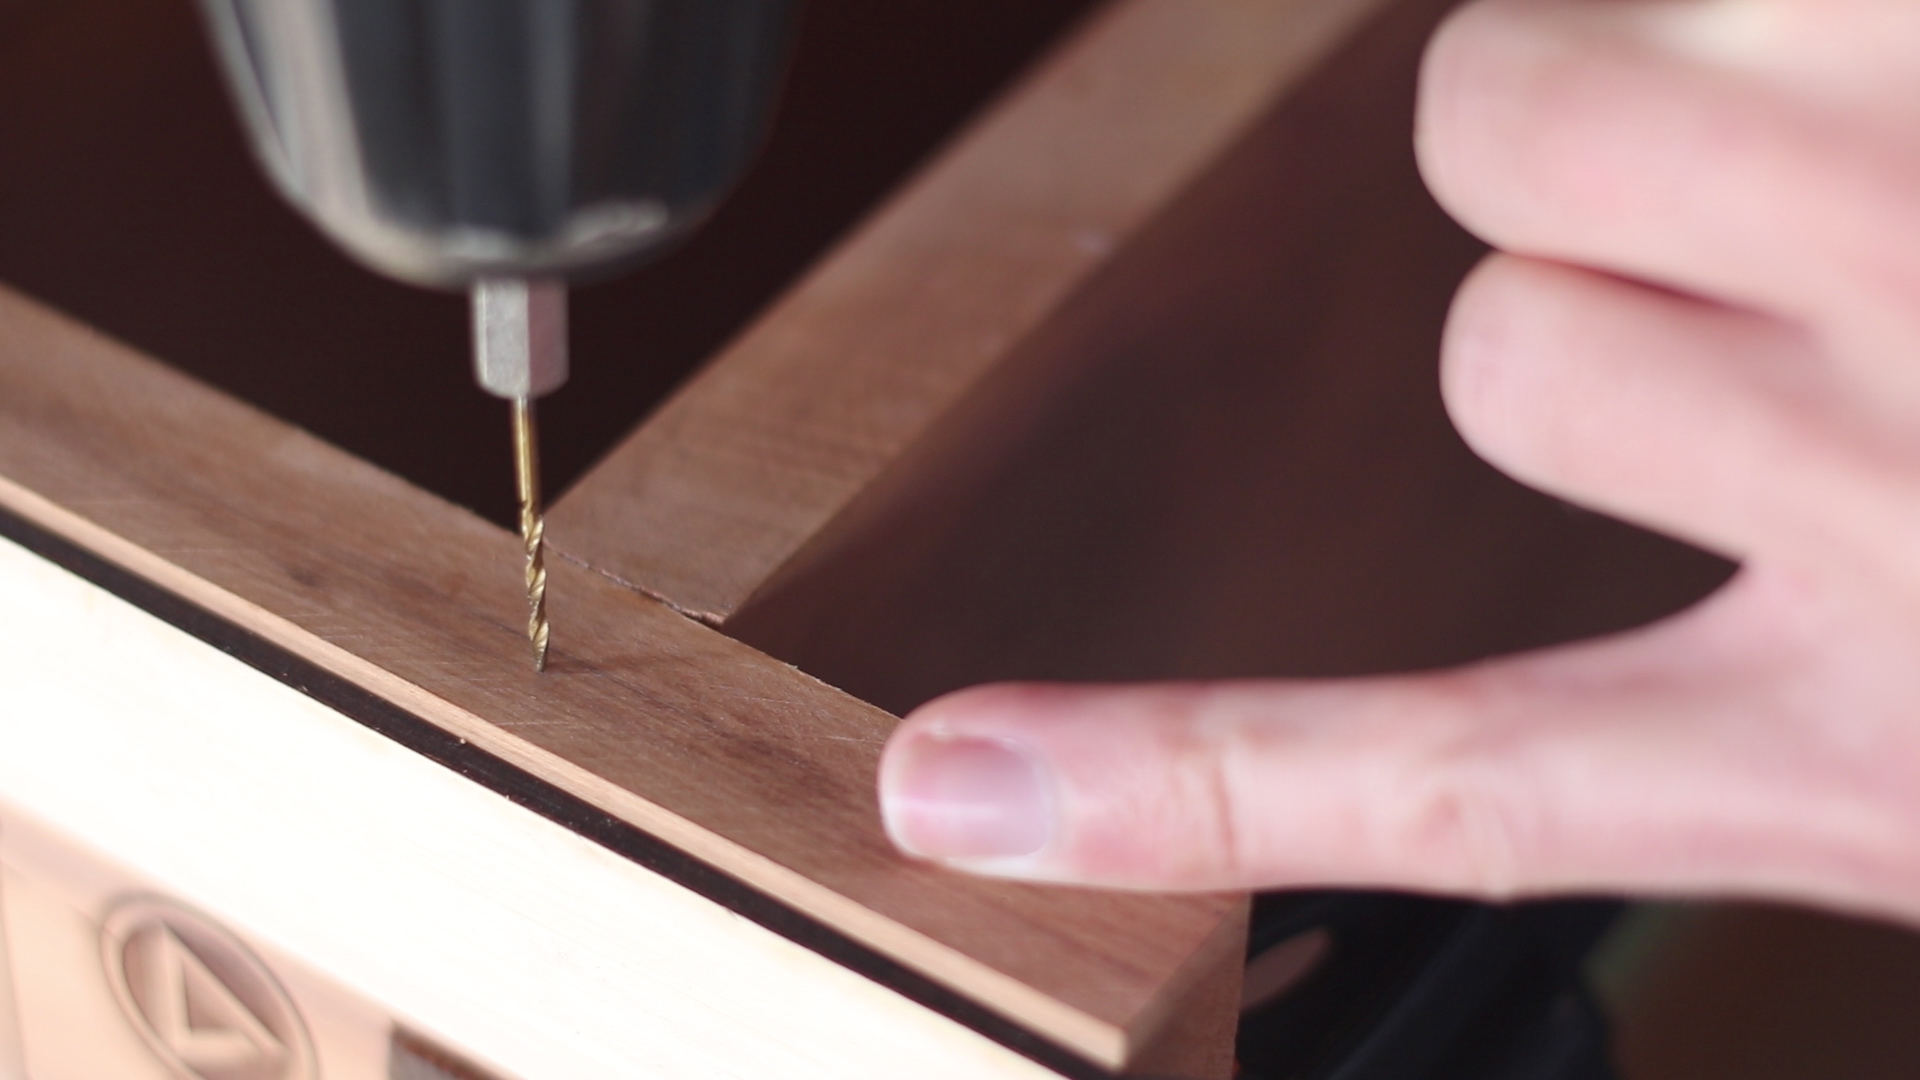
I pre drilled pilot holes just a touch smaller than the tack. Before gluing them in and hammering them down.
To further avoid splitting and because of the tack’s extreme taper I also drilled pilot holes in the substrate piece, but with a size smaller drill bit.
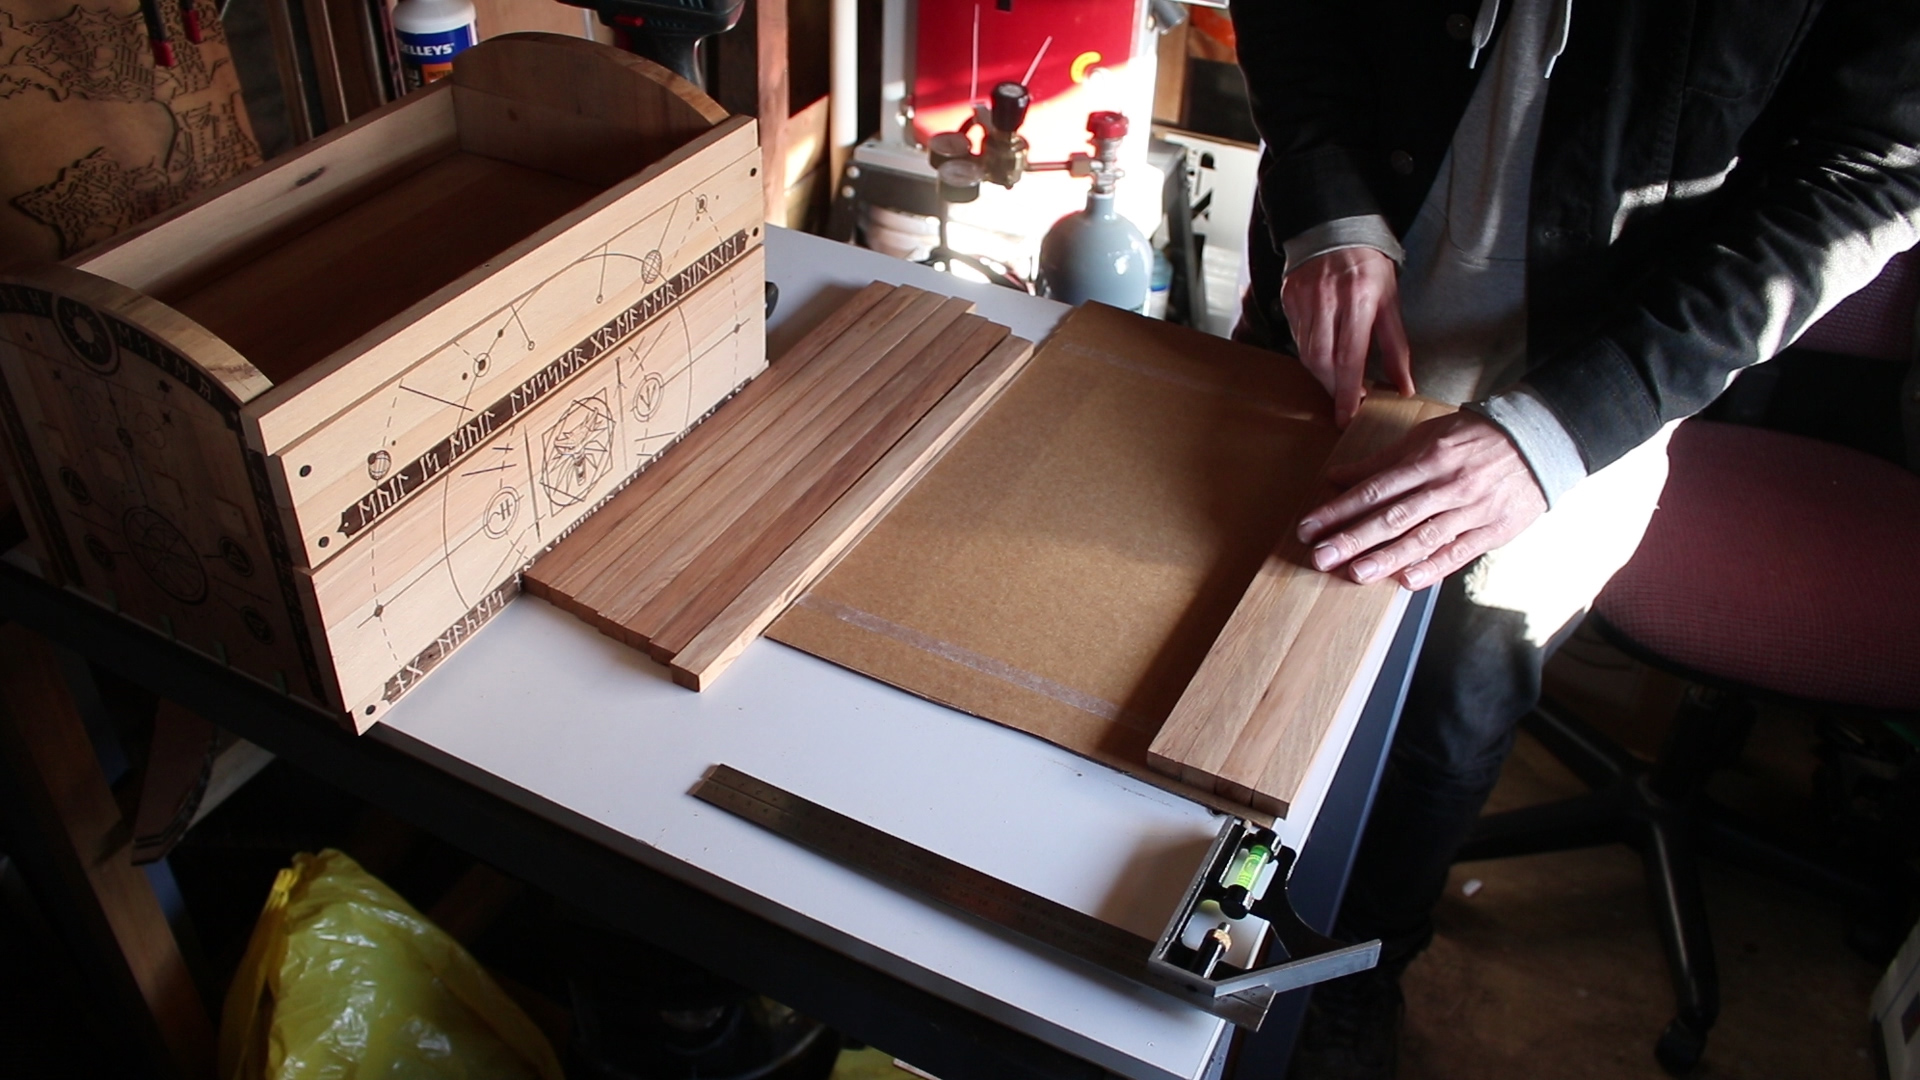
With the chest carcass glued up I could tackle the lid slats again - I’d left them up until now so that I could get final dimensions off it for sizing the lid engraving.
I pulled the slats off the jig I made earlier - numbering them so that I could keep their orientation - and now I can stick them down flat to be laser engraved.
Which I would show you right now - except I lost the footage of that happening. So ‘ll you’ll just have to believe me.
With the slats back from imaginary laser engraving. I could - at last - attached them as one piece.
I had to be careful of glue squeeze out because I couldn’t really come back and sand it out, because the engraving is only a millimeter or so deep. Which is also why I had all that fuss earlier with the smoothing it all on the jig first before engraving.
Because this chest already weighs a ton, I’m making the drawers from pine.
I measured the pieces in place, before marking out and cutting the joinery for the drawer sides.
I used this kind of ‘locking dado joint’
Which you make by cutting a half dado on one side and a full dado on the other.
I also cut a recess for the bottom panel.
The glue up was super easy - just connected the four corners and dropped in the bottom panel, before throwing some clamps on it.
I’m using a black tint to stain the pine so that it fits with the colour pallet of the rest of the chest.
To tie it in a little nicer and because my drawer sides were a little low I added some rimu trim to the top edge.
I could then attach the face panel
I used playing cards as shims to make sure I had an even gap. And then used my old faithful double sided tape to get the position bang.on before screwing it down.

Ah we’re so close to getting this done.
I just need to trim up a few final spots that I left long.
This was a little bit nerve wracking, but I feel like it was the best way.
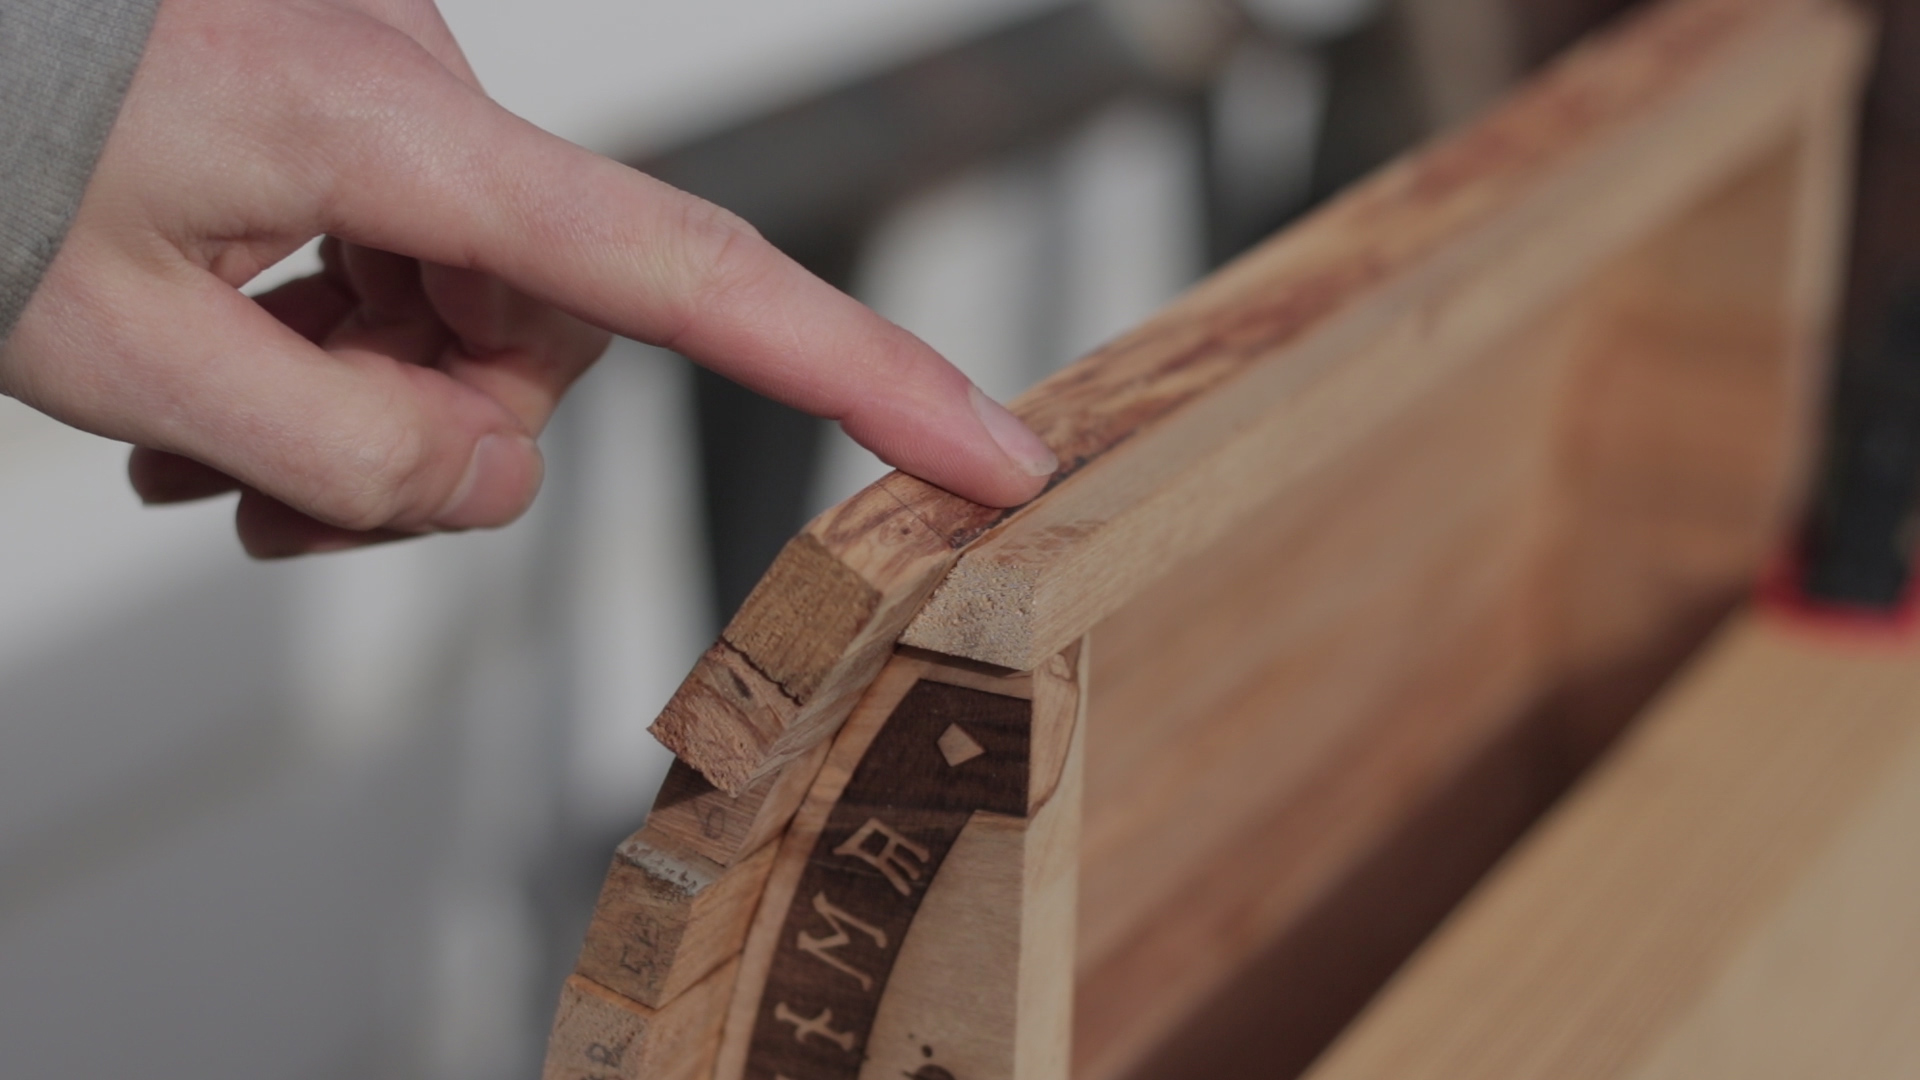
You might have noticed I left all my dovetail pins and tenons long - rather than trimming them flush, ‘cause I kind of like the extra dimension it gives, makes them a bit more of a feature.
After a quick clean up, It is time to apply the finish.
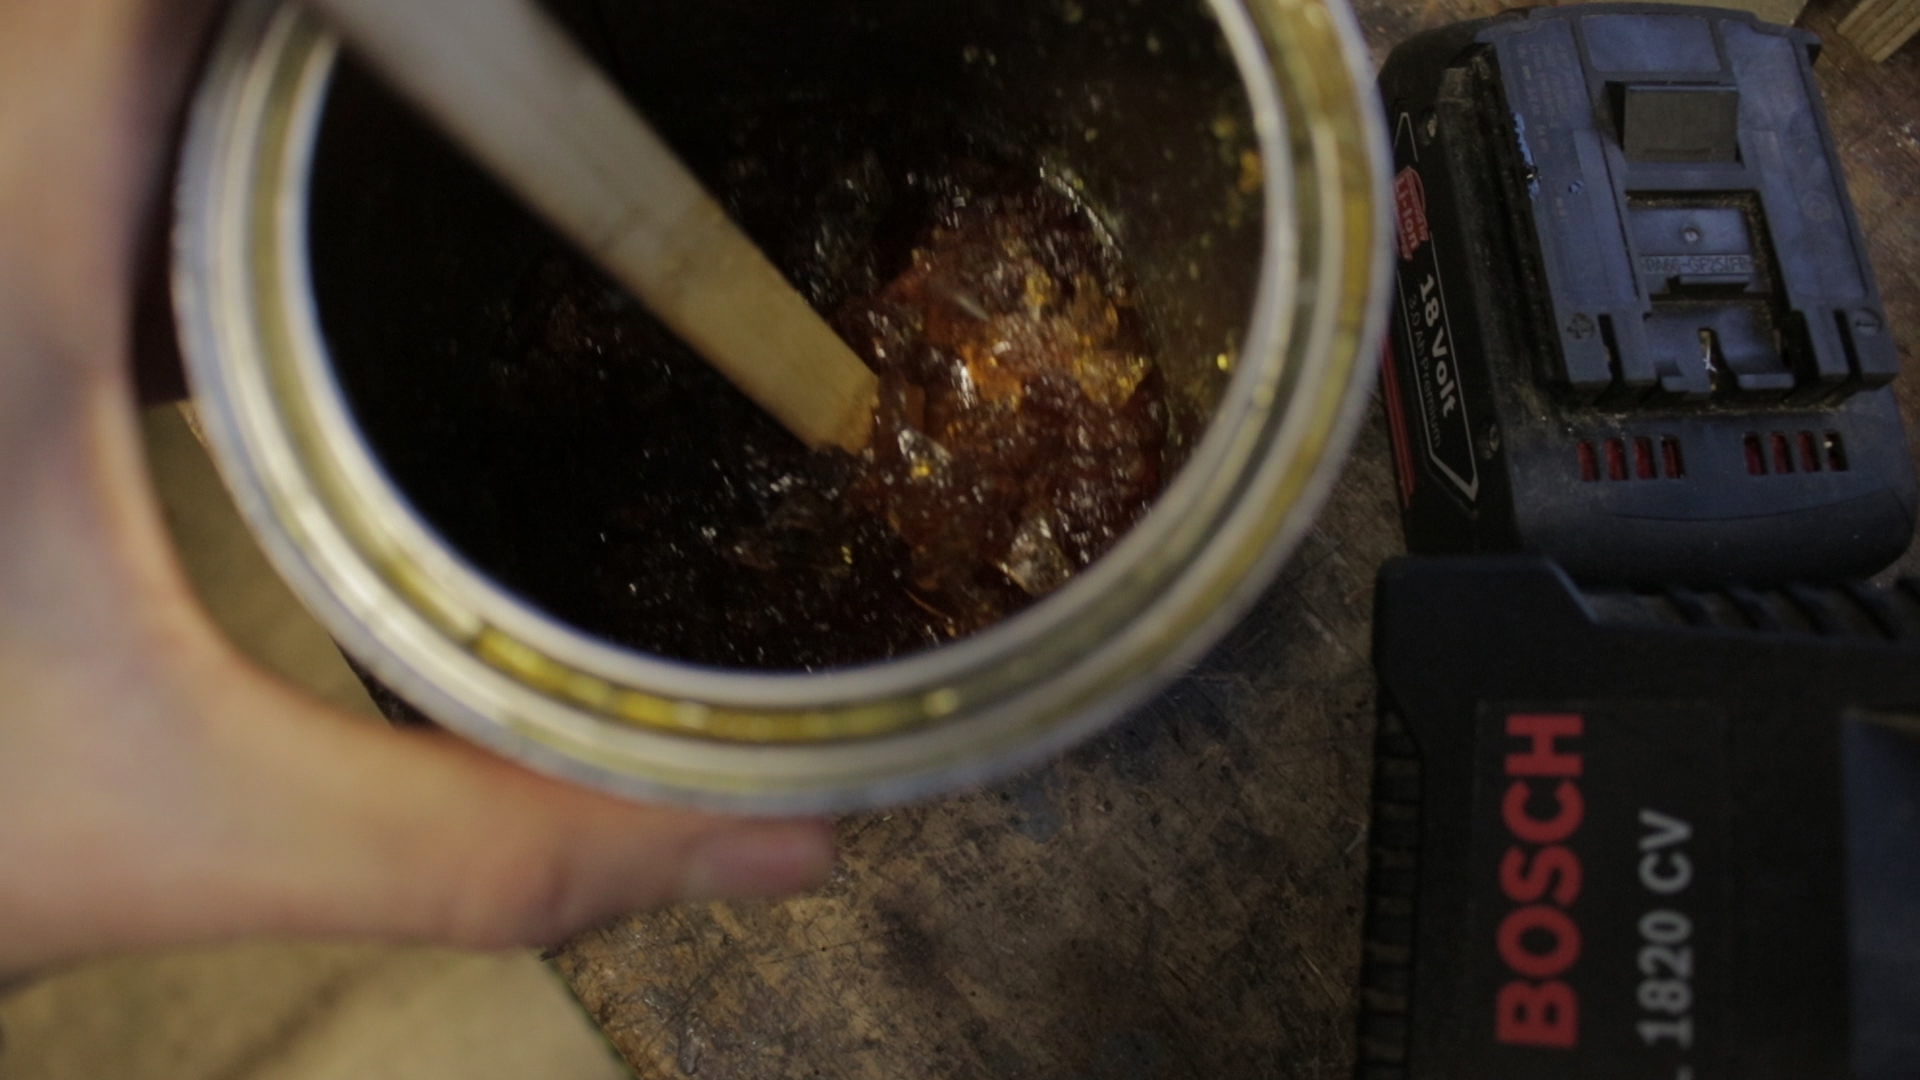
I was going to use the last of my Danish Oil to do this, but it looks like the jelly you used to get at the all you can eat dessert bar back when Pizza Hut was an actual restaurant.
Sooo I’m using wipe on poly instead.
Which is going to be my new go to - because it doesn’t take an eternity to dry like the danish oil does.
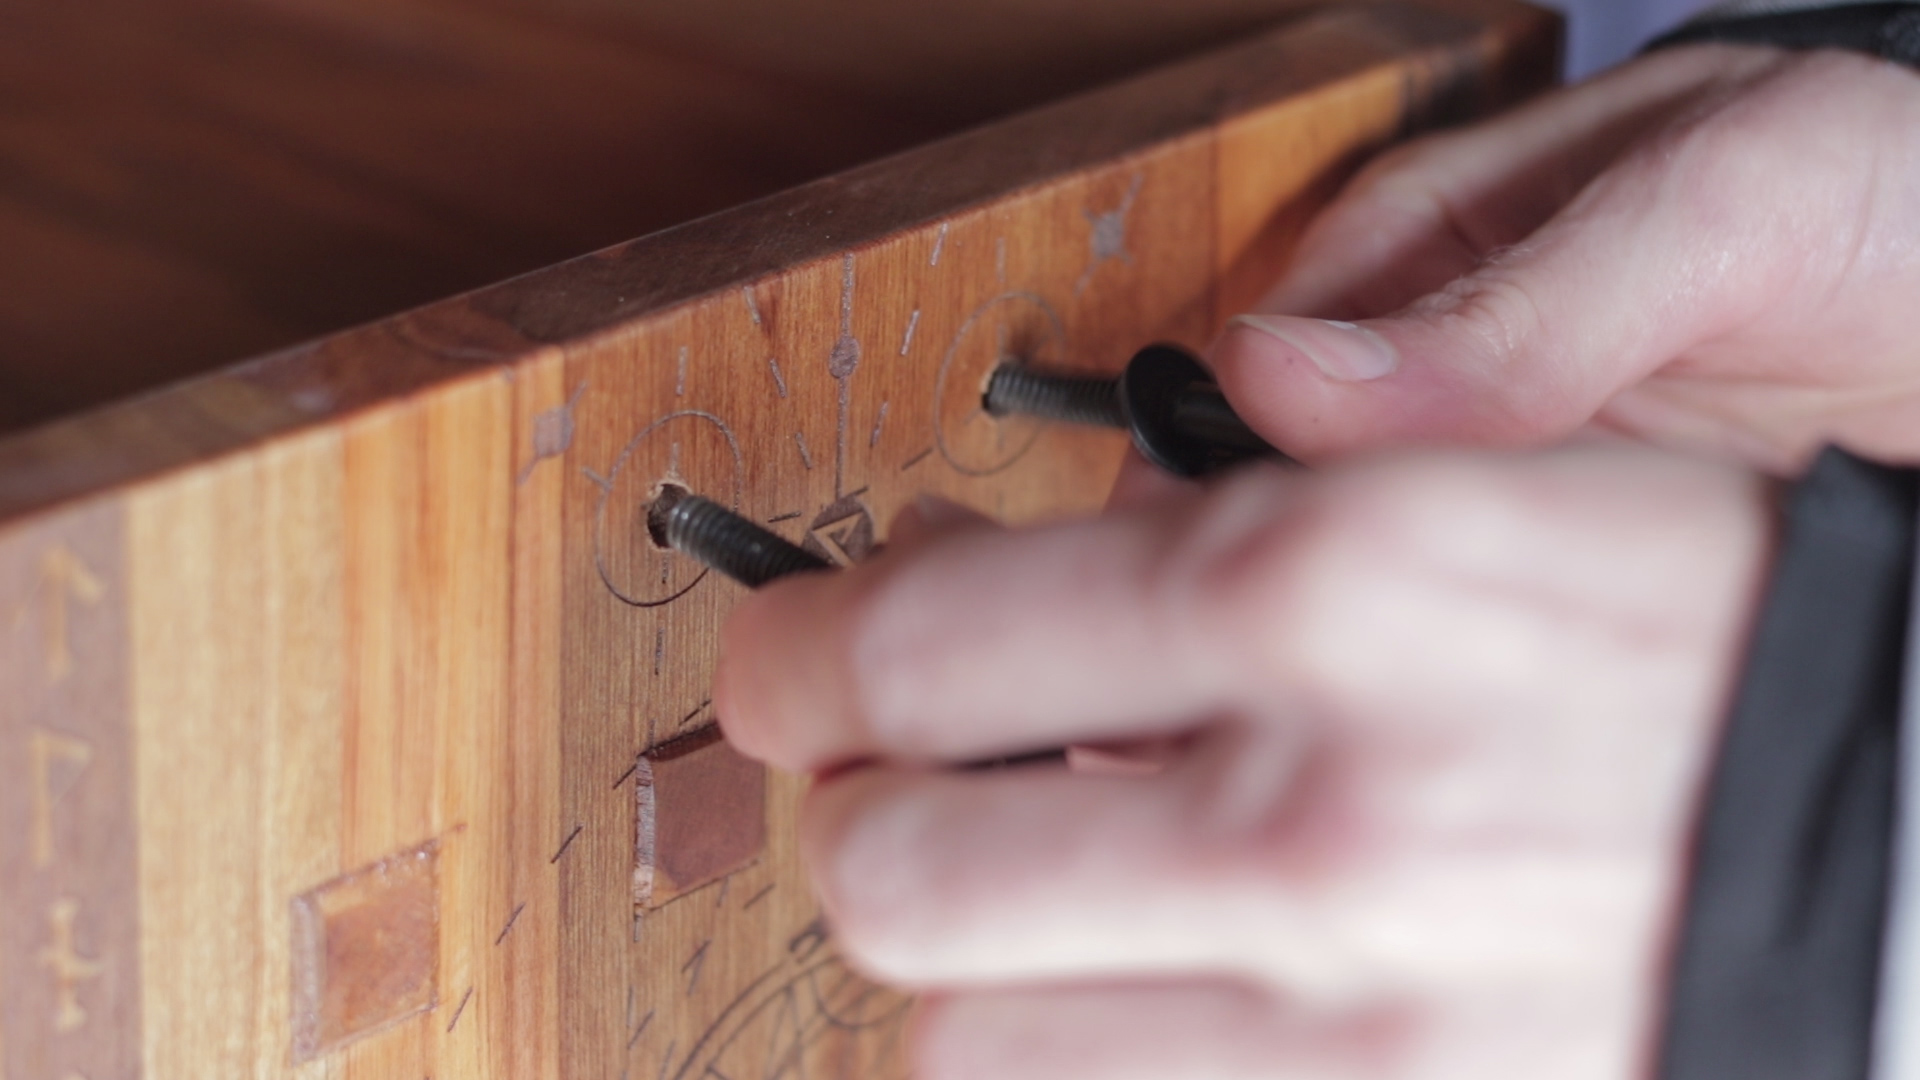

So when I did the artwork for the engravings I created little points where they would match up to location of the hardware. I did the artwork and engraving before I had the handles, so they’re not completely perfect, but they’re pretty close.
I would really love to one day be able to forge my own handles and hinges and things, I think that would have been awesome, but for now I’ll have to settle with the store bought variety.
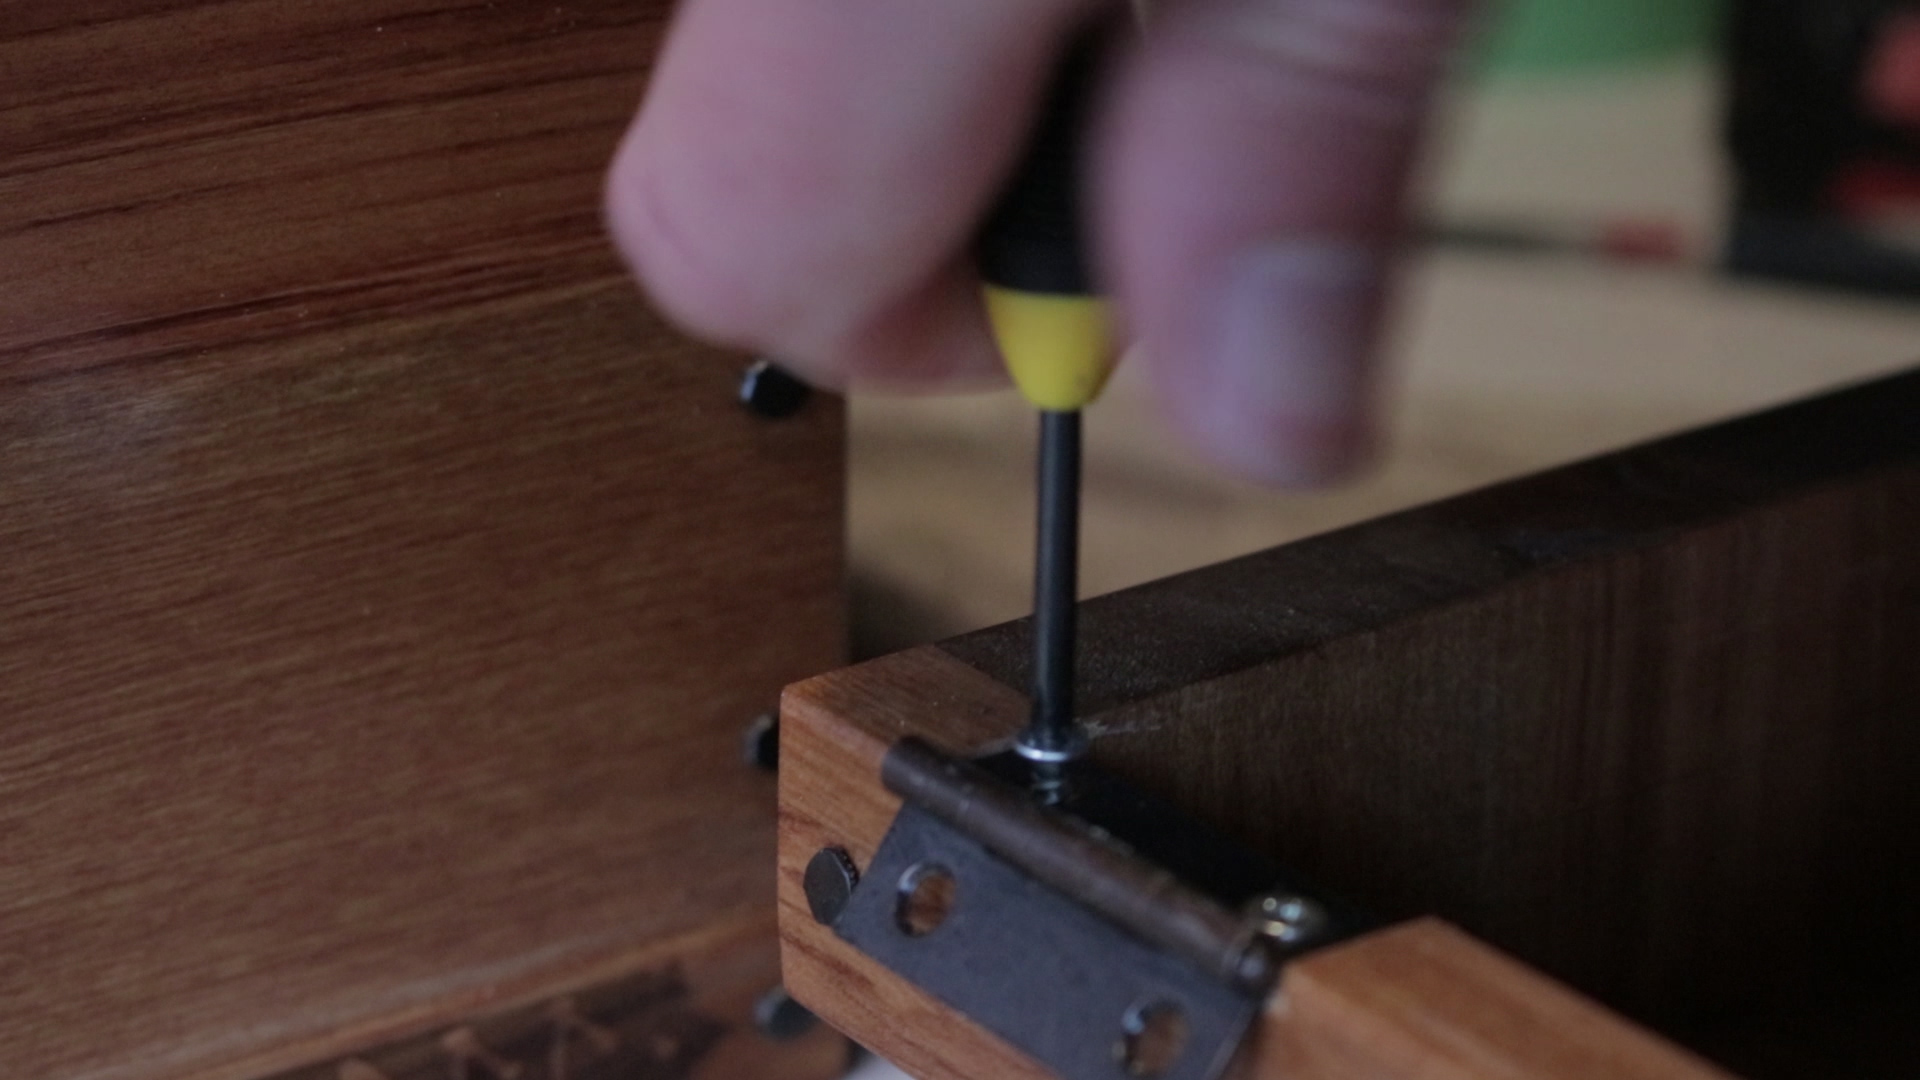
The hinge installation was pretty straight forward, the curved lid just made it a little tricky to clamp steady while I was clearing with the chisel.
To mark the hinge locations on the other side I covered the bottoms with masking tape, then super glued them together. By lifting the lid away I was able to make a nice knife line where the bottom slot needed to be.
I know it’s bothering me too, silver screws in a dark metal hinge - don’t worry - after I get the fit I’ll pulling them all back out and spray painting them black.
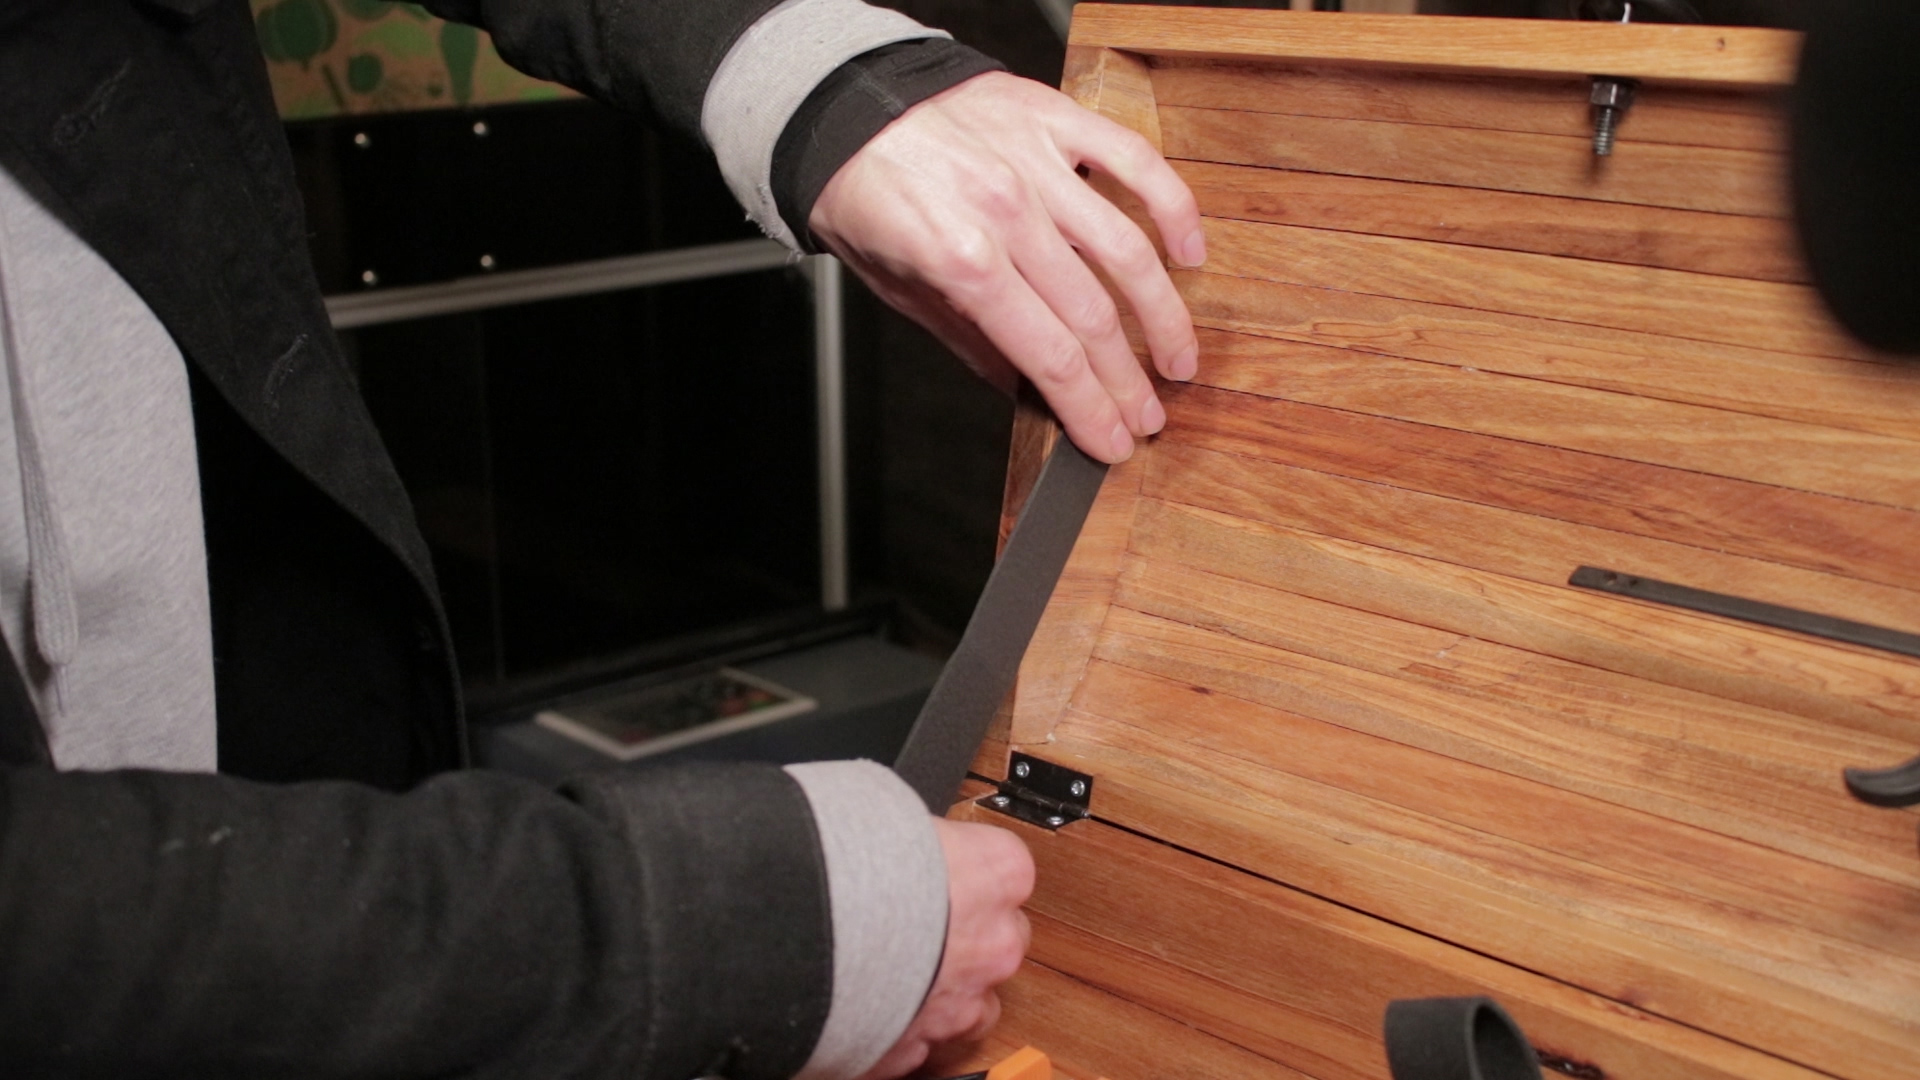
I made the lid stays from a couple of stips of leather. The lid is quite heavy so I did them on both sides.
I eyeballed the position and the cut two strips the same length. Using double sided tape I set them in position before nailing them down with a couple of shortened tacks.
And with that final nail. We are done.
